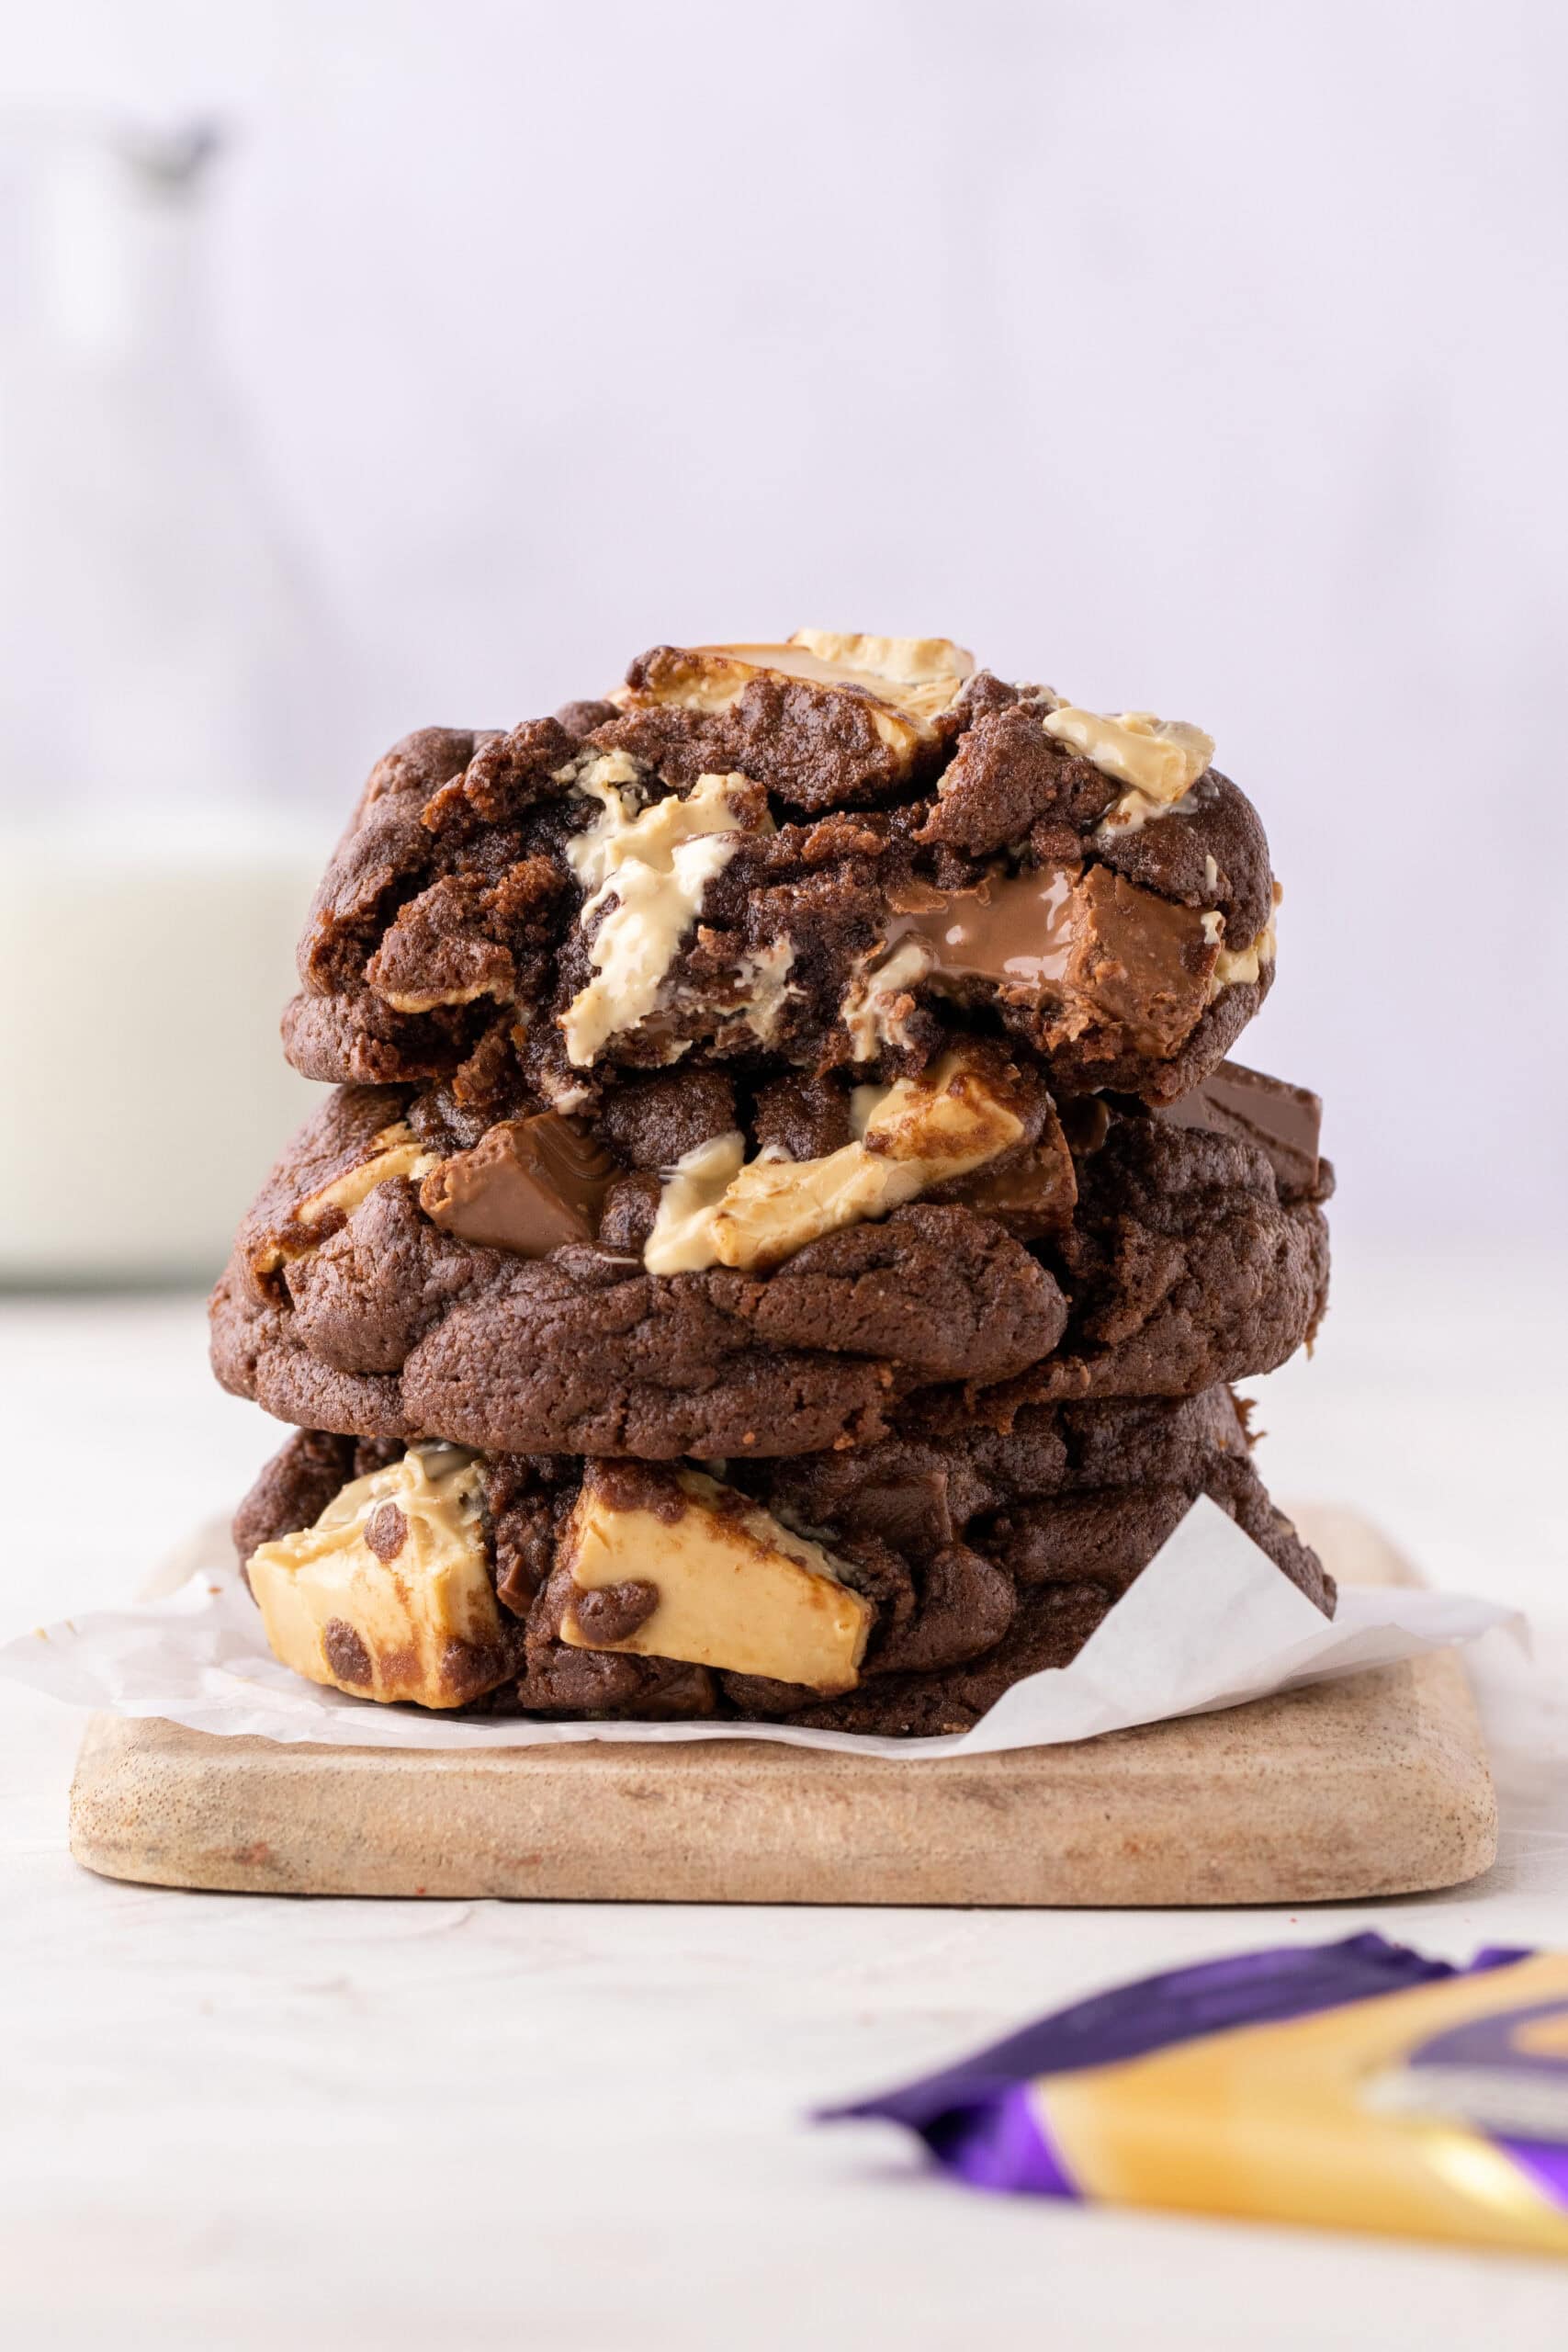
Caramilk Cookies
These thick chocolate Caramilk Cookies are crisp on the outside, molten on the inside and chock-a-block with chunks of Cadbury Caramilk!
Rate this Recipe
Print Pin Rate this RecipeServings:
Ingredients
- 200 g Cold unsalted butter take the butter out of the fridge 30 minutes before you start baking so that it's not completely solid
- 180 g Light brown sugar
- 80 g White caster sugar
- 2 large Eggs at room temperature
- 225 g Self-raising flour
- 125 g Plain flour
- 50 g Cocoa powder
- 1 tsp Salt
- 1 tsp Baking powder
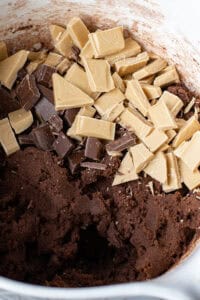
- 200 g Cadbury Caramilk
- 100 g Milk chocolate I decided to chuck in some milk chocolate chunks too but feel free to use 300g Caramilk instead
Instructions
Start by making the cookie dough
- Chop up the butter into chunks and place in a large mixing bowl. Beat using an electric mixer or wooden spoon for 1 minute. You want the butter to be slightly softer, broken up, but not at the 'creamed' stage.
- Add the light brown sugar and white caster sugar and beat together until just combined. Try not to over-mix at this stage otherwise the butter will become too soft.
- Mix in both of the eggs. The mixture won't look very appealing at this stage but don't worry it will do soon!
- In a separate bowl, stir together the self-raising flour, plain flour, cocoa powder, salt and baking powder until well mixed. Tip into the butter mixture and fold everything together until it forms a thick cookie dough.
- Chop up the Caramilk and milk chocolate into big chunks and add to the cookie dough. Use your hands to mix them into the dough.
Shaping the cookie dough
- Line a baking tray or tin (one that will fit inside your freezer) with greaseproof paper.
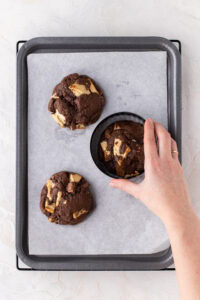
- Weigh out 120g of the cookie dough, then use your hands to roughly shape it into a ball and place it on the baking tray. Thick cookies are meant to look rustic, so lumps and bumps on the cookie dough is exactly what you're looking for.

- Repeat this step until all the cookie dough is used up. You should get between 9-10 cookies in total. At this stage, you don't have to worry about the cookies being too close together on the baking tray. As long as they're not touching it's all good.

- Cover the baking tray with clingfilm and freeze the cookie dough balls for at least 90 minutes or up to 48 hours for best results. The longer you leave them, the thicker your cookies will be.
Baking the cookies
- Whilst the cookies are in the freezer, preheat your oven to 180°C (fan).
- Do this step 5 minutes before the freezing time is finished: line a large baking tray with greaseproof paper and place in the oven for 5 minutes to heat up. The heated tray will help the cookies crisp up and brown on the outside but still keep a gooey centre.
- Place 3 to 4 of the frozen cookie dough balls onto the tray. These cookies are very chunky so make sure you leave plenty of room between them. Bake the cookies in batches if you need to.
- Bake on the middle shelf of your oven for 12-15 minutes until firm on the outside edge but still soft and under-baked in the middle. The cookies should still be nice and thick, with very little spread. You can use a round cookie cutter to scoot them into shape.
- Leave to cool for 5 minutes on the baking tray, or just until you're happy to pick them up without them falling apart.
- Enjoy your cookies!
Notes
Store your Caramilk Cookies in a cake tin at room temperature. They’re best eaten within 24 hours, but will keep for up to 4 days.
You can also freeze the baked cookies (see notes in the blog post above).