My food photography & videography kit
By Jessie
Updated: December 10, 2022
Rate This Recipe
By: Jessie
Updated: December 10, 2022
Rate This Recipe:
Want to learn food photography? Not sure what kit you need? Feeling overwhelmed with how many cameras, tripods, backdrops (the list goes on!) are out there and what this all means? Trust me; I’ve been there!
After several years of running a food photography and videography business, let me save you time and confusion by sharing this comprehensive guide to my kit. This blog post covers everything you could need, whether you’re starting from scratch and want only to purchase the bare essentials, or if you’re looking to level up your food photography and make an investment purchase.
I’ve included links to the exact pieces of equipment I own, use and love for all of my food photography. Full disclosure… these are Amazon affiliate links, meaning I earn a teensy weensy commission if a purchase is made via the link.
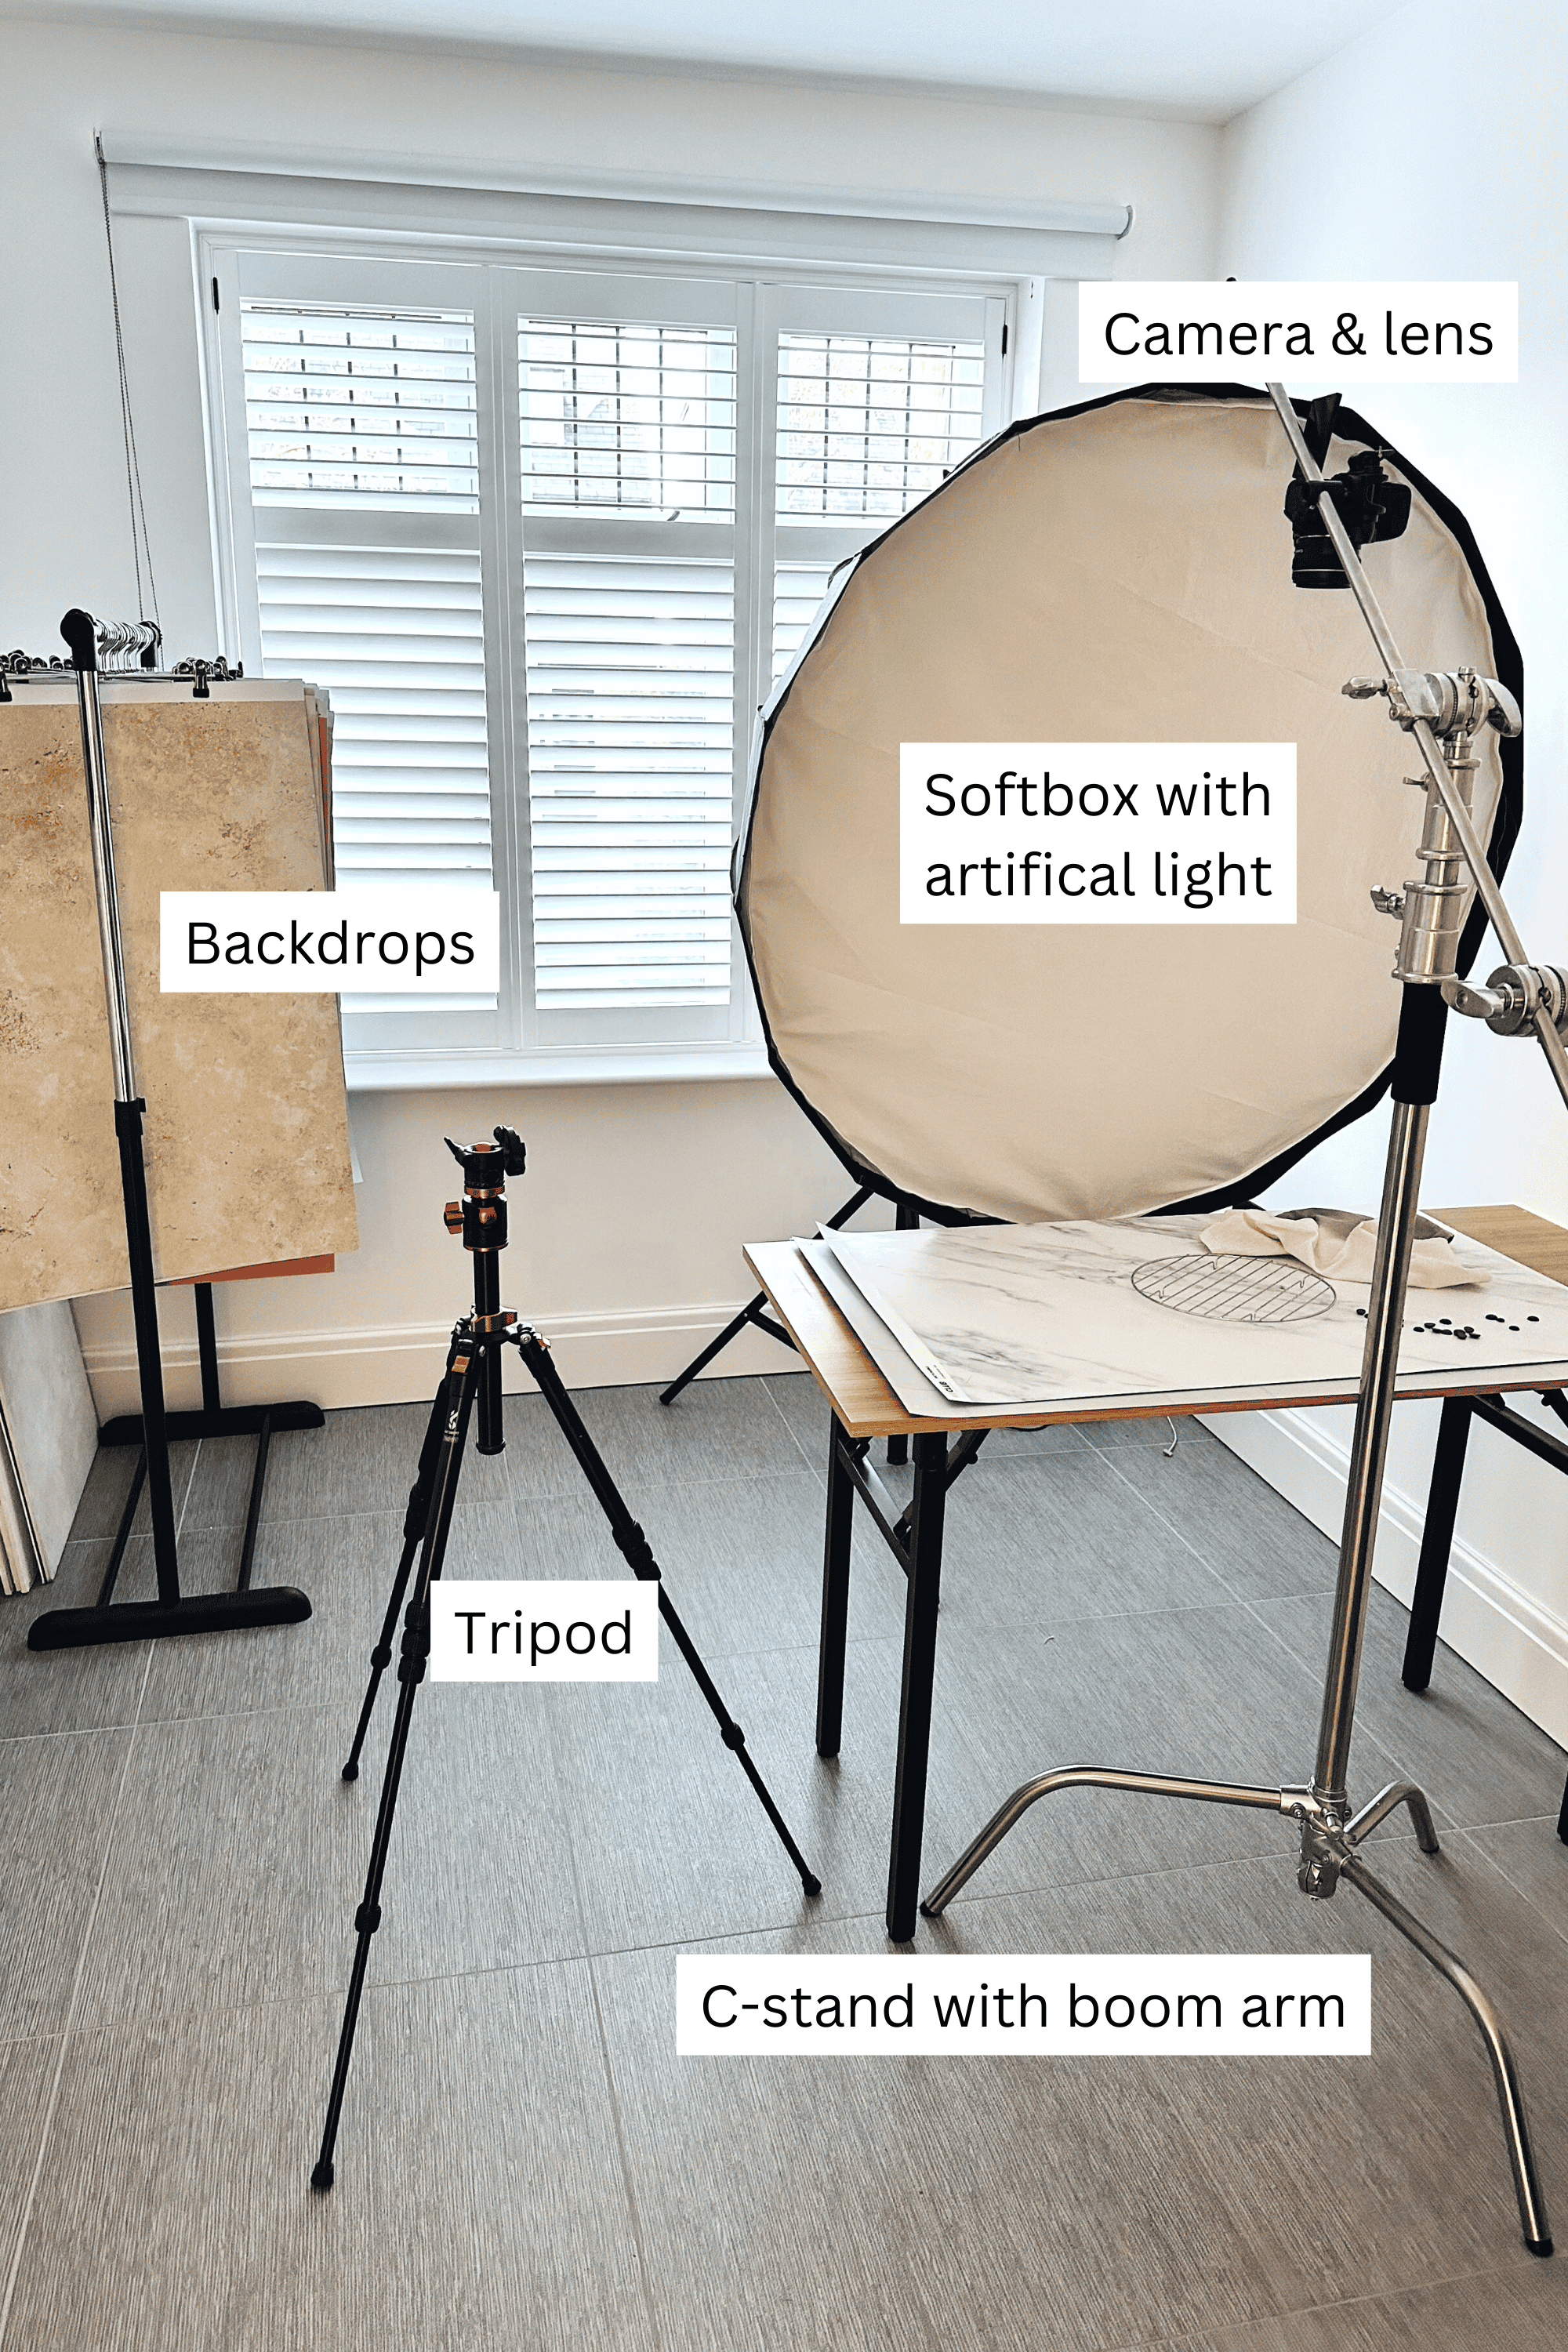
My studio stet up
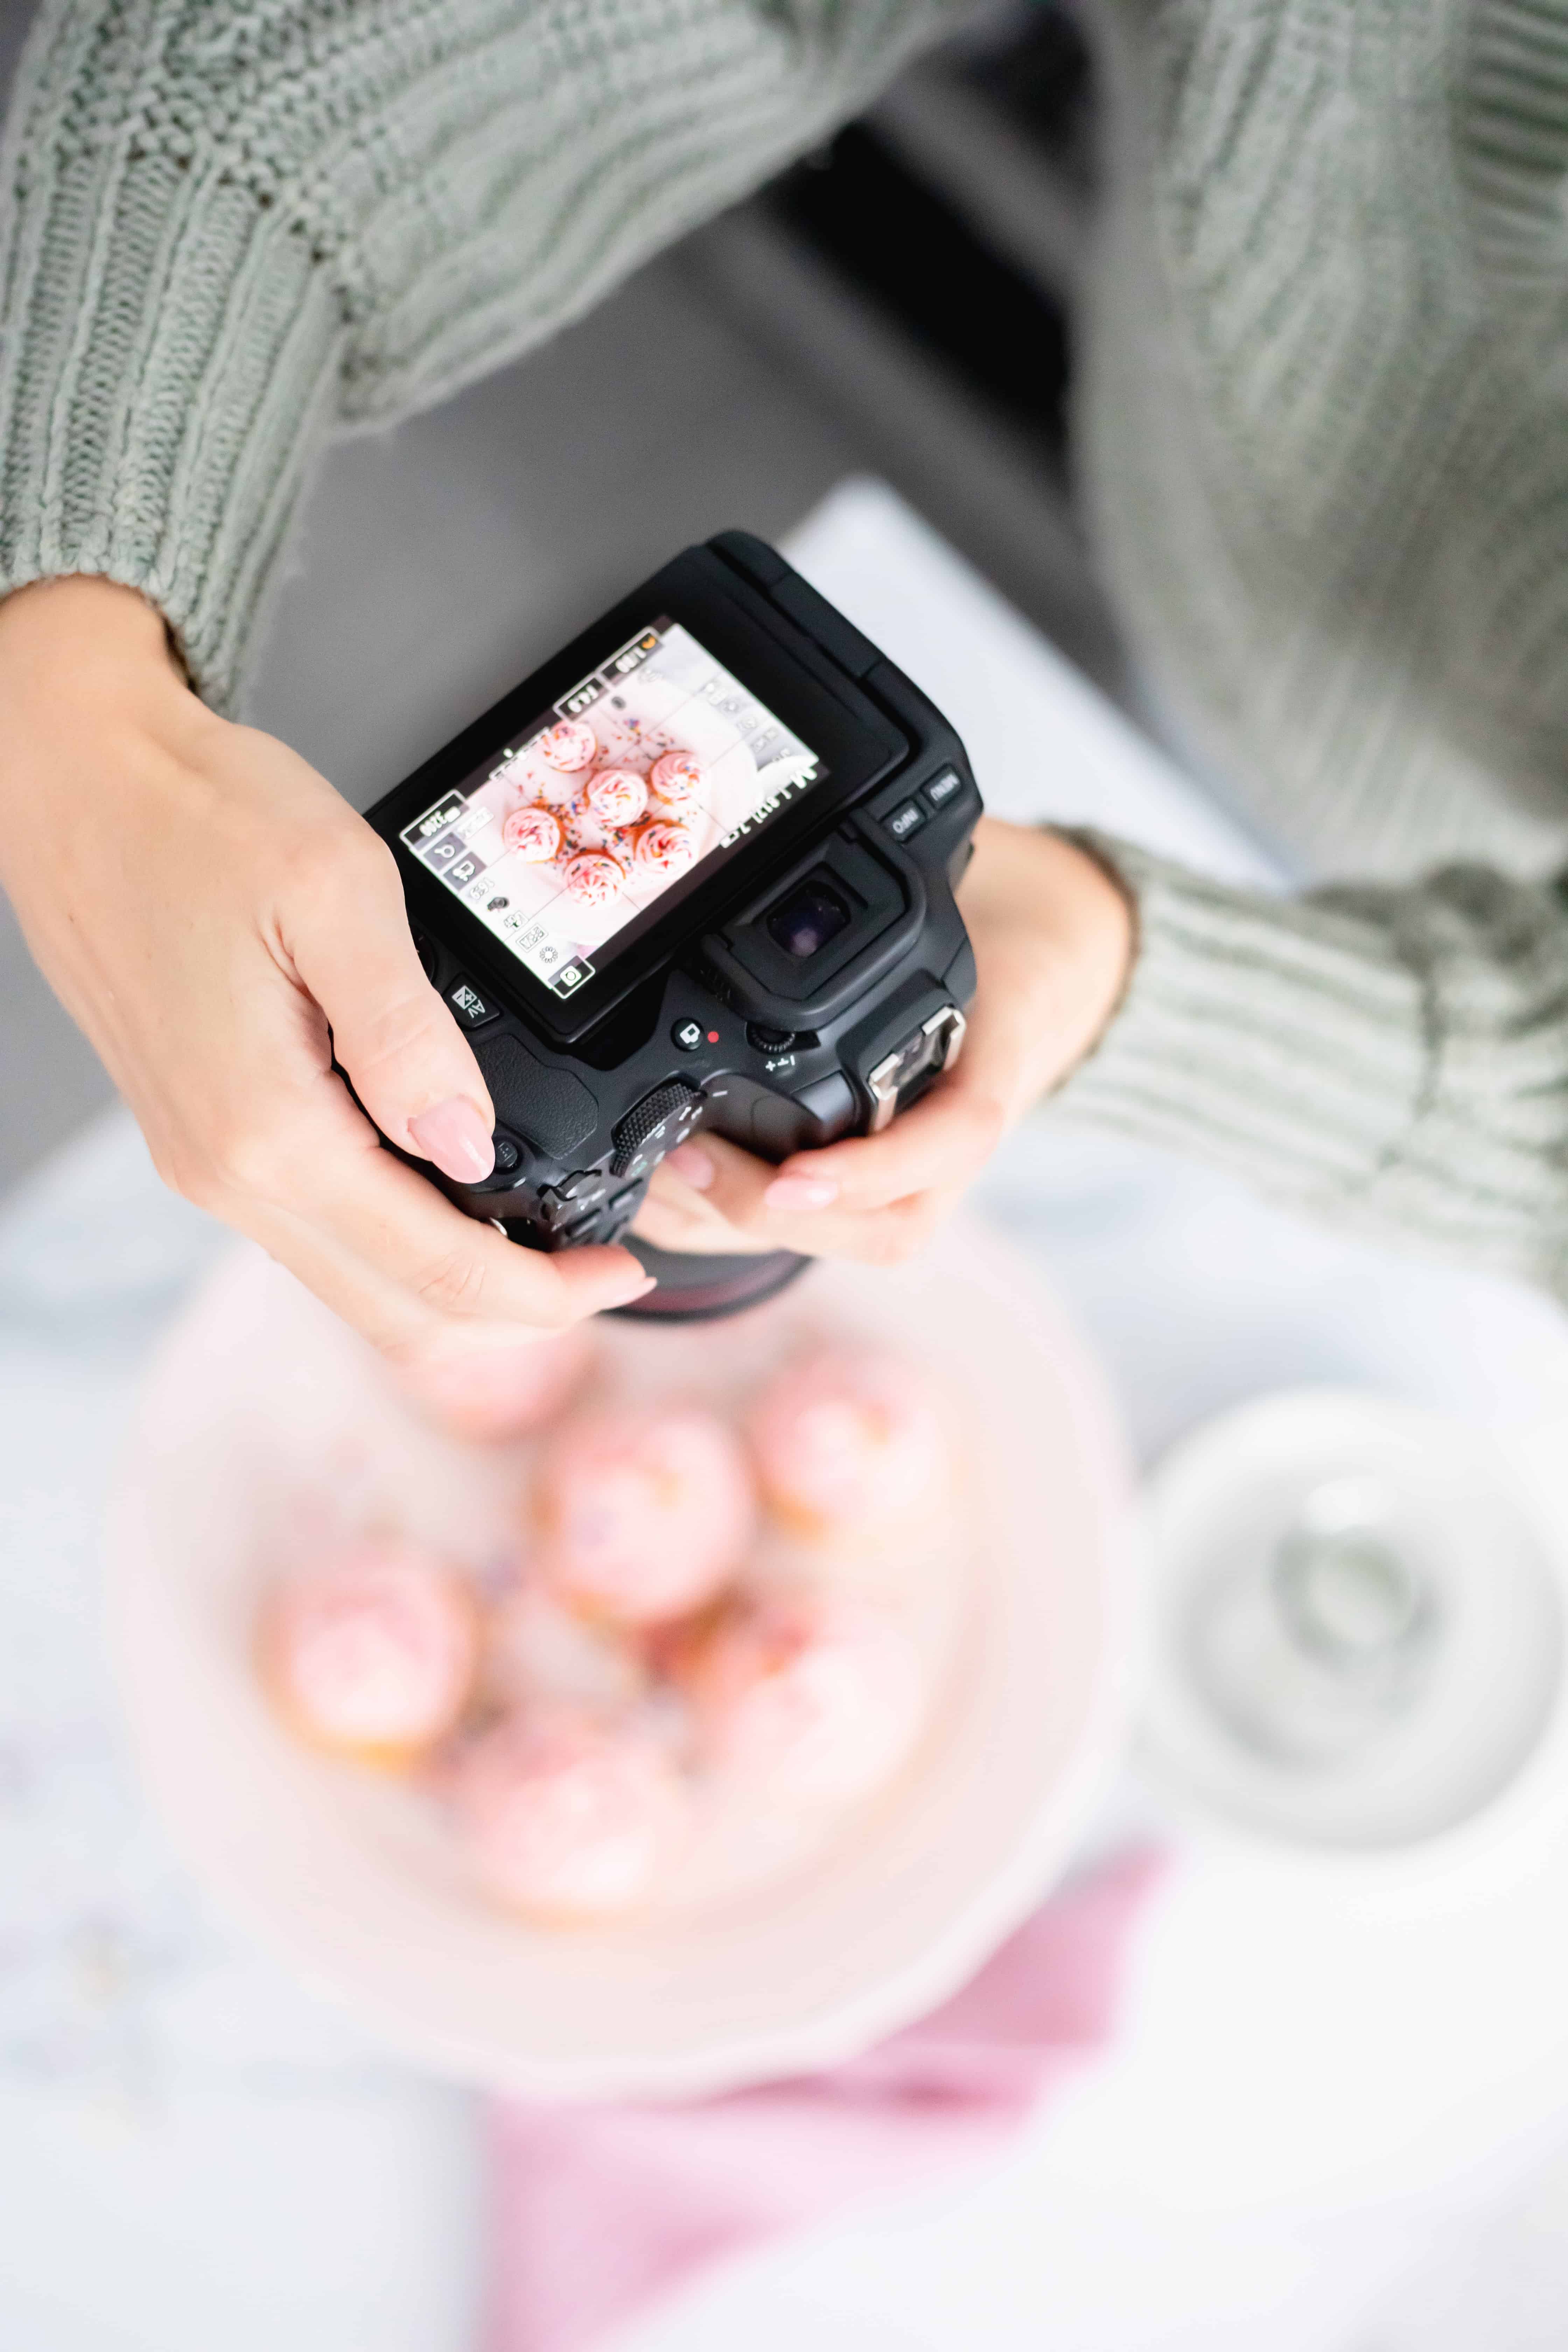
I’ll start by sharing a behind-the-scenes look at my studio set-up. Having a space like this is a dream come true and a very recent improvement. Before, I used to rearrange the bedroom for every shoot, use a cardboard box as a table and masking tape my backdrops to the walls. Needs must! Hopefully, seeing my set-up will give you an idea of how all the pieces of equipment come together.
Shortcut to a section of this blog post:
- Cameras
- Lenses
- Tripods
- Backdrops
- Artificial lighting
- Editing software
- Memory cards, battery packs and hard drives
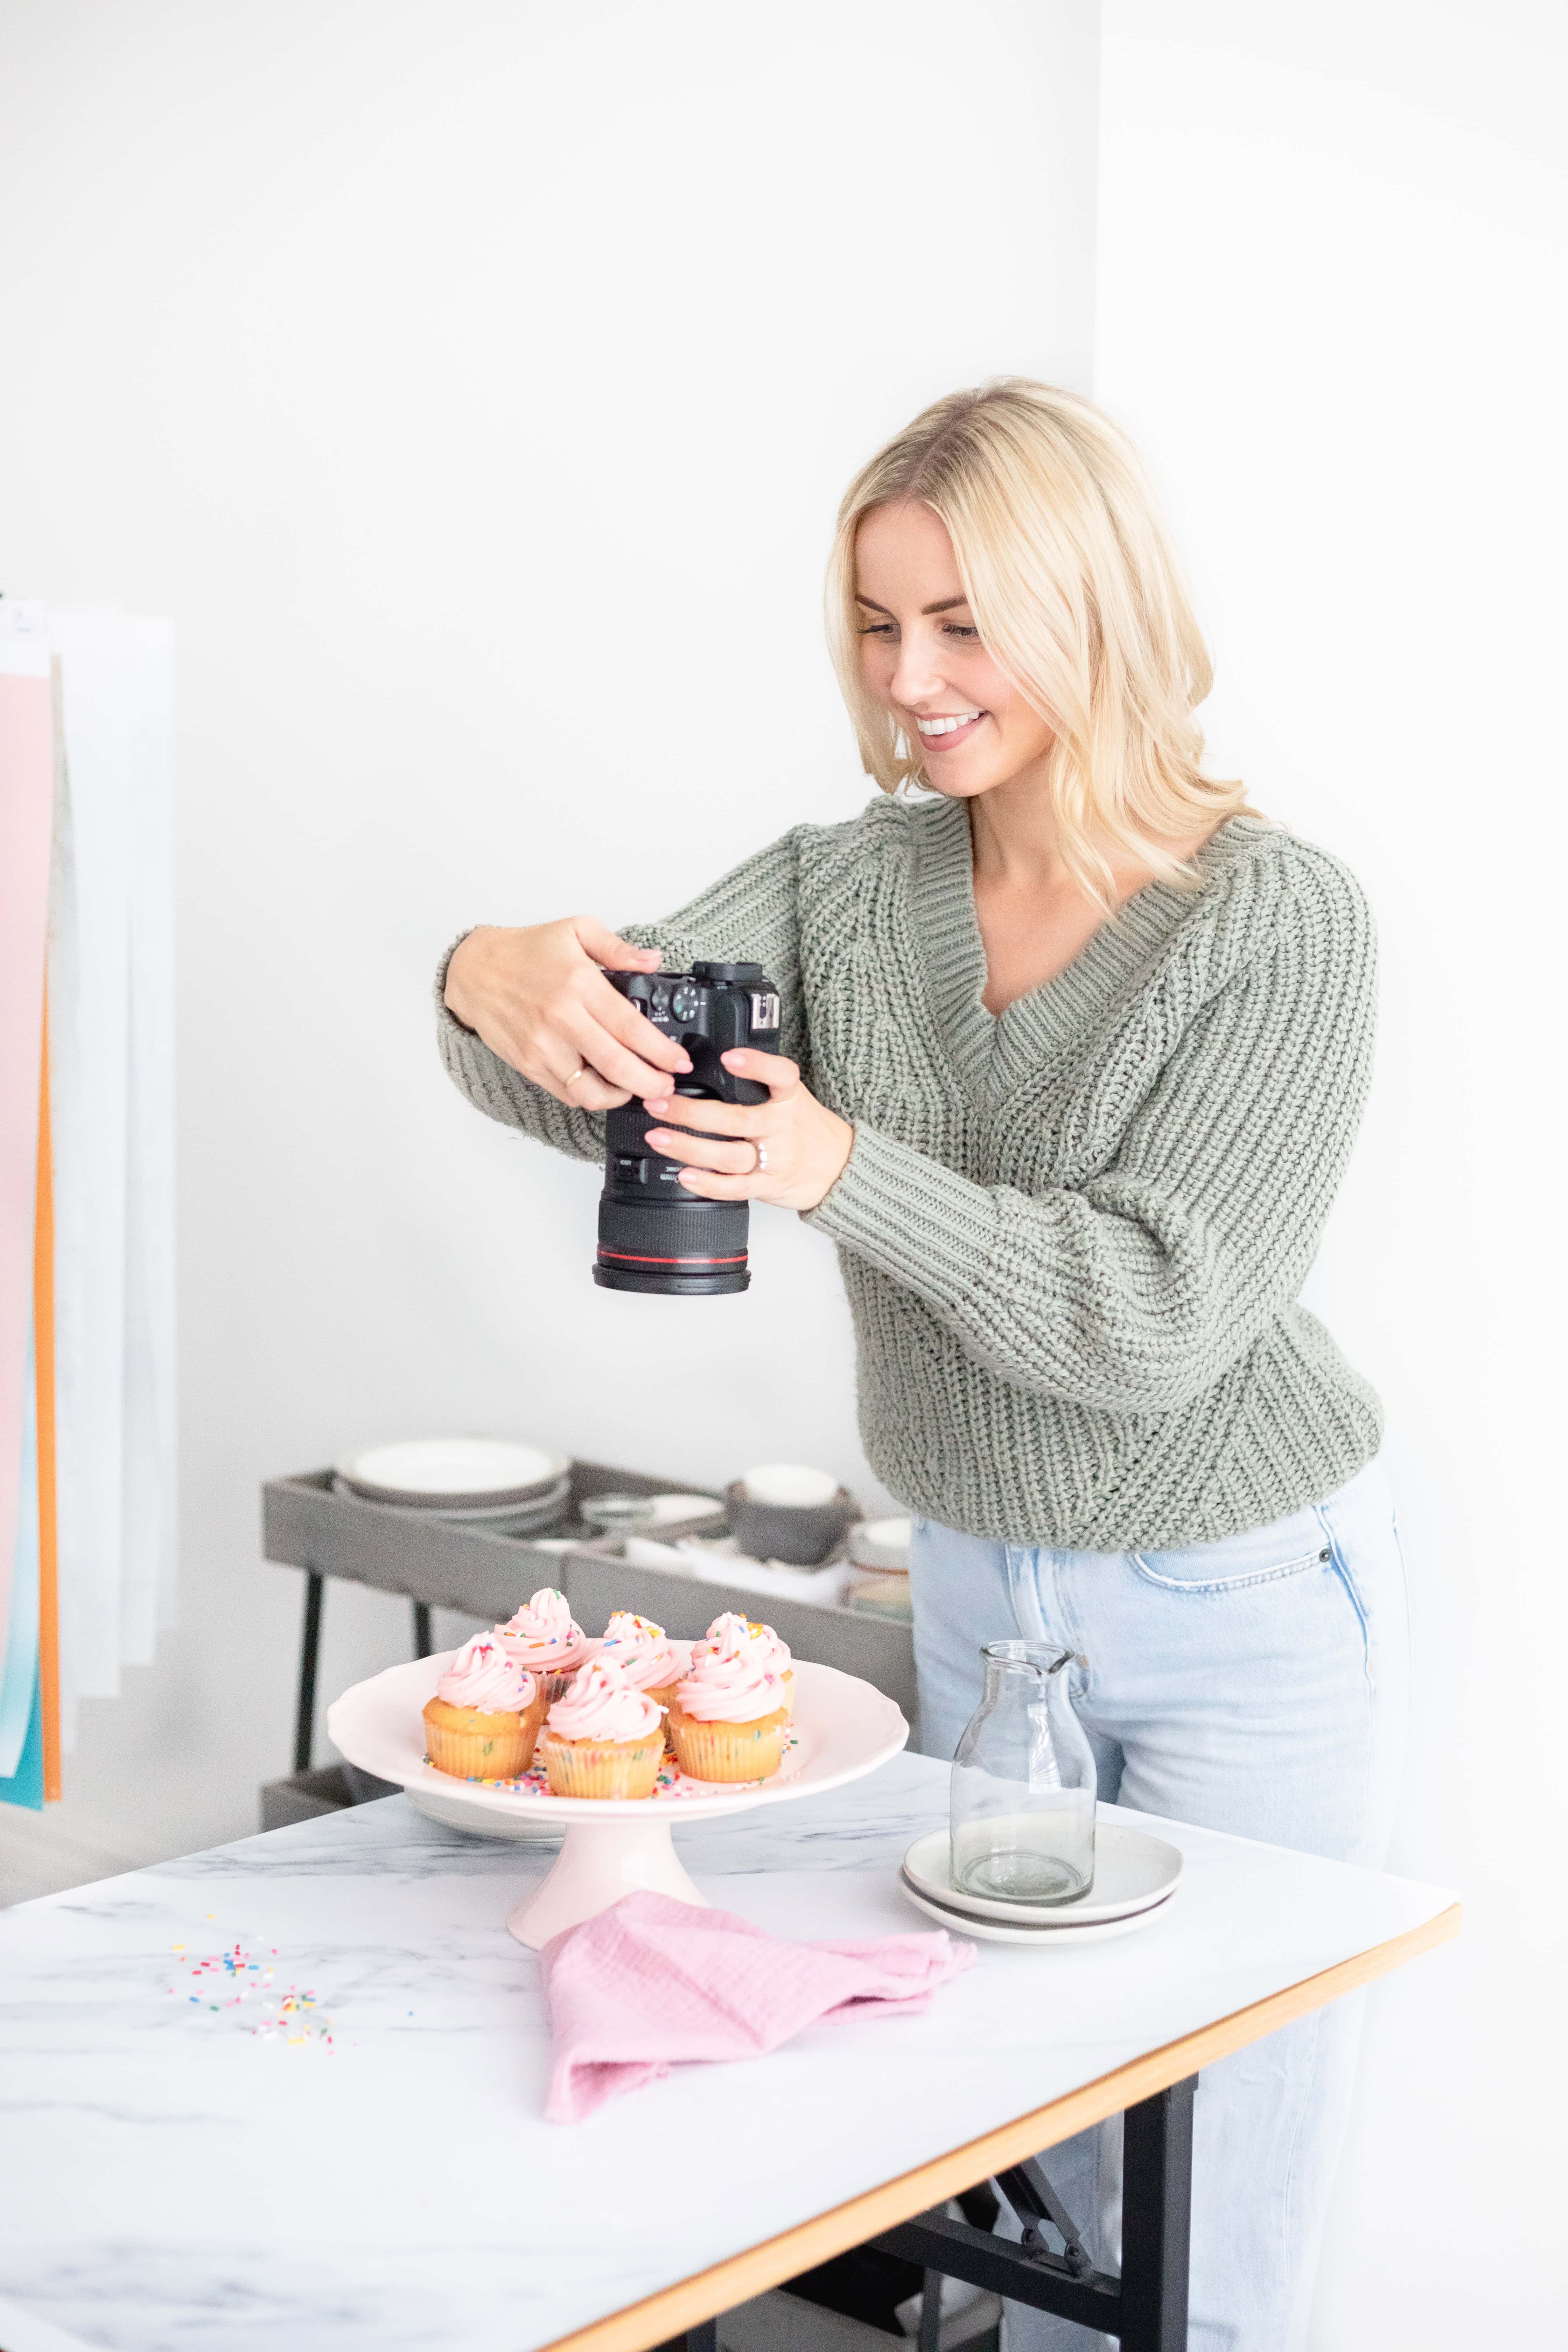
Cameras
I’ve always been a Canon user, so if you’re looking for Nikon or Sony camera recommendations, this section won’t be as helpful for you. However, if you are into Canon cameras or want to learn more about them, keep reading.
My camera: Canon E0S 250D with wifi, Bluetooth and 4K video
- Price point: mid-range.
- Pros: lightweight. Can be used with lots of different lenses. A reasonable price.
- Cons: there are better quality and more advanced cameras out there, but they come at a price. The lens that comes with this camera isn’t ideal for food photography but can be used to practice initially before investing in a better one.
For quick TikTok videos and for Instagram stories, I use the camera on my: iPhone 14 Pro
- Price point: affordable with a phone contract.
- Pros: easily accessible. Quick to learn. The video quality is really good on this version of the iPhone.
- Cons: the new ‘macro adjust’ feature takes some getting used to, and in my opinion, the photo quality isn’t as good as using a camera.
Lenses
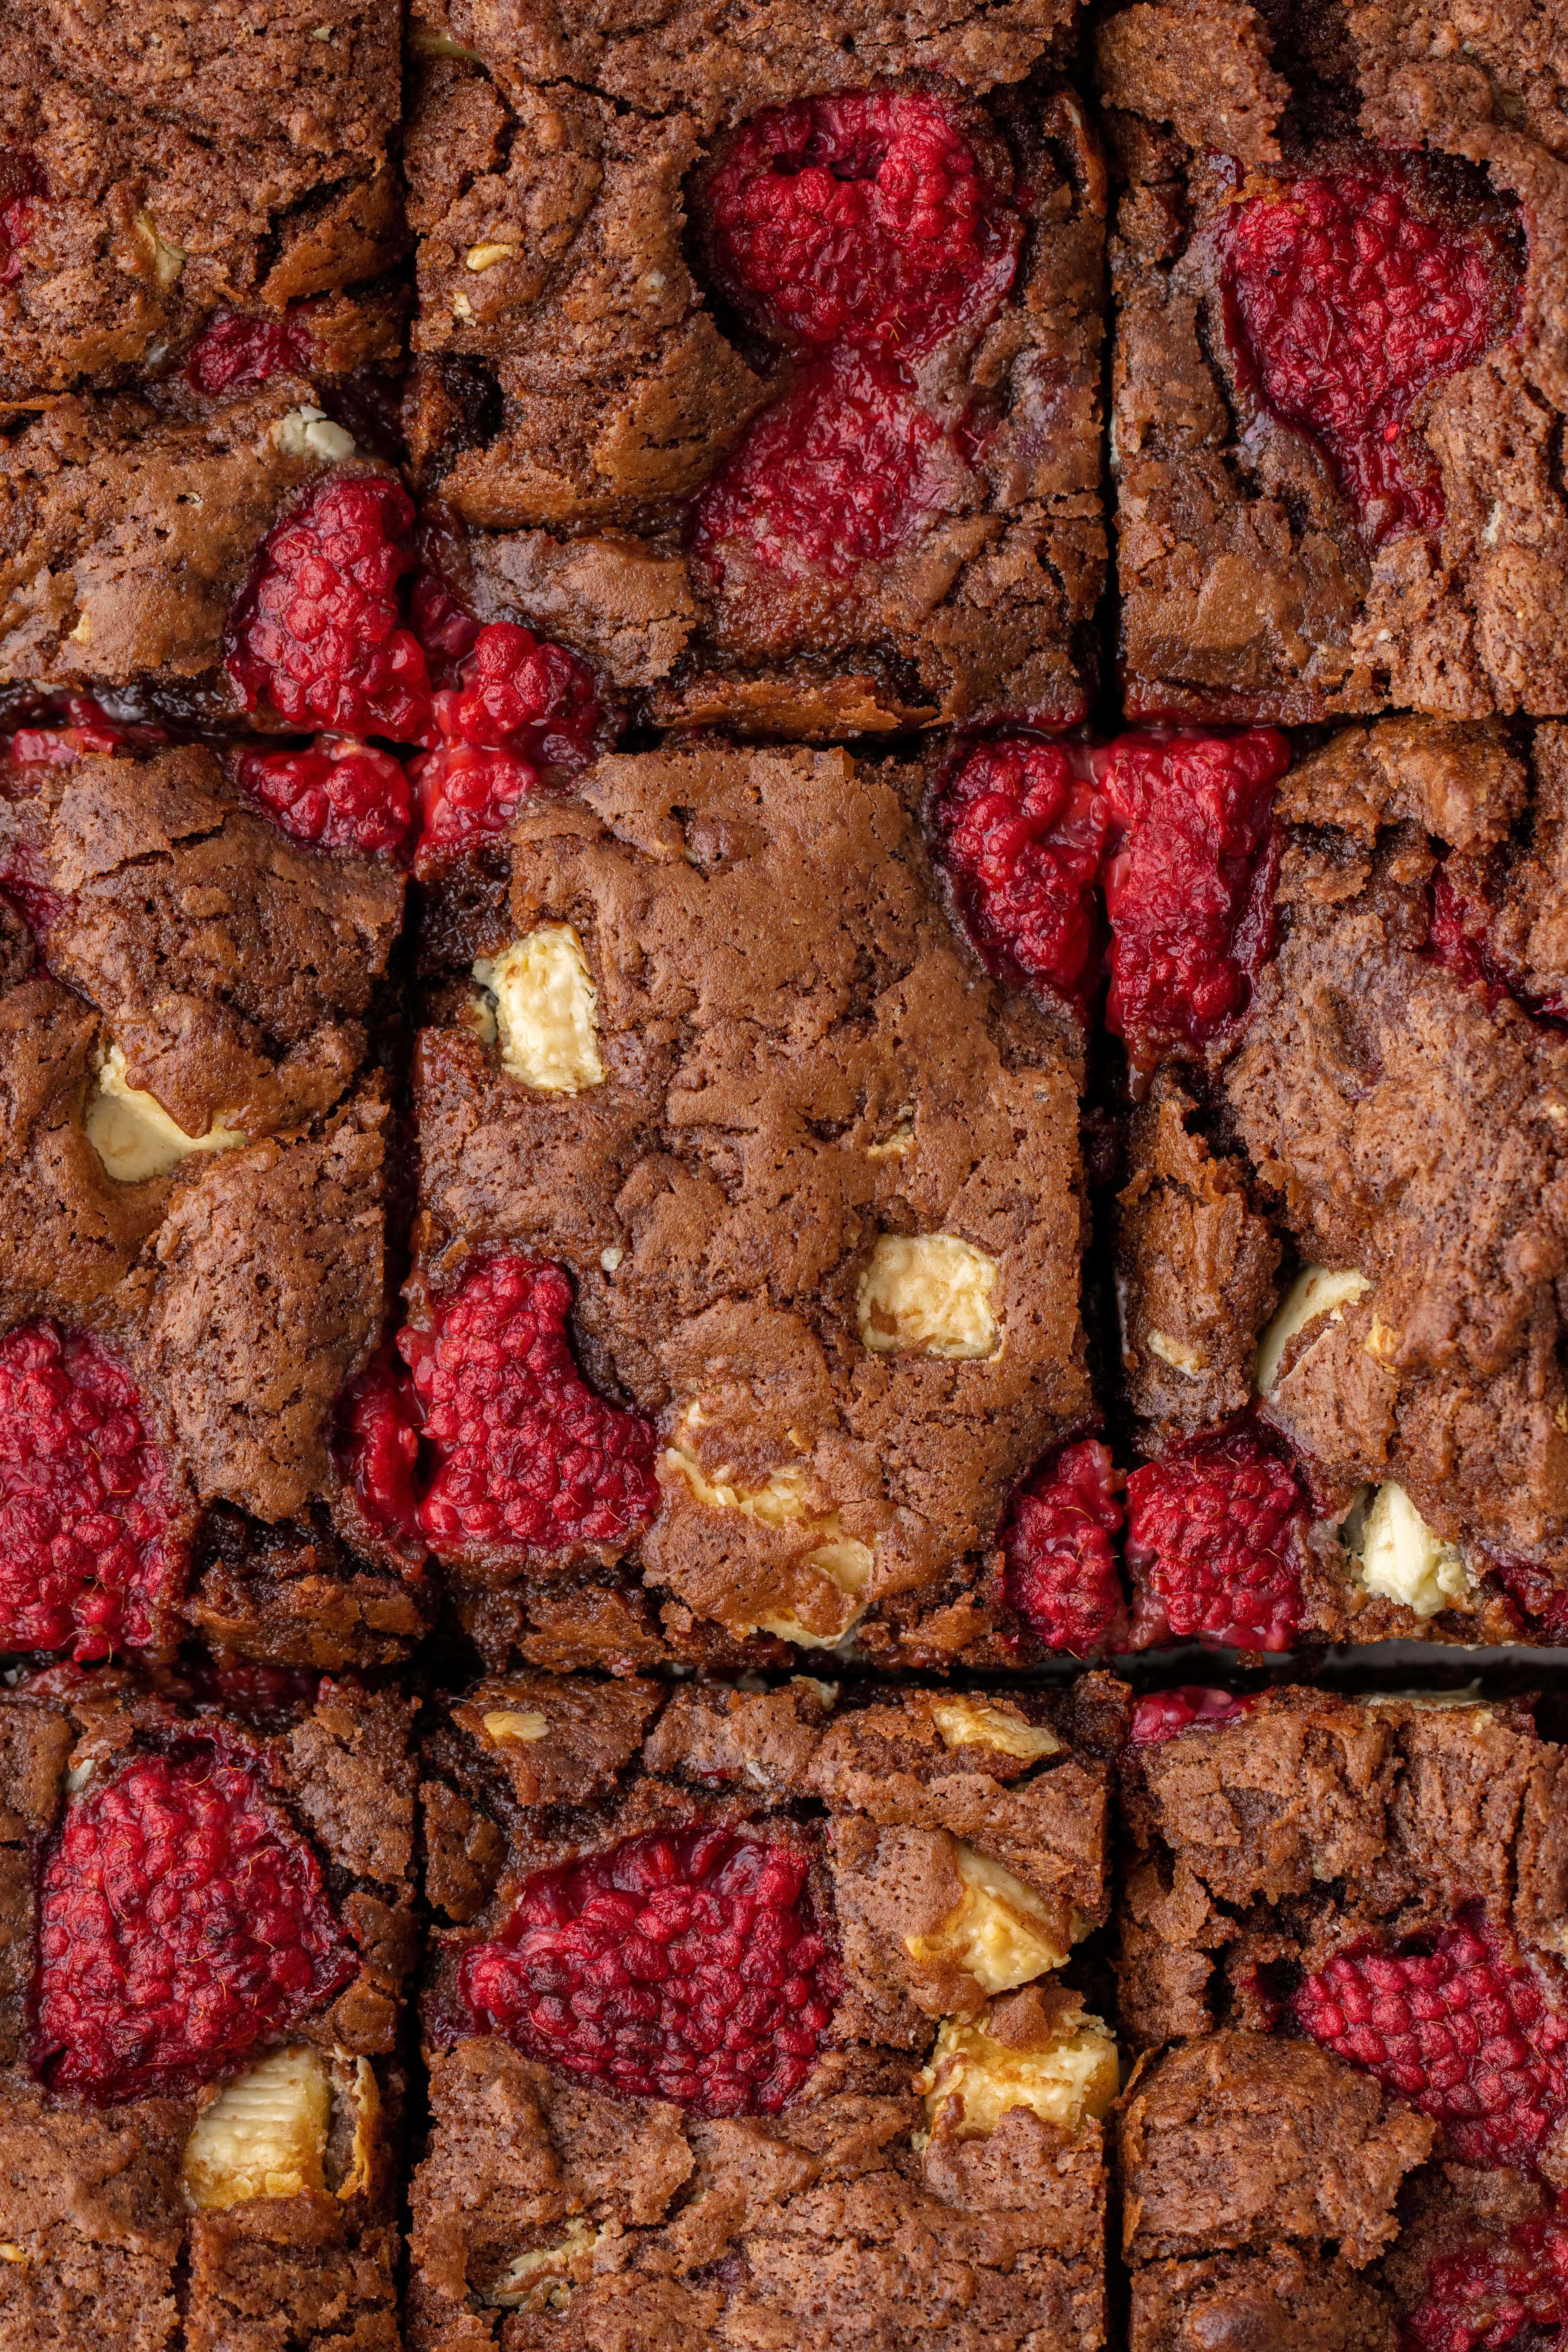
Investing in a lens for your camera will make a big difference to the quality of your food photography. I have three Canon lenses that I switch between depending on what I’m trying to capture. The photographs below of my Cinnamon Roll Blondies show the difference between each lens and how I use them to shoot different things.
Canon EF 50 mm-f/1.4 USM Lens – otherwise known as the “nifty fifty”. The first lens I purchased, and I still love it just as much. It’s the perfect lens to start out with; not too expensive, lightweight and will improve your food photography almost instantly.
- Price point: low-mid range.
- Pros: lightweight and affordable. Can be used to shoot all types of angles. F1.4 means you can create a great depth of field and achieve that dreamy, blurred background look.
- Cons: the crop can be a little tight for flatlay photography, which can be tricky if you don’t have a tripod that goes up high enough.
Canon EF 100 mm f2.8 Macro Lens – used to capture close-up details of textures. Think the inside of a gooey cookie or the crackly top of a brownie. The crispness that a macro lens produces is fantastic, so if you’re looking to level up your food photography or the quality of your food videos, then I’d highly recommend investing in a macro lens.
- Price point: mid-range.
- Pros: excellent quality and crisp images. Can get super close to your food subject. Can be used for high-quality close up videos too.
- Cons: it’s a heavy lens so shooting handheld can be tricky. Pricey. Not ideal for shooting large food subjects.
Canon EF 24-70mm f/2.8L Lens – I’ve put this lens last because it’s a recent purchase and is the most expensive of the three. What I love about this lens is the ability to zoom in and out without losing quality. This is particularly helpful for food videography as I can quickly zoom in and out of the scene without needing to switch lenses or move the tripod. At 24mm, you can also fit loads in your frame, making this lens excellent for ingredient flat lays.
- Price point: high.
- Pros: the zoom makes it quick and easy to photograph and film multiple viewpoints.
- Cons: expensive. Tends not to be as sharp as the 100mm or 50mm lens.

Tripods
These are three tripods in my food photography kit that I use daily:
K&F Concept Camera Tripod Monopod 67″ Overhead – used for shooting food from a straight-on or a 3/4 angle (the left-hand photo below).
- Price point: mid-range.
- Pros: strong, sturdy, and can easily hold the weight of heavy lenses. The extendable legs go up to 64″ so you can shoot from some height with this tripod.
- Cons: the overhead arm doesn’t extend out very far, making unsuitable for overhead flatlay photography.
Neewer 10 Feet/3 Meters Adjustable C-Stand with Boom Arm – used for shooting overhead flat lays (the right-hand photo below).
- Price point: mid-high.
- Pros: strong and sturdy. You can have both the c-stand and tripod up at the same time and easily switch between them with minimal effort.
- Cons: quite a bulky piece of kit and not easy to move around.
- Tip: If you’re looking to buy a c-stand with boom arm, you will need two extra pieces of equipment to attach your camera to the stand:
- Manfrotto 014-14 16mm Female Adapter – this threads onto the boom arm and is screwed into place.
- Manfrotto 234RC Monopod Tilt Head with Quick Release – this screws onto the piece above and allows you to clip your camera in place.
Extendable Phone Tripod Stand – used for filming on my iPhone. It’s cheap as chips and perfect for filming recipe videos in your kitchen or shooting stories content.

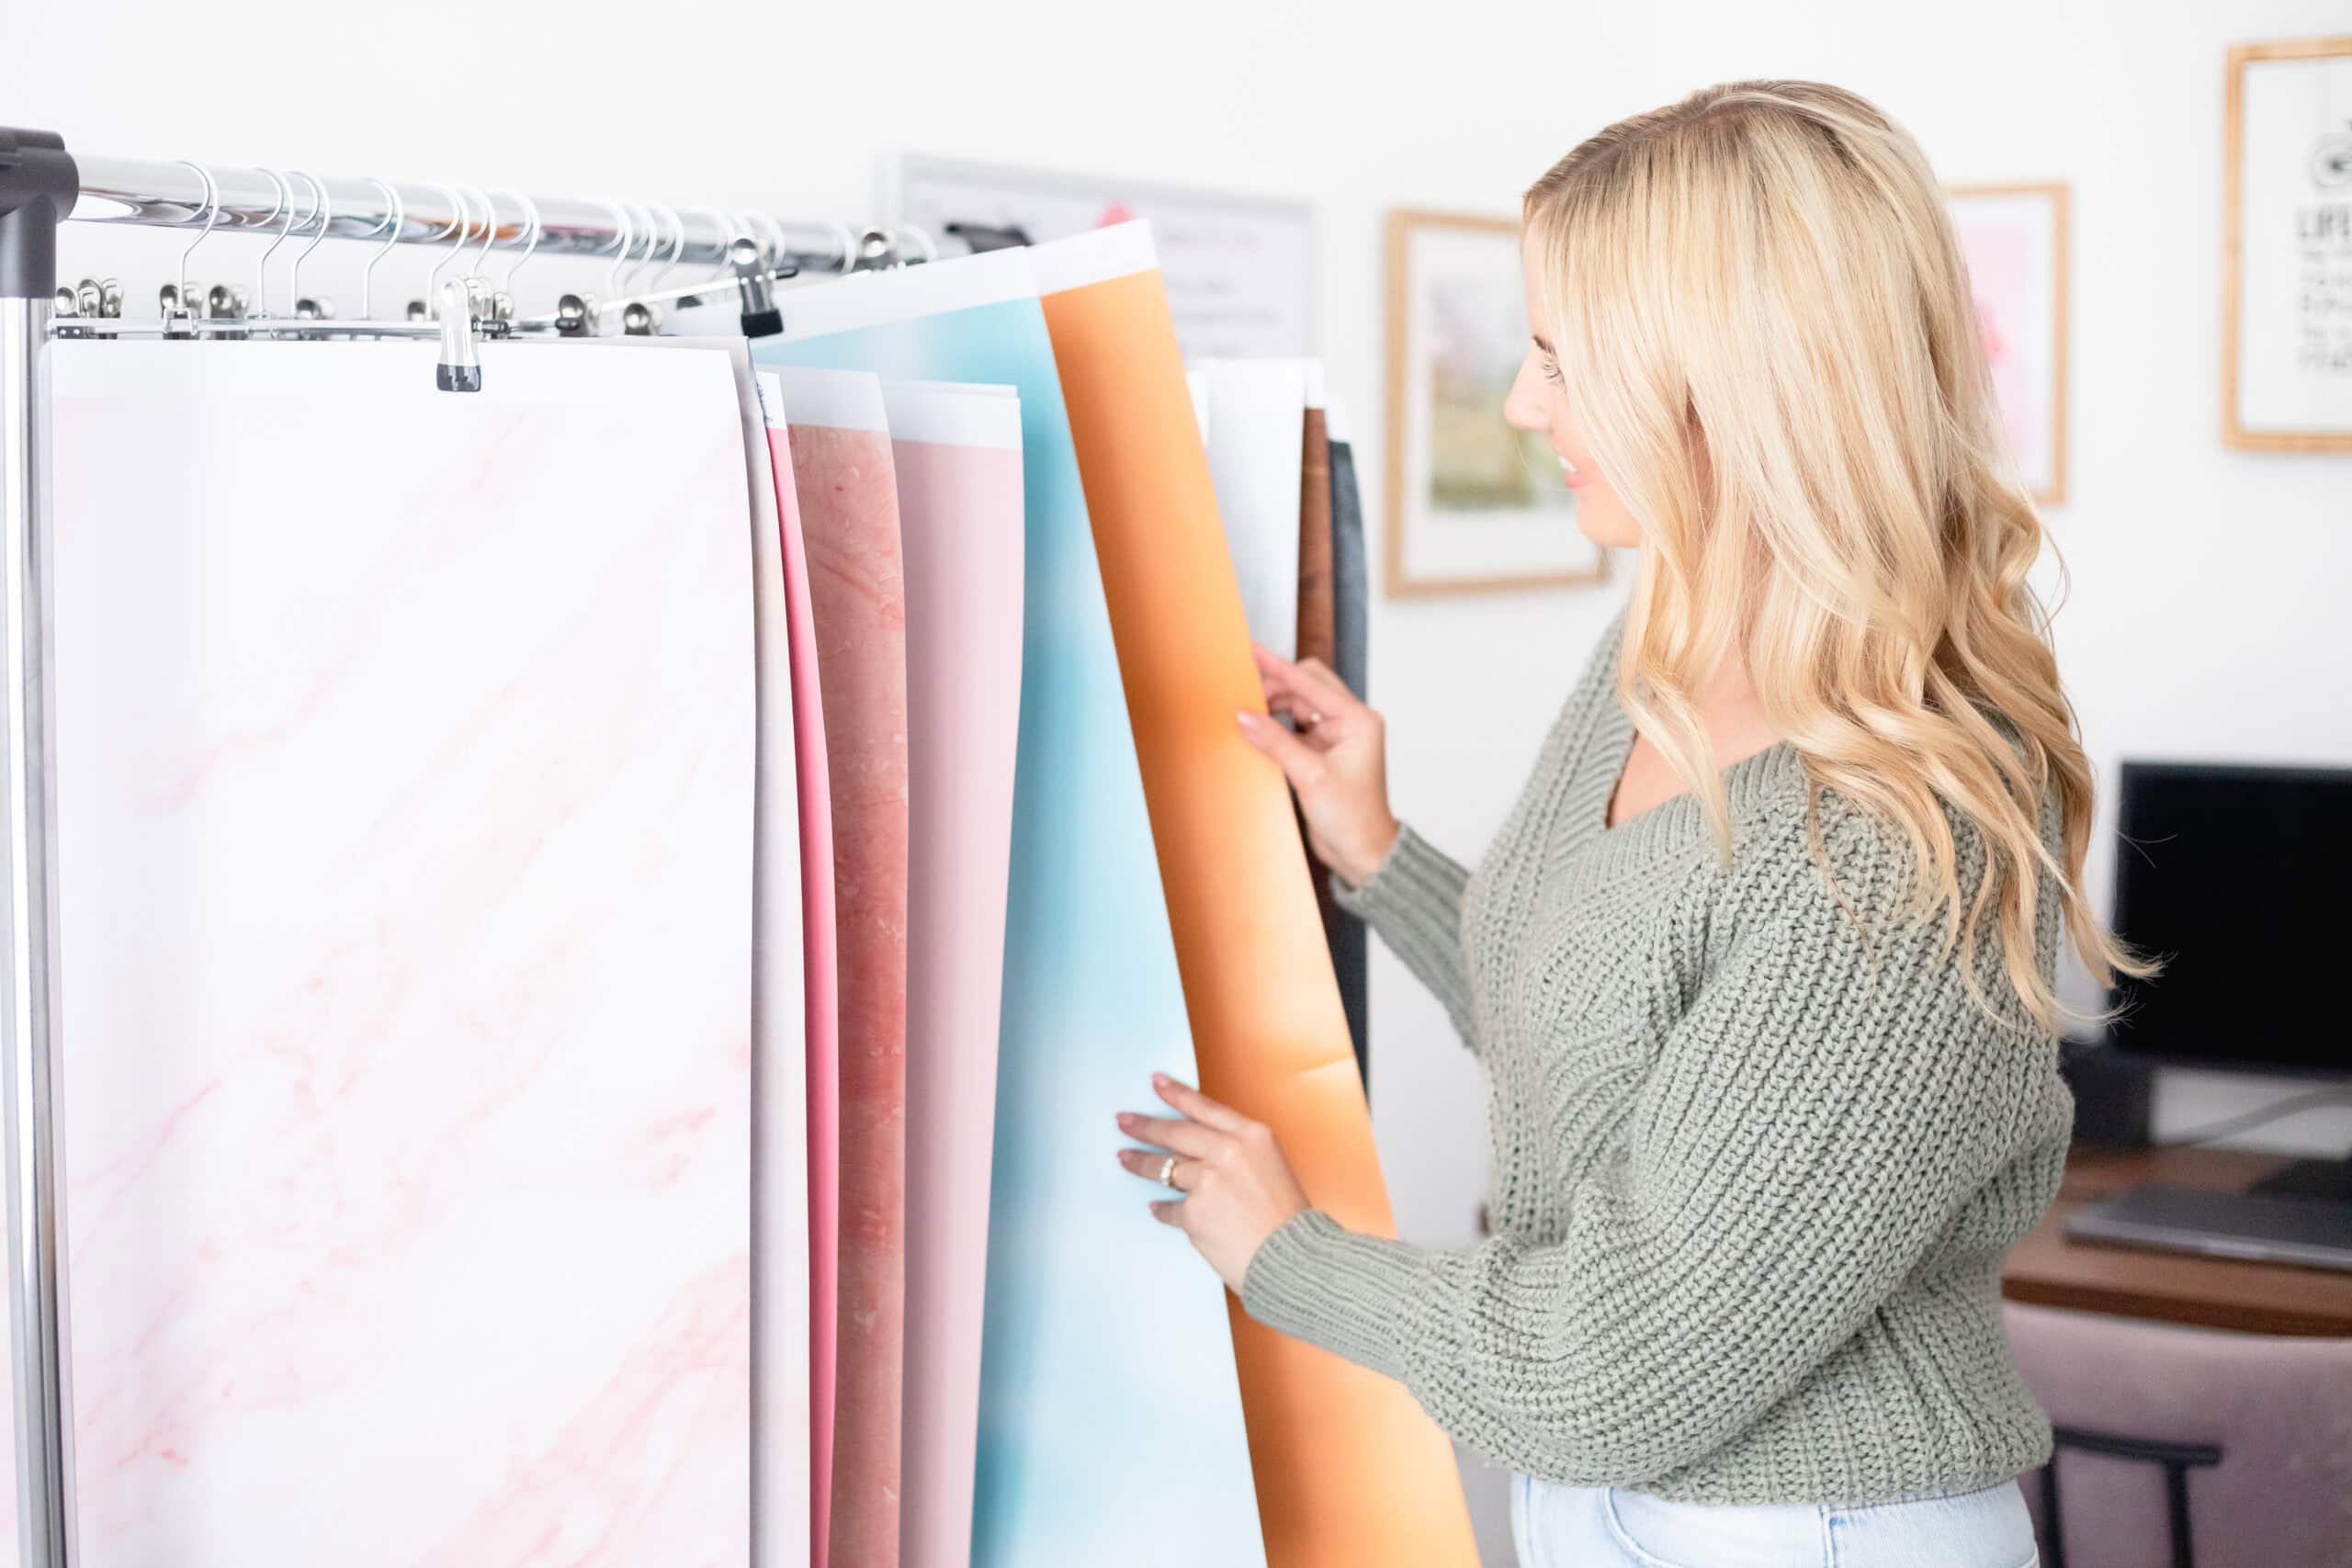
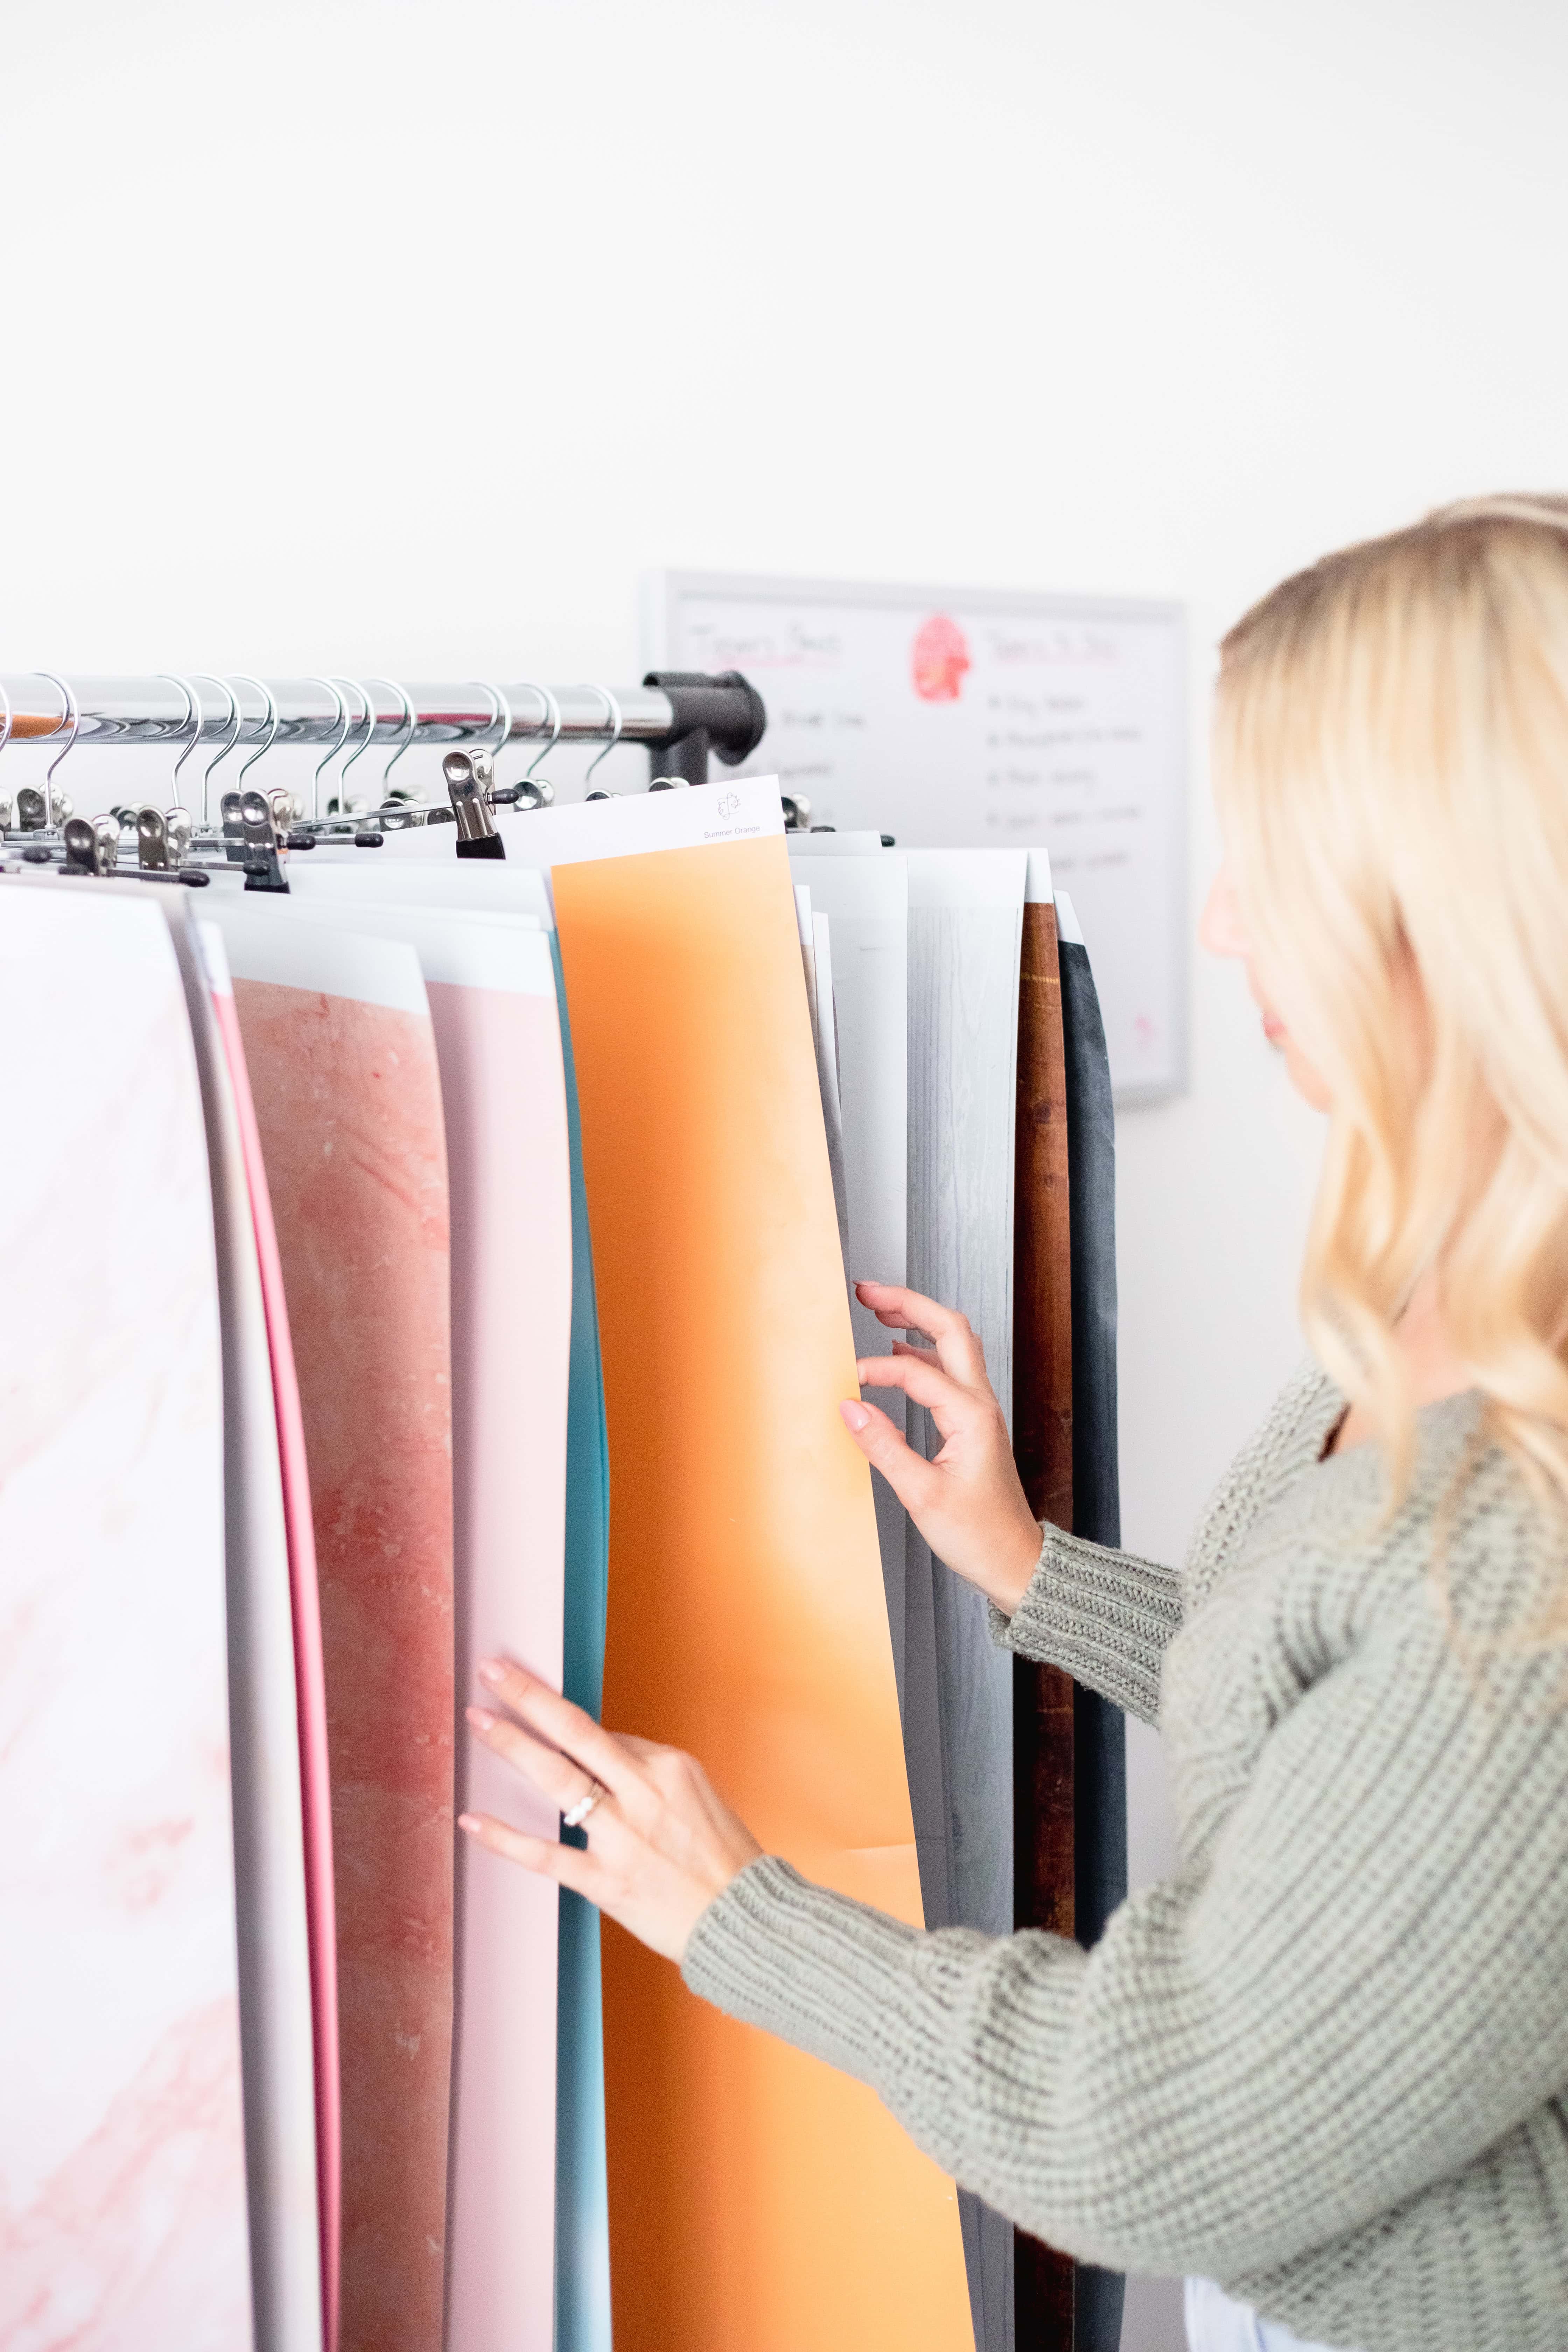
Backdrops
Confession time… I have an uncontrollable backdrop obsession; it just keeps getting bigger! A good-quality backdrop will make a world of difference to your food photography and is an affordable way to make your work instantly looks more professional. There are lots of backdrop businesses out there, but these are my top three favourites that I can personally vouch for:
Club Backdrops – these vinyl backdrops come in a tube and can be rolled out onto a surface. Club Backdrops offer a huge collection of designs to choose from at a great price. They’re easy to store and switch out to create a different scene and can be wiped clean.
Capture by Lucy – these vinyl backdrops come in a tube and can be rolled out onto a surface. Capture by Lucy backdrops are printed at such a high quality and are full of texture and realism. They range in price from mini-sized to standard A1 size, and can be wiped clean.
Woodville Workshop – these backdrops are a little different as they are hand painted onto a wooden board, so expect imperfections, lumps, bumps and grooves. They are a little on the expensive side but oh so beautiful! The boards come double-sided, so you choose two different designs when placing your order.
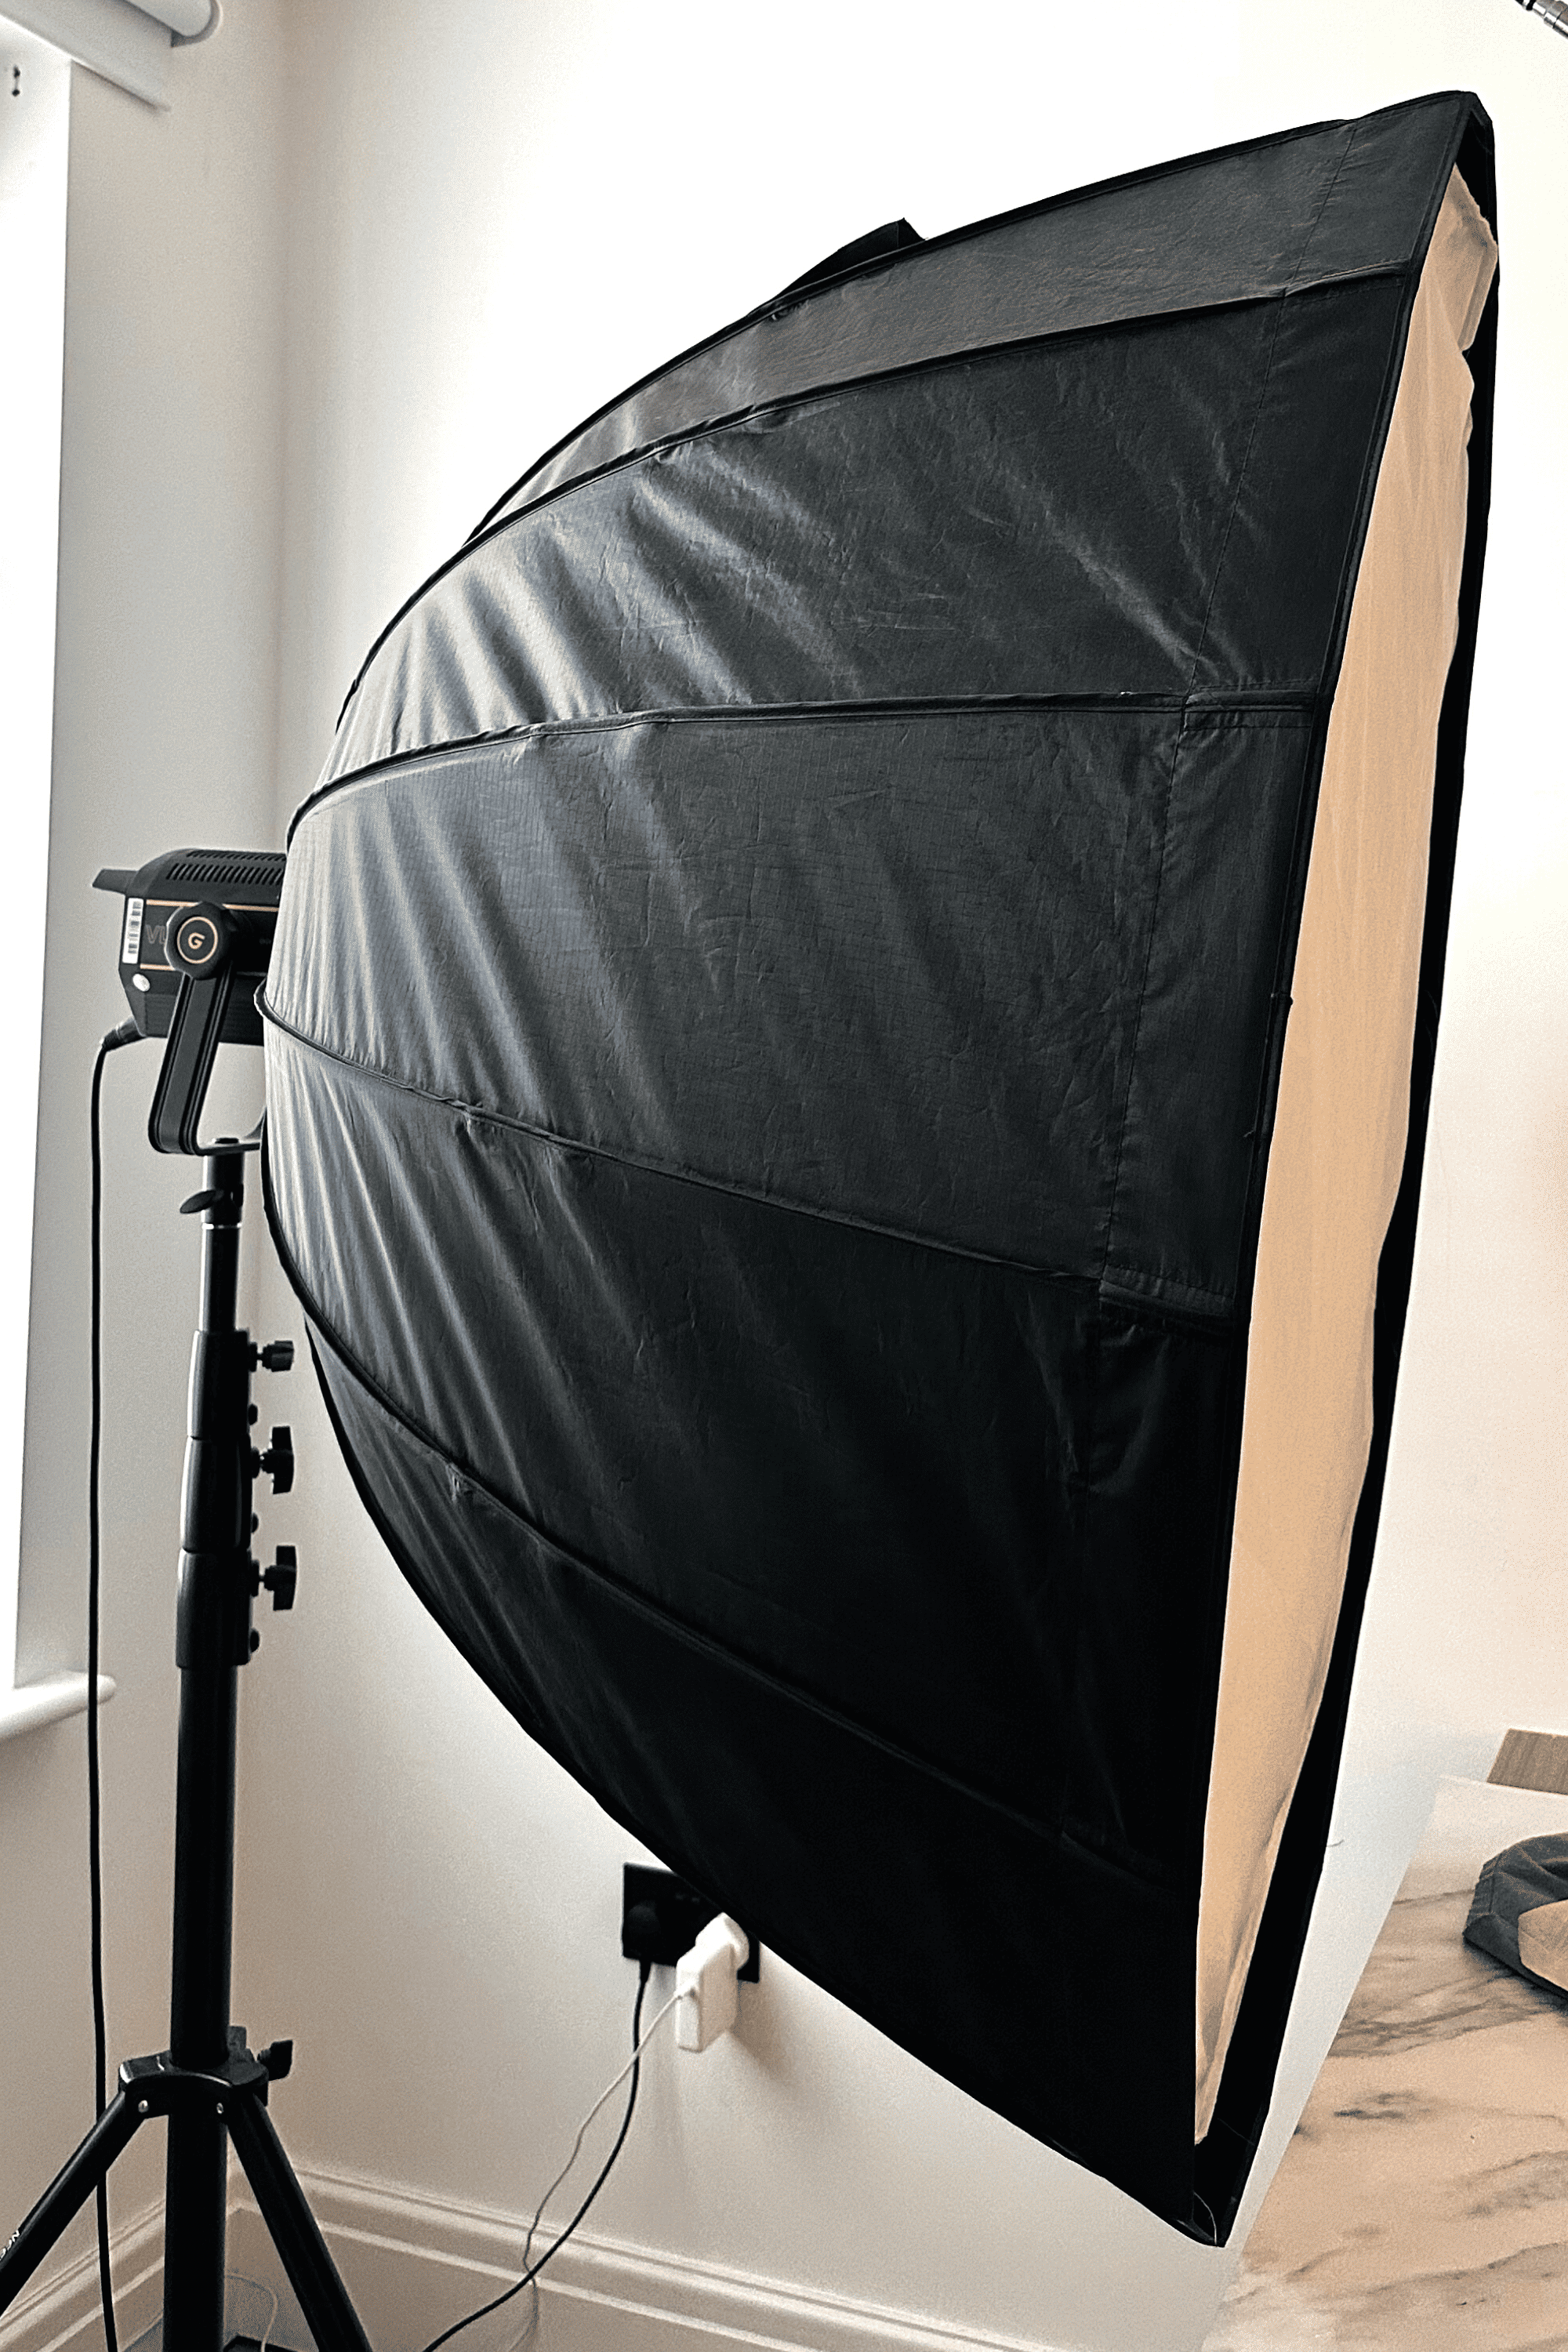
Artificial lighting
I’ll start this section by saying artificial lighting isn’t essential for food photography or videography; you can shoot in natural daylight next to a big window and still get stunning results. I decided to switch to artificial light to give me more flexibility for ‘when’ I could shoot. If you live in the UK, you’ll know that in autumn and winter, the daylight doesn’t stick around for too long, which means the window of time for shooting is very short.
So… that’s when artificial lighting can help! I’m lucky enough to have my own studio space, so my lighting equipment stays up all the time. I just roll down the blind and shoot at any hour of the day, using the artificial light as the window source. Artificial light also gives you complete control over the brightness and brings consistency to the lighting in your photographs and videos.
Here is the artificial lighting equipment in my kit:
Godox 5600K LED Continuous Light with Bowens Mount – 5600K mimics the temperature of natural daylight, meaning the light won’t add blue or yellow tones to your photographs. This light is a ‘continuous light’, meaning you press the ON button, and the light will remain on. The alternative is a ‘flash light’, which is off until your camera triggers it to flash and take a picture. The reason I chose to purchase a ‘continuous light’ is because at least 50% of my work is video content, which requires the light to be on all the time.
For artificial lighting you will need a few extra pieces of equipment:
- Neewer Heavy Duty Light Stand – this is sort of like a tripod but for the light to sit on top of.
- Neewer 48 inches Softbox with Bowens Mount – I could write a whole blog post just on softboxes, but all I’ll say for now is that for food photography a big hexagonal softbox like this one works perfectly and will give you a similar look to if you were shooting next to a large window.
- Curtains/blackout blinds/shutters – if you’re using artificial light, you’ll want this to be the only light source hitting your food subject. So turn off any other lights in the room and close the curtains/blinds/shutters to block out the natural light.
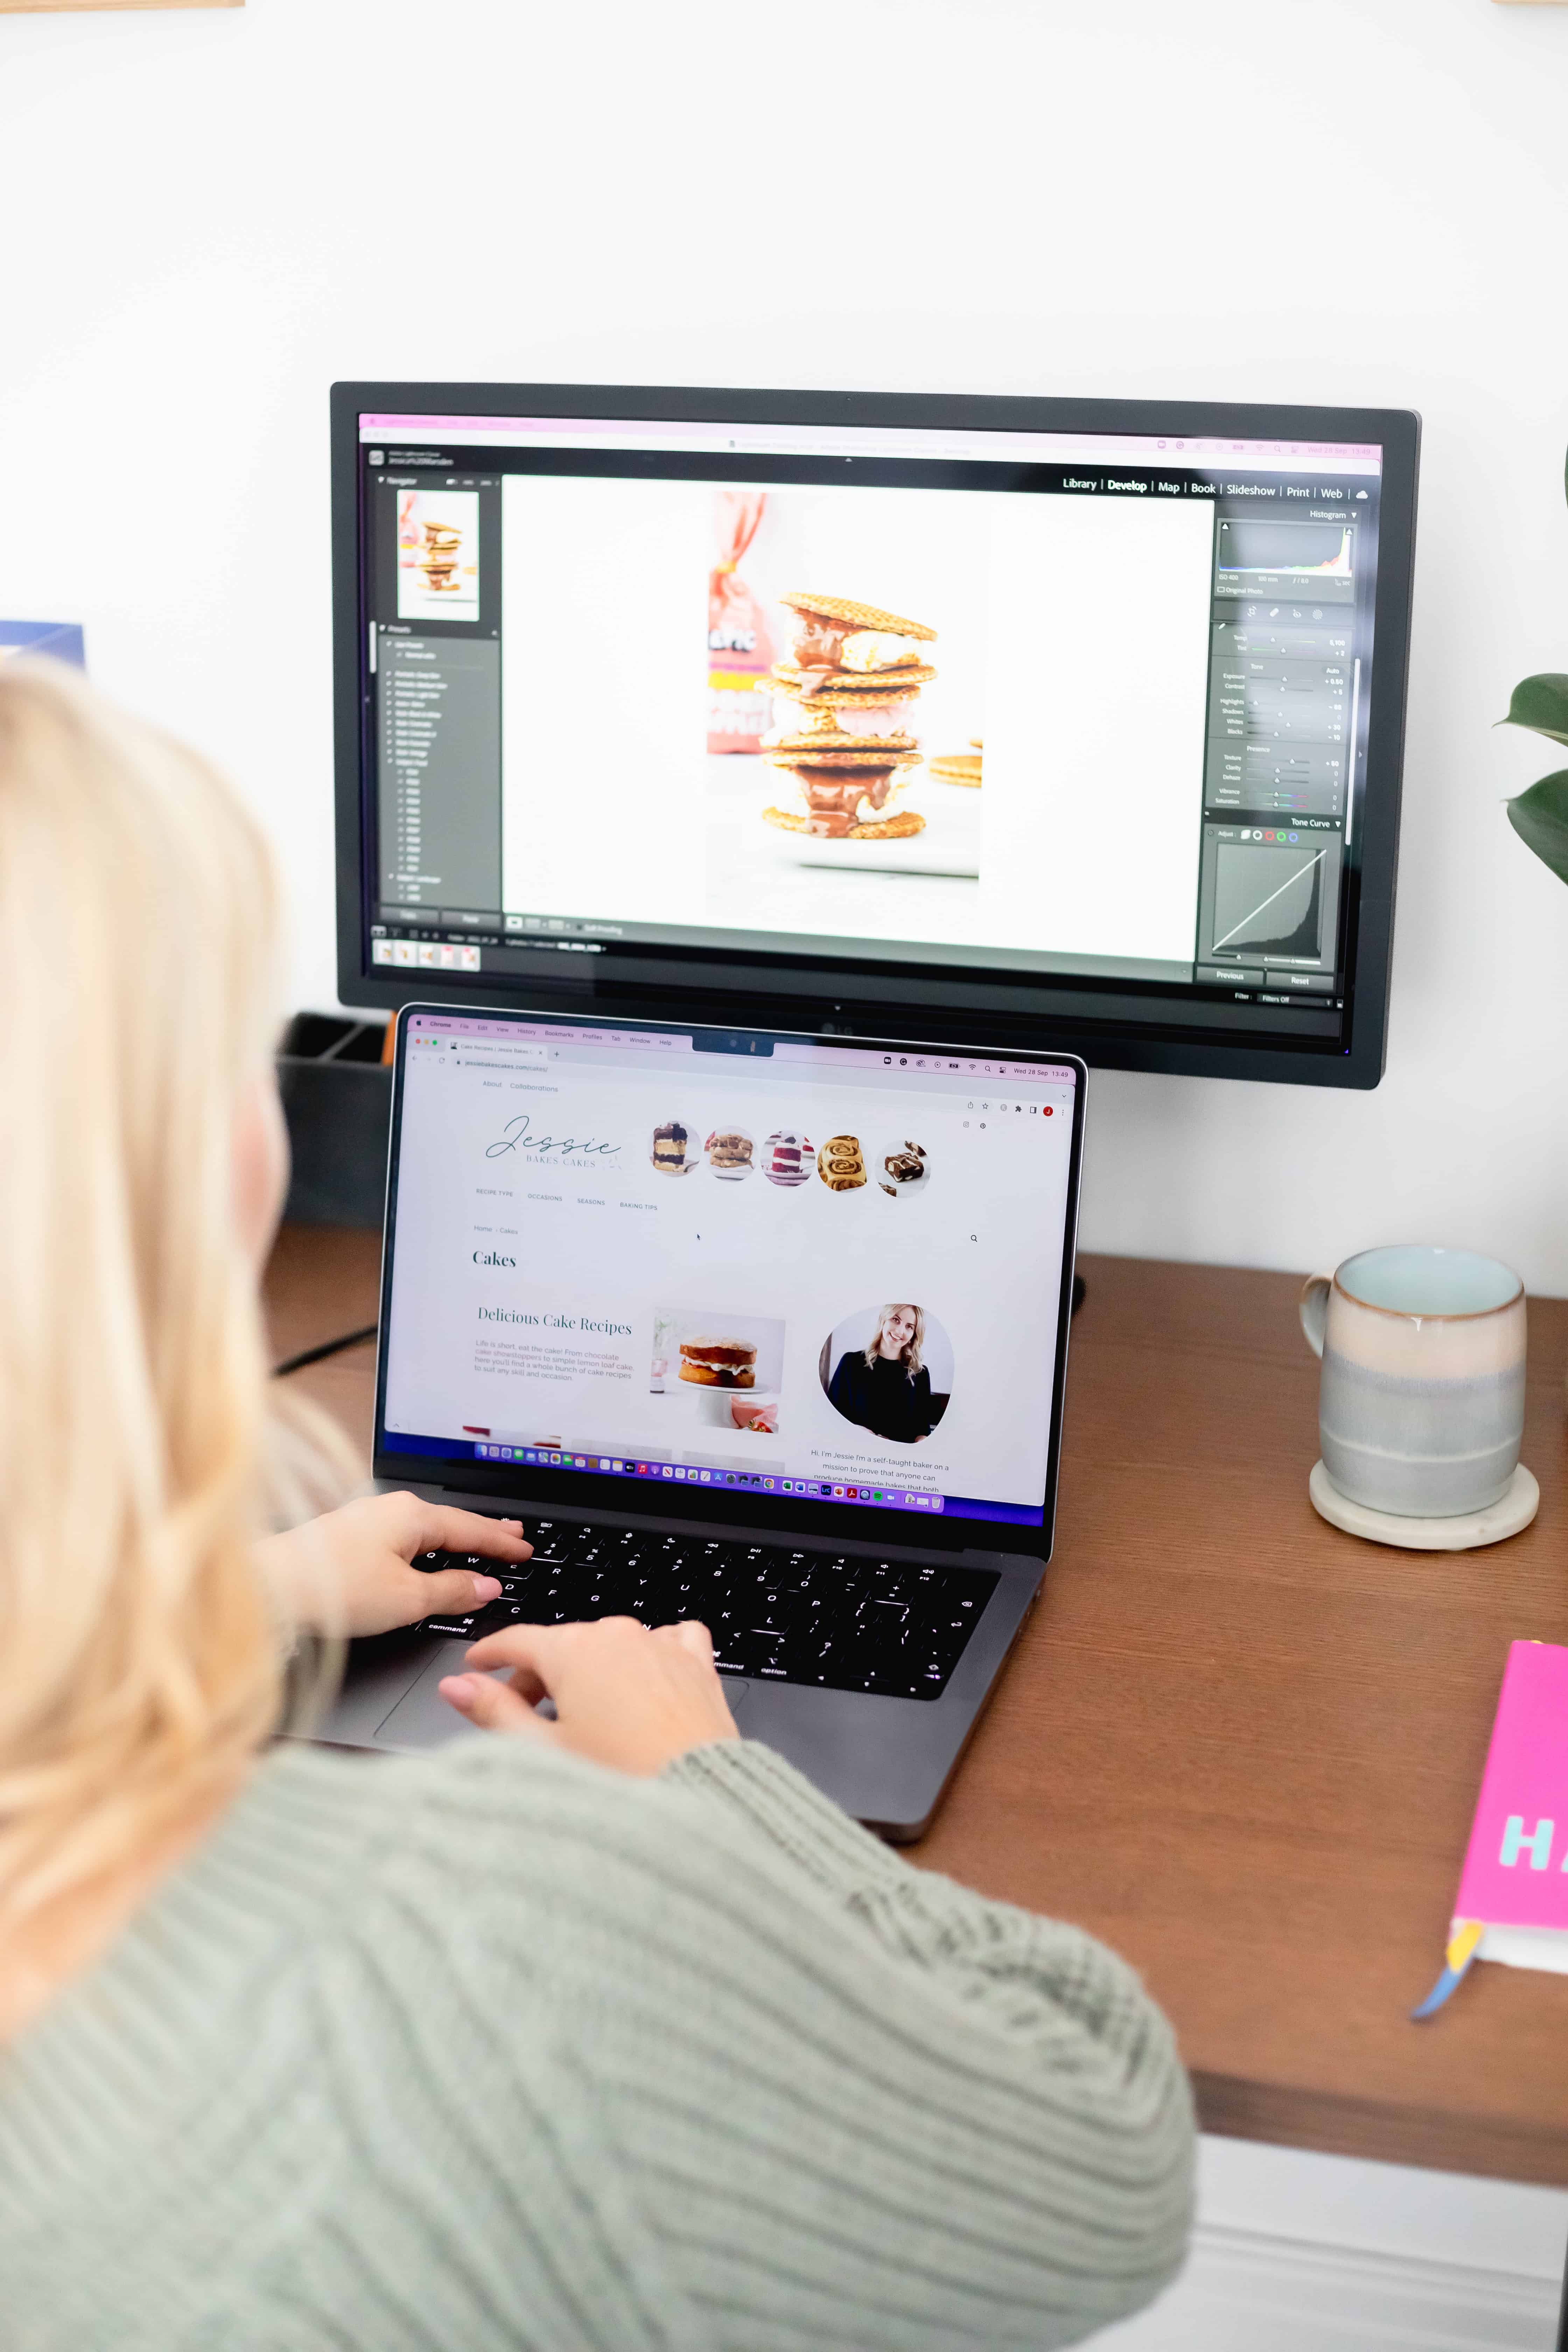
Editing software
Just a little word on editing software as it’s such an important part of the process, here’s a quick run-through of the tools I use:
- For editing photographs: I use Adobe Lightroom Classic.
- For editing videos: I use an App called Splice, which I pay a monthly subscription for. However, the free version is pretty good if you want to have a play first.
Memory cards, battery packs and hard drives
One last thing… if you’re shooting lots of content regularly, a high-storage memory card for your camera, an extra battery pack that you can have charging on reserve while you’re using your camera, and a hard drive to transfer files over to free up space, are well worth a purchase!

Got a question or want to chat? Drop a comment below and I’ll get back to you asap!