Cream Cheese Frosting
By Jessie
Updated: July 7, 2025
Rate This Recipe
By: Jessie
Updated: July 7, 2025
Rate This Recipe:
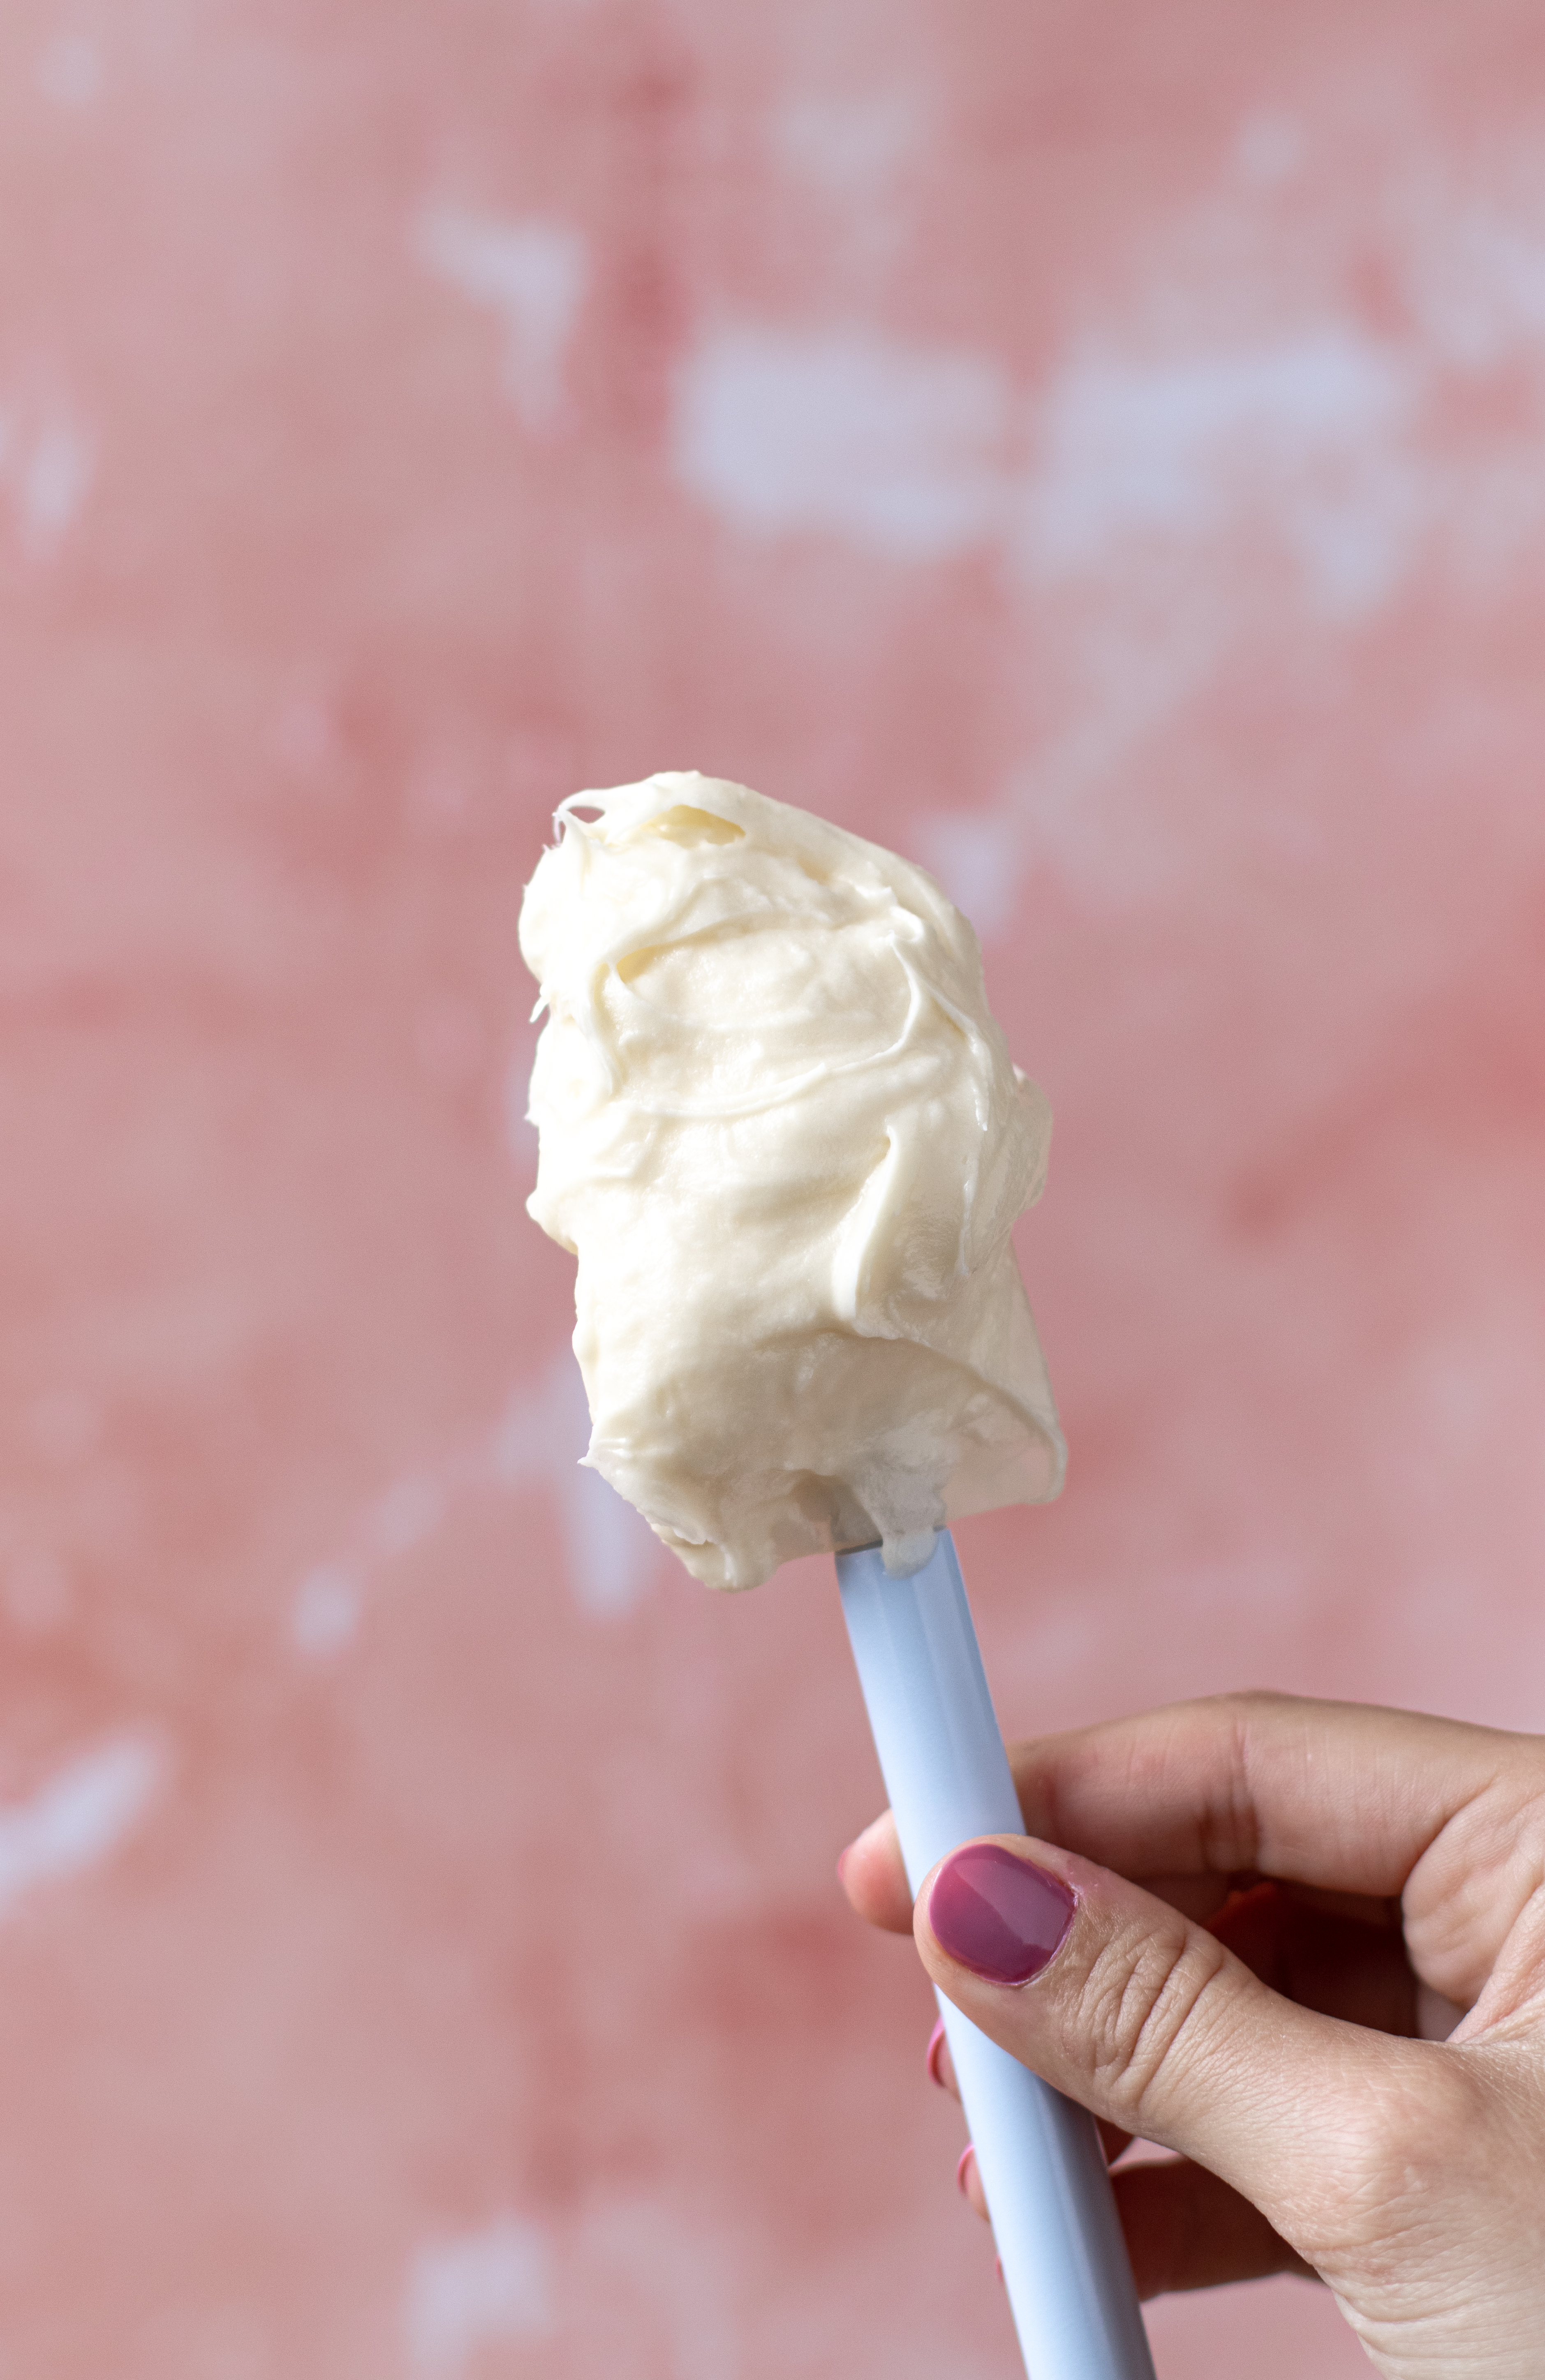
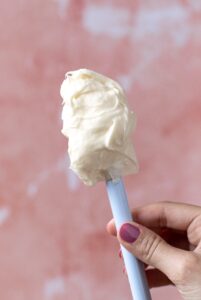
This Cream Cheese Frosting recipe is thick, creamy and silky smooth. It's ideal for coating cakes, piping on top of cupcakes or spreading on top of brownies!

This post contains links to affiliate websites, such as Amazon, and we receive an affiliate commission for any purchases made by you using these links. We appreciate your support!
Problems making cream cheese frosting? Does it always turn into a lumpy, runny disaster? Trust me, I’ve been there! Finding a UK recipe that actually works can be tricky, but believe me when I say that this Cream Cheese Frosting recipe will not let you down. It’s thick, creamy and fool-proof. Ideal for coating cakes, piping on cupcakes or spreading over brownies!
5 Tips for Making Cream Cheese Frosting
- Use Full-fat Philadephia Cream Cheese.
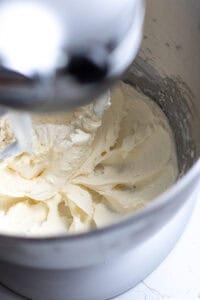
In the U.K our cream cheese is more like a spread and has quite a thin consistency. I’ve also found that low-fat versions or any other brand of cream cheese isn’t thick enough and results in a runny frosting. That’s why I’d always recommend using full-fat Philadephia for a thicker cream cheese frosting. - Beat the butter really well first.
This will break down any lumps and make sure the frosting is completely smooth. You also want to beat the butter until it is really pale so that the frosting comes out a lovely bright white colour. - Sieve the icing sugar.
Making sure the icing sugar is really fine in texture will keep the frosting smooth and lump-free. - Use cold cream cheese.
This is THE most important tip. You want the cream cheese to be as thick as possible, if it’s kept at room temperature it will start to loosen and become soft. Therefore only take the cream cheese out of the fridge when you’re ready to use it in the recipe. - Fold the cream cheese into the mixture
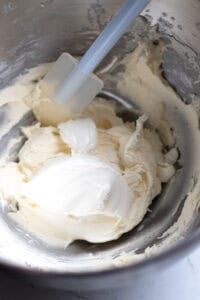
Very gently fold the cream cheese into the mixture until it has JUST combined. Be really careful not to over-mix as the frosting can very easily turn to liquid.
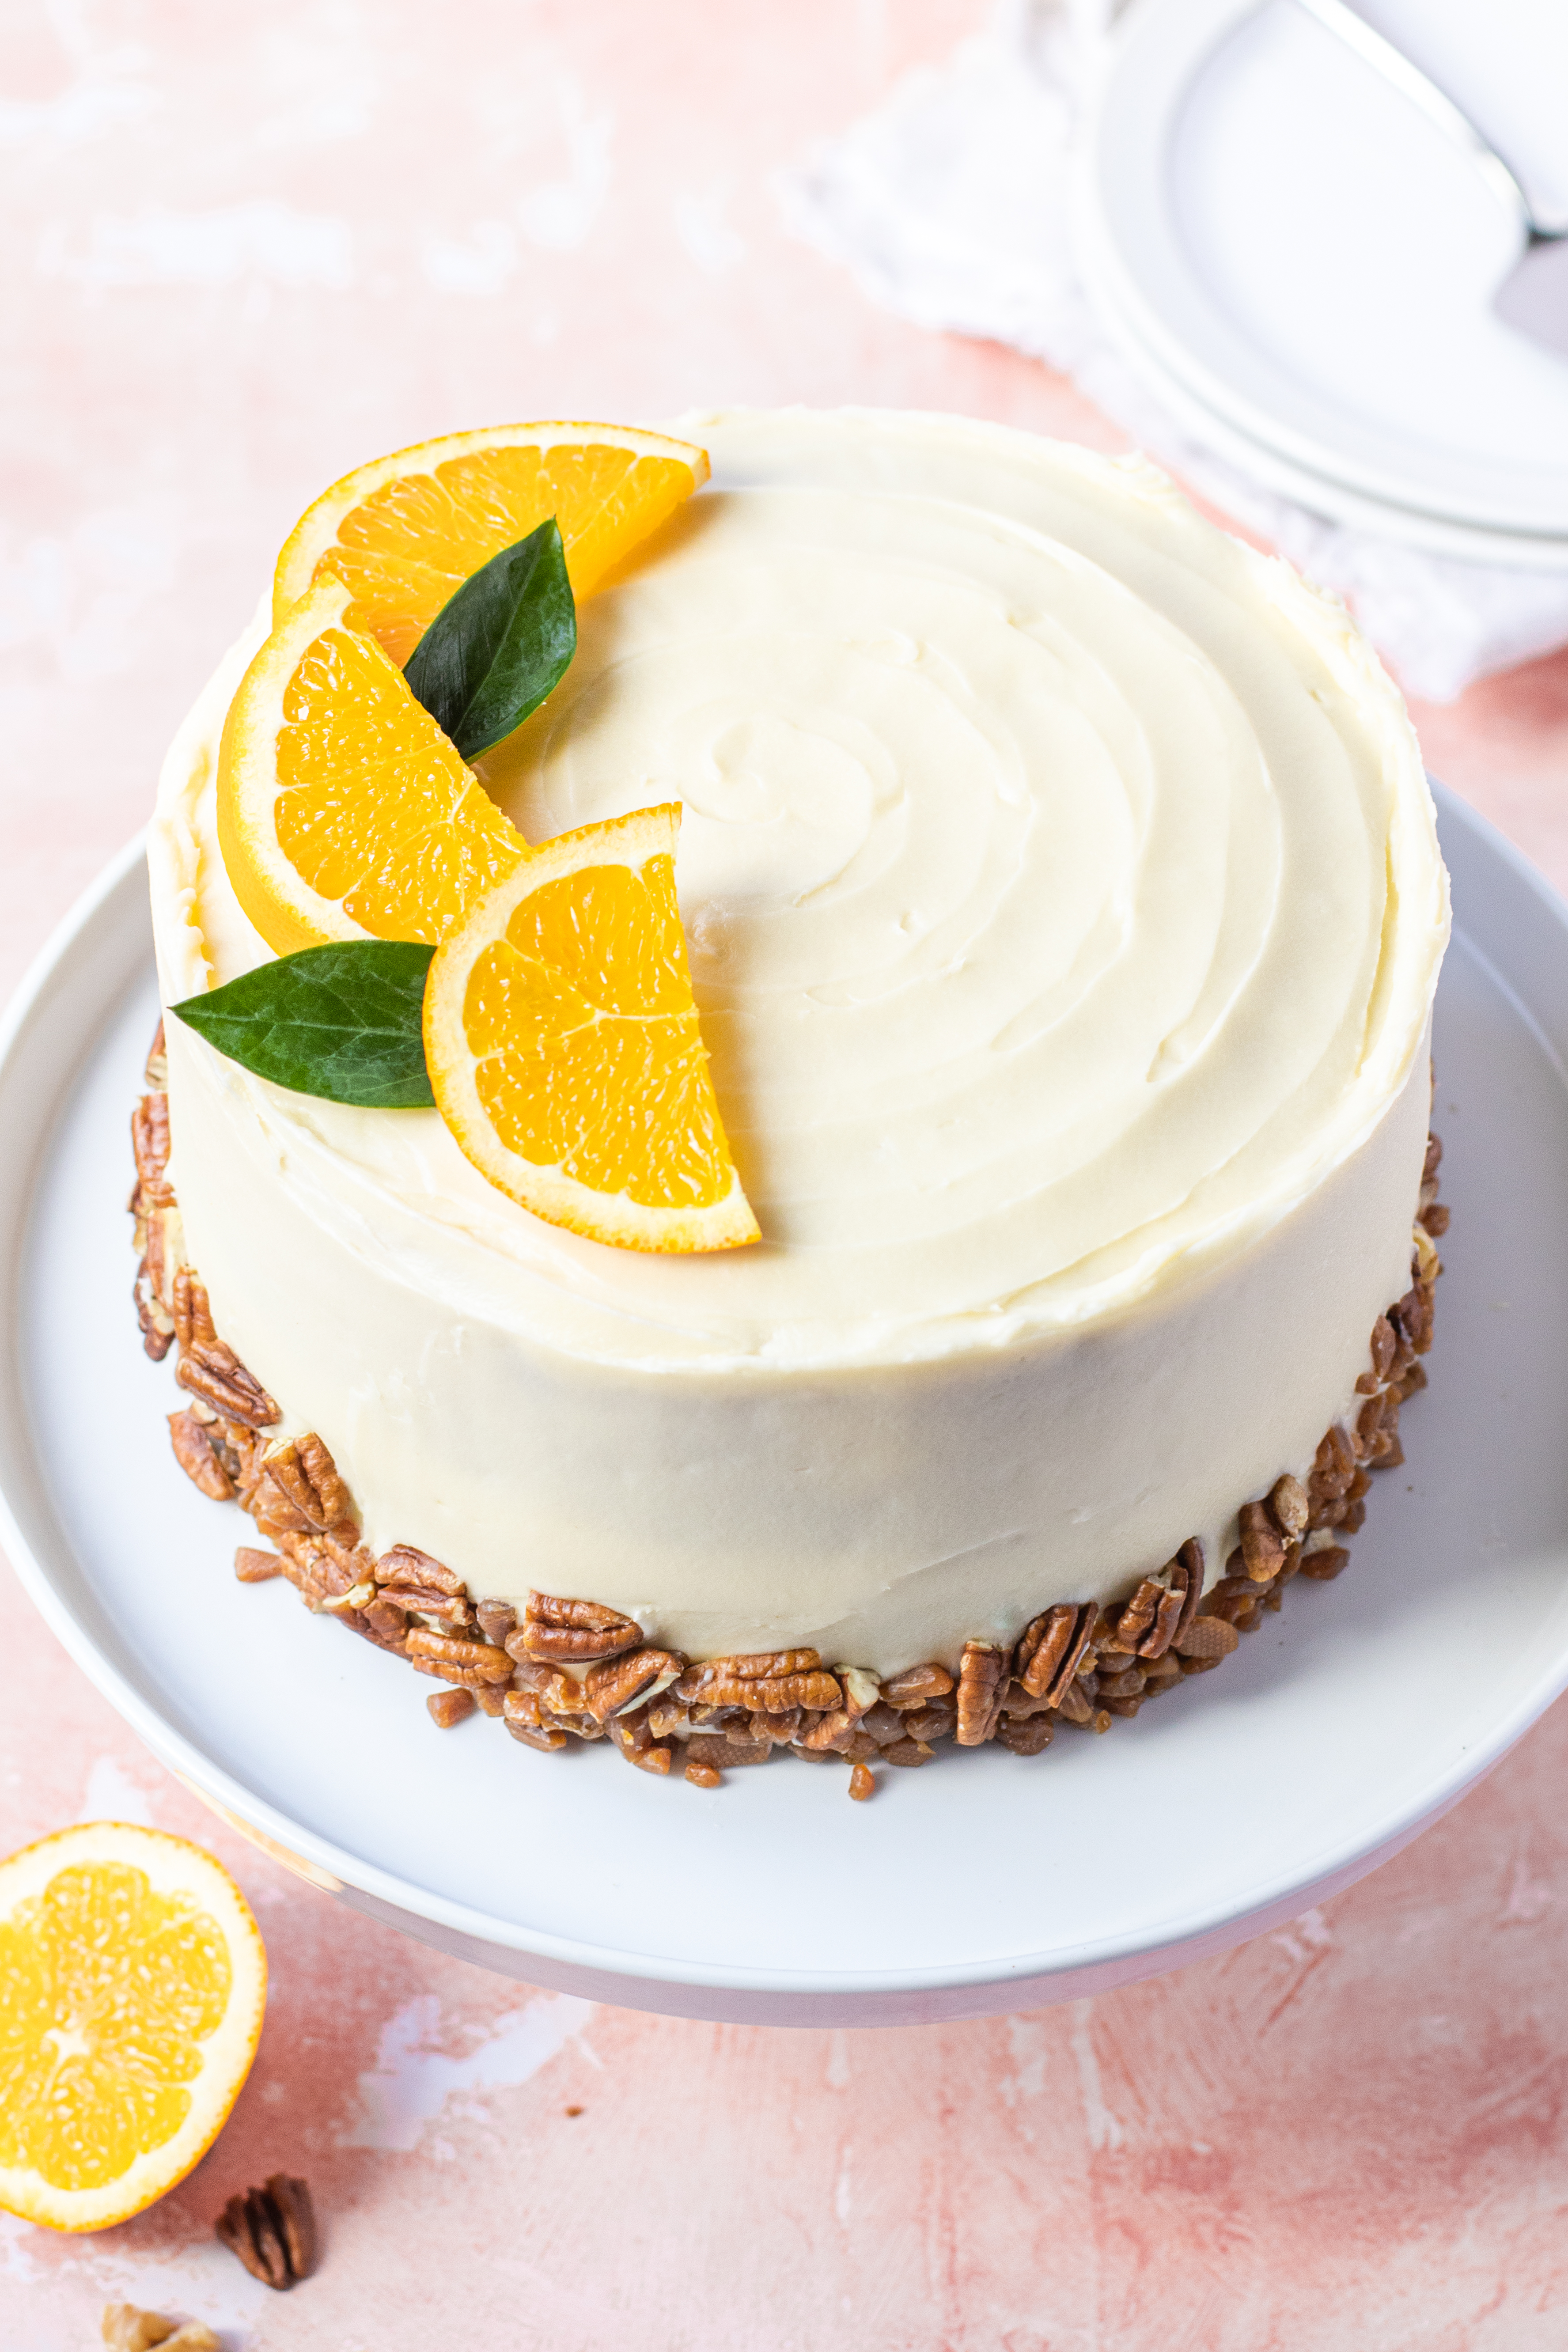
Delicious Ways To Use Cream Cheese Frosting
There are plenty of ways you can use cream cheese frosting, it’s super versatile and pairs particularly well with carrot cake, coffee cake and cinnamon rolls. Here’s some recipe inspiration:
Cream cheese frosting (UK fool-proof recipe)
This Cream Cheese Frosting recipe is thick, creamy and silky smooth. It's ideal for coating cakes, piping on top of cupcakes or spreading on top of brownies!
Rate this Recipe
Print Pin Rate this RecipeIngredients
- 250 g unsalted butter room temperature
- 500 g icing sugar
- Pinch of salt
- 250 g Full-fat Philadelphia Cream Cheese use cold from the fridge
Instructions
- Cut the unsalted butter into chunks and put it in a large mixing bowl. Beat with an electric whisk or stand mixer fitted with a paddle attachment on a medium-high speed for 1-2 minutes until super soft, fluffy and pale in colour.

- Sift half of the icing sugar into the bowl. Use a wooden spoon or spatula to gently mix the butter and icing sugar together first for 30 seconds (this will help stop the icing sugar from going everywhere when using the electric mixer). Now turn the electric mixer on a medium-high speed and beat together until smooth and fluffy.
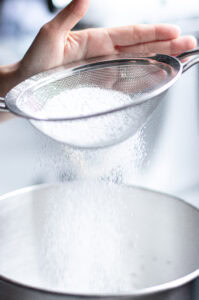
- Sift the remaining icing sugar into the bowl and add the salt. Repeat the same step as above, using a wooden spoon or spatular to first mix the butter and icing sugar together, then the electric mixer to beat together until you have a smooth mixture.
- Take the cream cheese out of the fridge and add it to the bowl. Gently fold the cream cheese into the mixture until smooth and just combined. Be careful not to over-mix at this stage.
- Use straightaway to decorate your bakes or cover with clingfilm and store the cream cheese frosting in the fridge for 1-2 days.
Can this cream cheese be piped?
Yes it can! It’s thick enough to hold it’s shape when piped 🙂
what’s the ingredients in oz, thanks!
Hi can you use margarine instead of butter ? Also can you use drinking chocolate instead of cocoa powder?
Hello, stick to using a block of butter for a thick frosting. And you could use drinking chocolate however the flavour won’t be as intense.
This is very sweet can I increase the ratio of cream cheese?
Yes of course, feel free to adjust to suit your preference 🙂
OH MY GOODNESS! For years I have fought with cream cheese textures from American recipes to a point I stopped making them and bought instead. Thank you soooo much for sharing this technique that ACTUALLY WORKS! Your amazing 🤩.
THIS review right here is why I do what I do 🤗 Knowing you’ve found this technique and that it worked for you has made my day Jackie. Thank you for sharing and for the 5 stars.
Years and years ago, I used to attempt cream cheese frosting and it was a failure after failure – a thin, soupy, sloppy mess! Plus, cream cheese is not cheap and the expense would make me so disappointed! I knew that had to be a way to make it work, and so after many rounds of testing, I landed on this technique and it has never failed me since. Ta-dah!
Hi Jessie, I want to make a cream cheese frosting with added cocoa powder. Do you think it’ll work? Can you advice what ratio of cocoa powder to use?
Hi Lynn, that’s a lovely idea and sounds so yummy. I’d start with 2 tablespoons and sift it into the mixture at the same time that you add the icing sugar.
i just have to say, this is the best cream cheese frosting recipe i have ever tried!!! the consistency is absolutely perfect, not runny or lumpy which has always happened to me before. i have conquered my baking nemesis, thank you!
Hi Nia! LOVE this review so much. Cream cheese frosting used to be my nemesis too until I tried this technique. So happy it worked for you as well!
Didn’t try yet but looks good! Can I use it to cover my layer cake? (Like ganache?) Thx
Yes you can 🙂 The recipe makes enough to fill and coat a 2-layer 8-inch cake.
Thank you🤍
First time ever I’ve successfully made cream cheese frosting. Thick and delicious! Thanks so much, SO many failed US recipes previously including last week when the icing was so runny the cake collapsed! I will now be wowing everyone with my superior carrot cakes. X
Yes Emily!!! So pleased you found my recipe and that it worked for you 🙂
Hi I just wanted to check – is this using the philadelphia that comes in a tub in the UK? (as opposed to the philadelphia brick cream cheese which has a higher fat content and is used in most icing recipes)
Hi Kate, yes it is! This method will give you a thick cream cheese frosting, even when using the tub’s that we have here in the UK. Just make sure you use full-fat phili
I found a great hack that has helped no ends when it comes to making the frosting (UK) UK Cream cheese is far softer and harder to keep to the right consistency when mixing due to the water content than cream cheese in other countries. I learnt that if you empty you cream cheese on a plate in-between layers of kitchen towel and place in fridge for a few hours and keep changing the kitchen towel during this time. When you come to use the CC it will be more solid and it will hold up better when mixing into the other ingredients. It’s amazing how much excess liquid you will remove. Just remember removing the liquid will reduce the weight of the CC so this needs to be taken into account when weighing out your ingredients.
Hope this helps☺️
Janet this is genius and perfectly describes why cream cheese frosting in the UK can be super challenging to get right! Thank you for sharing, I’m definitely going to give this a go 🙂
Best tip ever!!!!
I made this and it came out lumpy 🙁
Any ideas?
The butter was soft 🙁
Thanks
Hi Maria,
Did you use an electric hand mixer? Sometimes this can happen because the cream cheese is cold and if it’s not whisked into the mixture quickly enough, it will start to chill the butter and cause it to harden, which creates little lumps.
Hi, I used hand mixer and then again with a stand mixer 🙁
Was the cream cheese too cold? Thanks
Use a blender until smooth and should sort it out to the right consistency
Hi Jessie!
I’m Virginia from Spain.
Some time ago I made a Japanese cheese cake using Philadelphia cream cheese and it tasted too salty so, I’m afraid of using it for my cream cheese frosting. Isn’t going to taste salty too? Here all kind of Philadelphia cream cheeses have salt (1,1gr/100gr), I don’t know there in UK. It’s a doubt I have for a long time.
By the way, I love all your recipes, they look delicious. Thanks for sharing!
Hey Virginia! This is so fascinating, thank you for sharing! I always love comparing ingredients across the globe. In the UK our Philadelphia cream cheese has 0.75g/100grams, which is about a third less! Here’s what I would suggest…
My recipe adds an extra pinch of salt, but if you were making it, I would leave that extra pinch out altogether. You could also try adding a teaspoon of vanilla extract (at the same time as adding the icing sugar) which will sweeten the frosting up and balance out the saltiness.
Hope that helps and let me know how you get on 😊
Girrrrrrl! I never leave comments on these things. But listen…my cream cheese icing has been running a whole marathon since forever. I always end up with a great flavor that literally just slides right out of the piping bag. I live in a hot climate, so I thought that contributed. But honey! This method is truly foolproof. Thick, luscious frosting that makes you want to slap its cheeks. Thank you!
This comment is EVERYTHING 😅 it’s made my day! This technique has literally never failed me and I’m so happy to hear it worked just as perfectly for you too.
Hi, I followed the recipe but soon after I put the cream cheese in it turned clumpy, is there any way to fix this or prevent it for next time? I was also trying to make this by hand using a spatula so I may not have beat the butter enough if that helps
Hi Maya, an electric mixer/hand-held whisk is the way to go with this recipe. It will help knock out any lumps and give you a smooth frosting.
can i use soft cheese (search ”creamfields soft cheese”) instead of cream cheese?
I would stick to using Philadelphia original cream cheese as it’s a bit thicker and contains less water. Hope that helps!
This looks great, please can you let me know whether I should double the recipe to fill a 3 layer 8inch cake (cover the top and the sides as well) ? Also, if I would like this to be a chocolate version, shall I add some cocoa powder and reduce the powder sugar? Thank you x
I would double it to be safe, but you will likely have some leftover than you can freeze 🙂 Yes that’s right, just swap out 50g or so of the icing sugar for cocoa powder. Enjoy! x
I usually make (impossible to pipe!) orange cream cheese icing, with orange zest. Would this still work with that added? Thanks! X
Hi, can you freeze the icing?
Yes you can! I just spoon it onto a big sheet of greaseproof paper and then spread it out into a thick layer. Then wrap it up like a parcel and then wrap again in clingfilm 😊 Or you can spoon it into a tupperware and seal it with a lid. It will keep for 3 months in the freezer!
You saved me, third try on buttercream frosting for a party tomorrow? Thank you
Ahhh Jessica, I’m so happy to hear this!!! Cream cheese frosting can be so tricky sometimes, I’ve found this method works for me everytime so I’m really pleased to hear it saved you 😀
Good morning, Great recipe! Thank you! Do you think it would be okay inside a fondant covered carrot cake , so therefore be left out at room temp for about 4 days?
Hi Amanda, thanks so much! So before the cream cheese frosting contains cream cheese, it would probably be fine to store in a cool place for one day. However, anything past that, the cake would need to be kept in the fridge. Hope that helps!
Heyy, is this frosting really sweet? Looks really nice 😊 thank you for showing your step by step method.
Hi Tina,
The cream cheese helps balance the sweetness and adds a lovely creamy, tangy flavour. If you taste it and feels it’s too sweet for you, feel free to add a pinch of salt and that will balance it out 🙂 Enjoy!
Jessie x
This method was a life saver after a very runny first try using a different recipe!
I’m so pleased to hear this Emily 🙏🏼🥳 enjoy!
If you overbeat the cream cheese it goes runny.