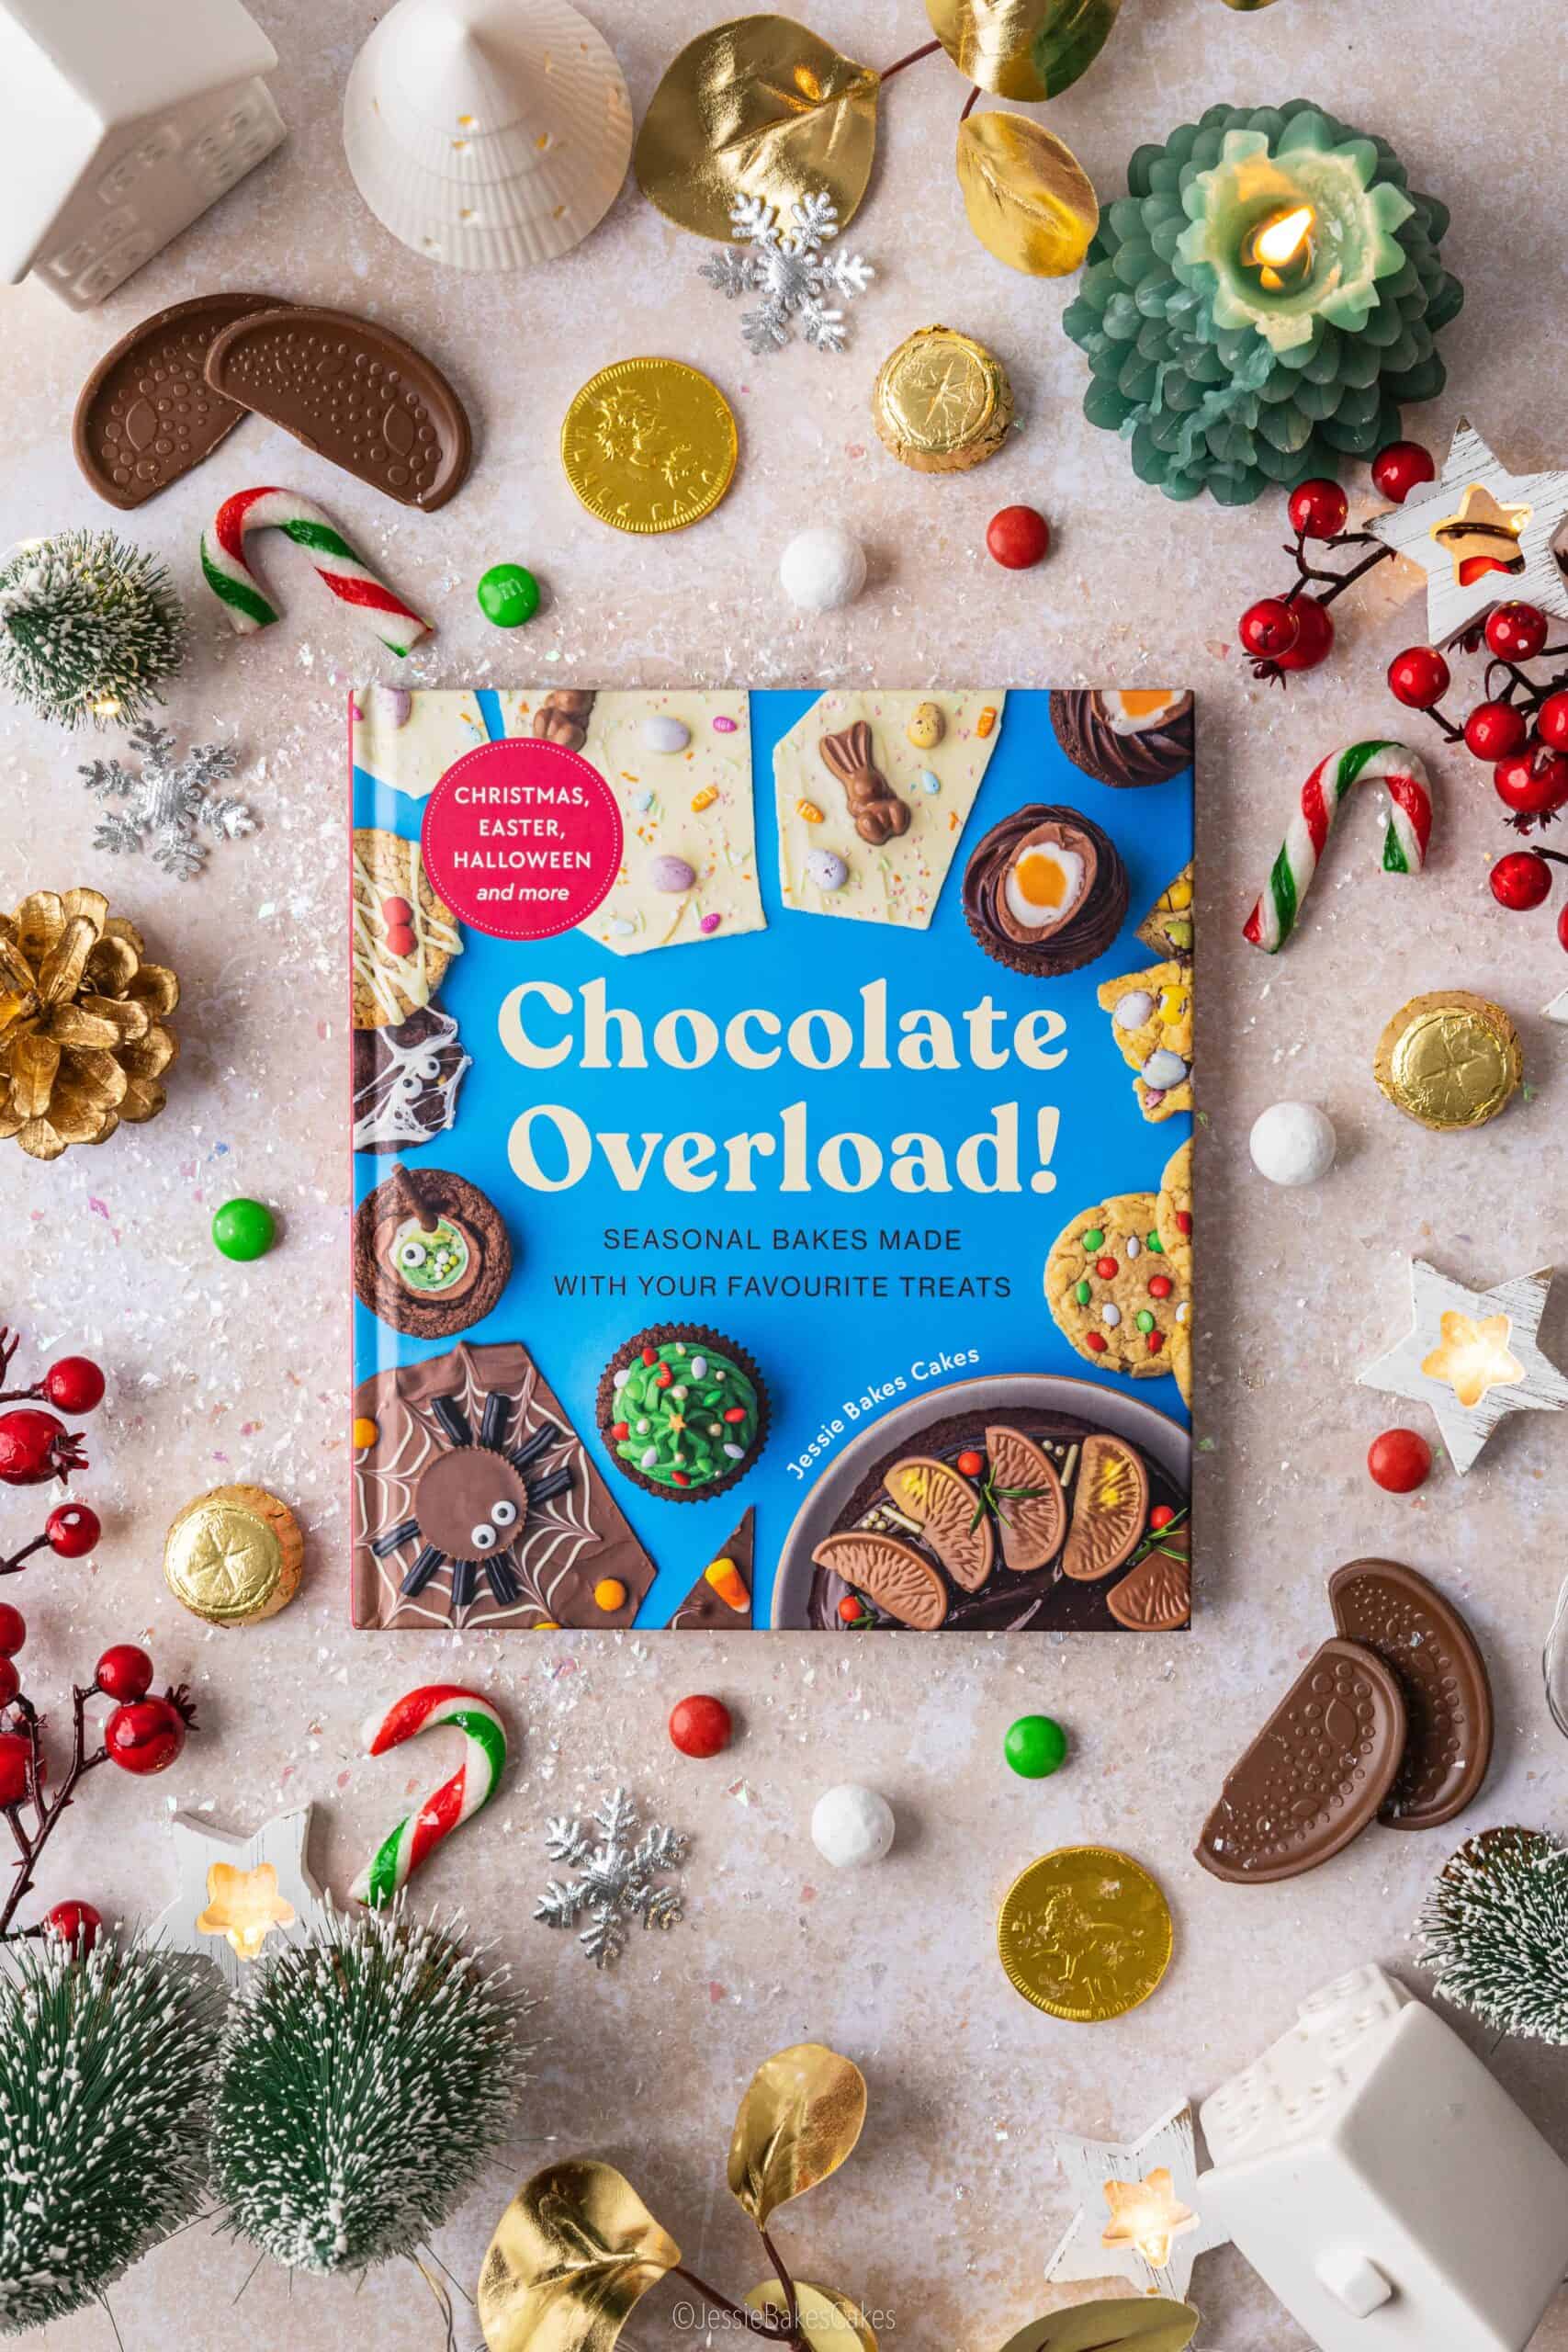
Graveyard Oreo Cheesecakes
By Jessie
Updated: October 26, 2020
Rate This Recipe
By: Jessie
Updated: October 26, 2020
Rate This Recipe:
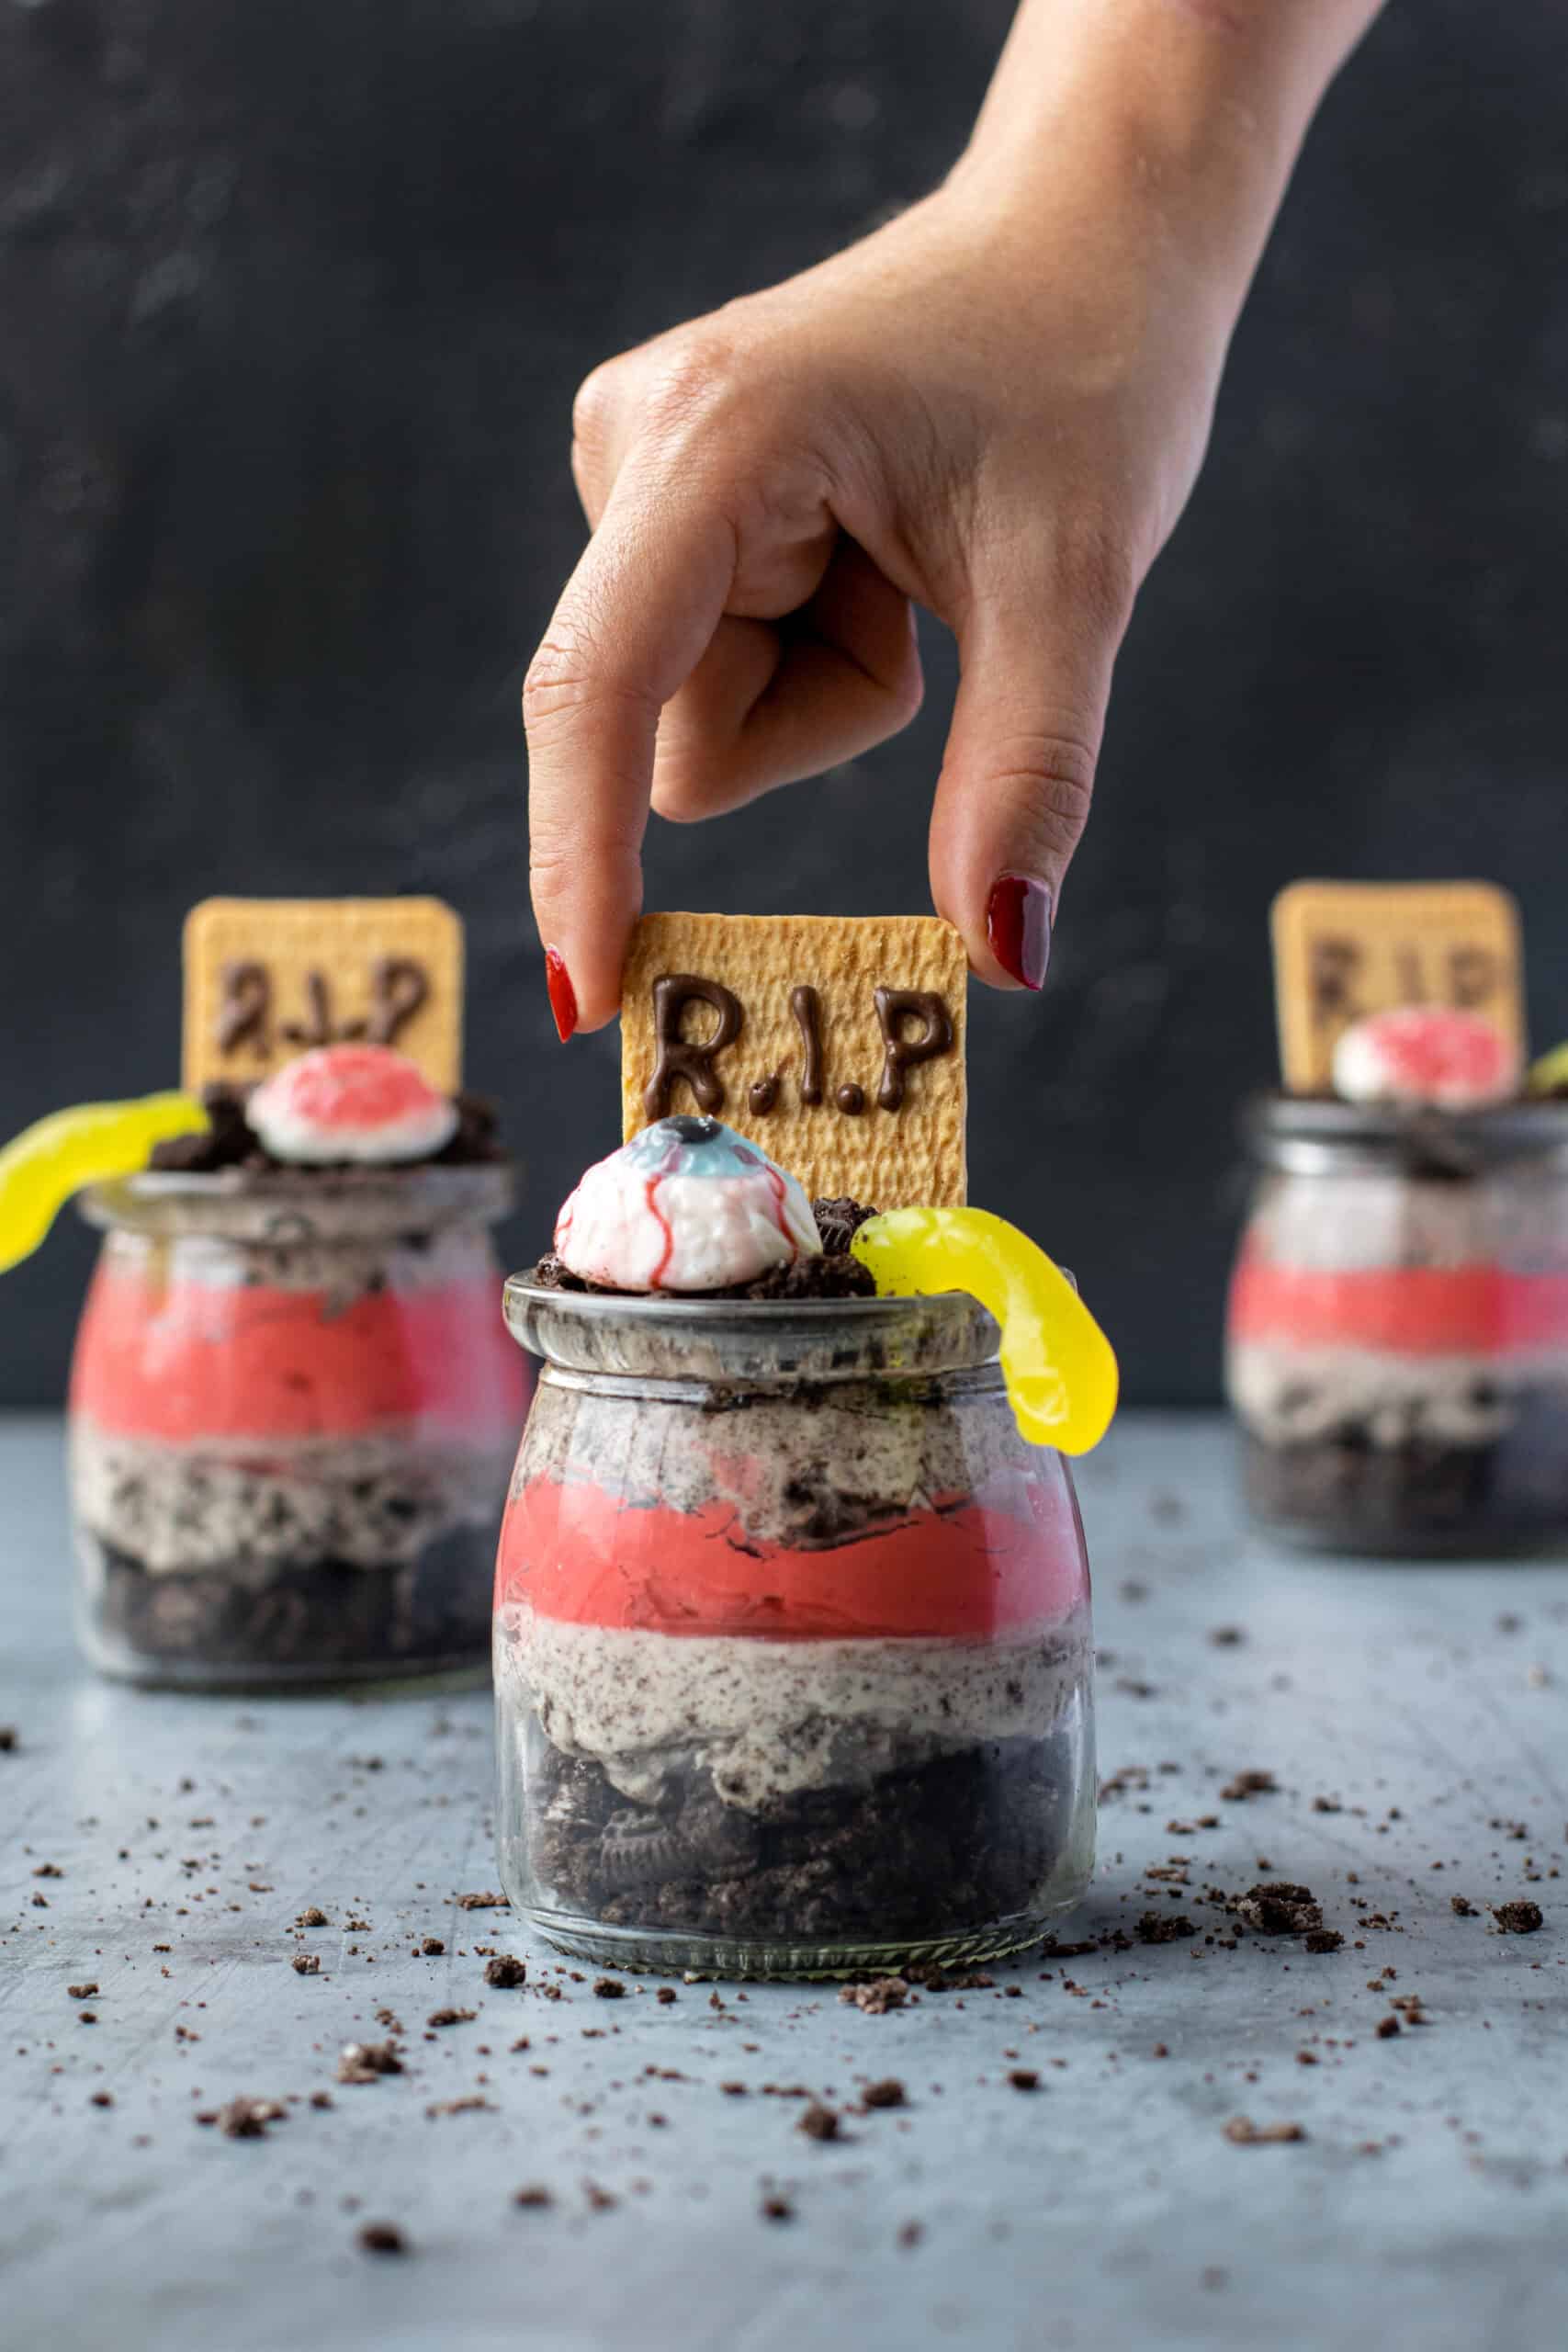
Halloween baking doesn’t get better than these spooktacular Graveyard Oreo Cheesecakes!
Each cheesecake has layers of Oreo ‘soil’, Oreo cheesecake and ‘blood’ cheesecake, and are decorated with a R.I.P biscuit tombstone and creepy Halloween sweeties.

My top tips for making graveyard Oreo cheesecakes
These cheesecakes are actually really easy to make and can be ready in less than 30 minutes! Here are a few tips to make sure your graveyard Oreo cheesecakes turn out perfectly:
Use the correct jar size. For this recipe, I used these 200ml dessert jars which I found on Amazon at a bargain price. The recipe will give you 4 generous-sized individual cheesecakes if you use a similar jar size.
Gel food colouring is a must. To make the red cheesecake mixture bright and saturated in colour, you will want to use gel food colouring not the liquid type. The best gel food colouring brands (in my opinion) are Wilton and AmeriColor.
Use full-fat cream cheese. Full-fat cream cheese = a lovely thick and creamy cheesecake. If you use lighter or low-fat cream cheese the cheesecake texture will be very runny and won’t set properly.

More Halloween recipes you’ll love
Graveyard Oreo Cheesecakes recipe (makes 4)
Ingredients
2 packs Oreos (roughly 300g total)
250g full-fat Philadelphia cream cheese, cold from the fridge
80g icing sugar
1 teaspoon vanilla extract
200ml double cream
Red food colouring gel
Halloween sweets such as jelly snakes, brains, spiders
4 malted milk biscuits
Chocolate writing icing
Method
Start by making the cheesecake layers
- Place the Oreo biscuits in a sandwich bag and bash with a rolling pin until the biscuits turn to fine crumbs. Set aside for later.
- Add the Philadelphia to a large mixing bowl. Sieve in the icing sugar and use an electric mixer to beat the two ingredients together until smooth.
- Add the vanilla extract and double cream and beat for 1-2 minutes until the cheesecake mixture thickens and is smooth.
- Divide the cheesecake mixture between two bowls.
- Dye one bowl red with the food colouring. This is your red cheesecake mixture.
- Pour half of the Oreo crumbs into the other bowl and mix together. This is your Oreo cheesecake mixture.
Now layer the cheesecakes
- Fill the bottom of each jar with 3-4 teaspoons of Oreo crumbs. Save the rest of the Oreo crumbs for later.
- Spoon a heaped teaspoon of Oreo cheesecake mixture into the jar and smooth out into an even layer.
- Divide the red cheesecake mixture evenly between the jars, layering it on top of the Oreo cheesecake.
- Now evenly divide the remaining Oreo cheesecake mixture between the jars.
- Finish by spooning the remaining Oreo crumbs on top.
Time to decorate!
- Use the chocolate writing icing to write R.I.P on the malted milk biscuits.
- Push the biscuits into the cheesecake.
- Decorate the top of the cheesecakes with your Halloween sweeties.
- Serve and enjoy!
Your Graveyard Oreo Cheesecakes will keep in the fridge for up to 2 days.