Blossom Flower Cookies
By Jessie
Updated: July 7, 2025
Rate This Recipe
By: Jessie
Updated: July 7, 2025
Rate This Recipe:

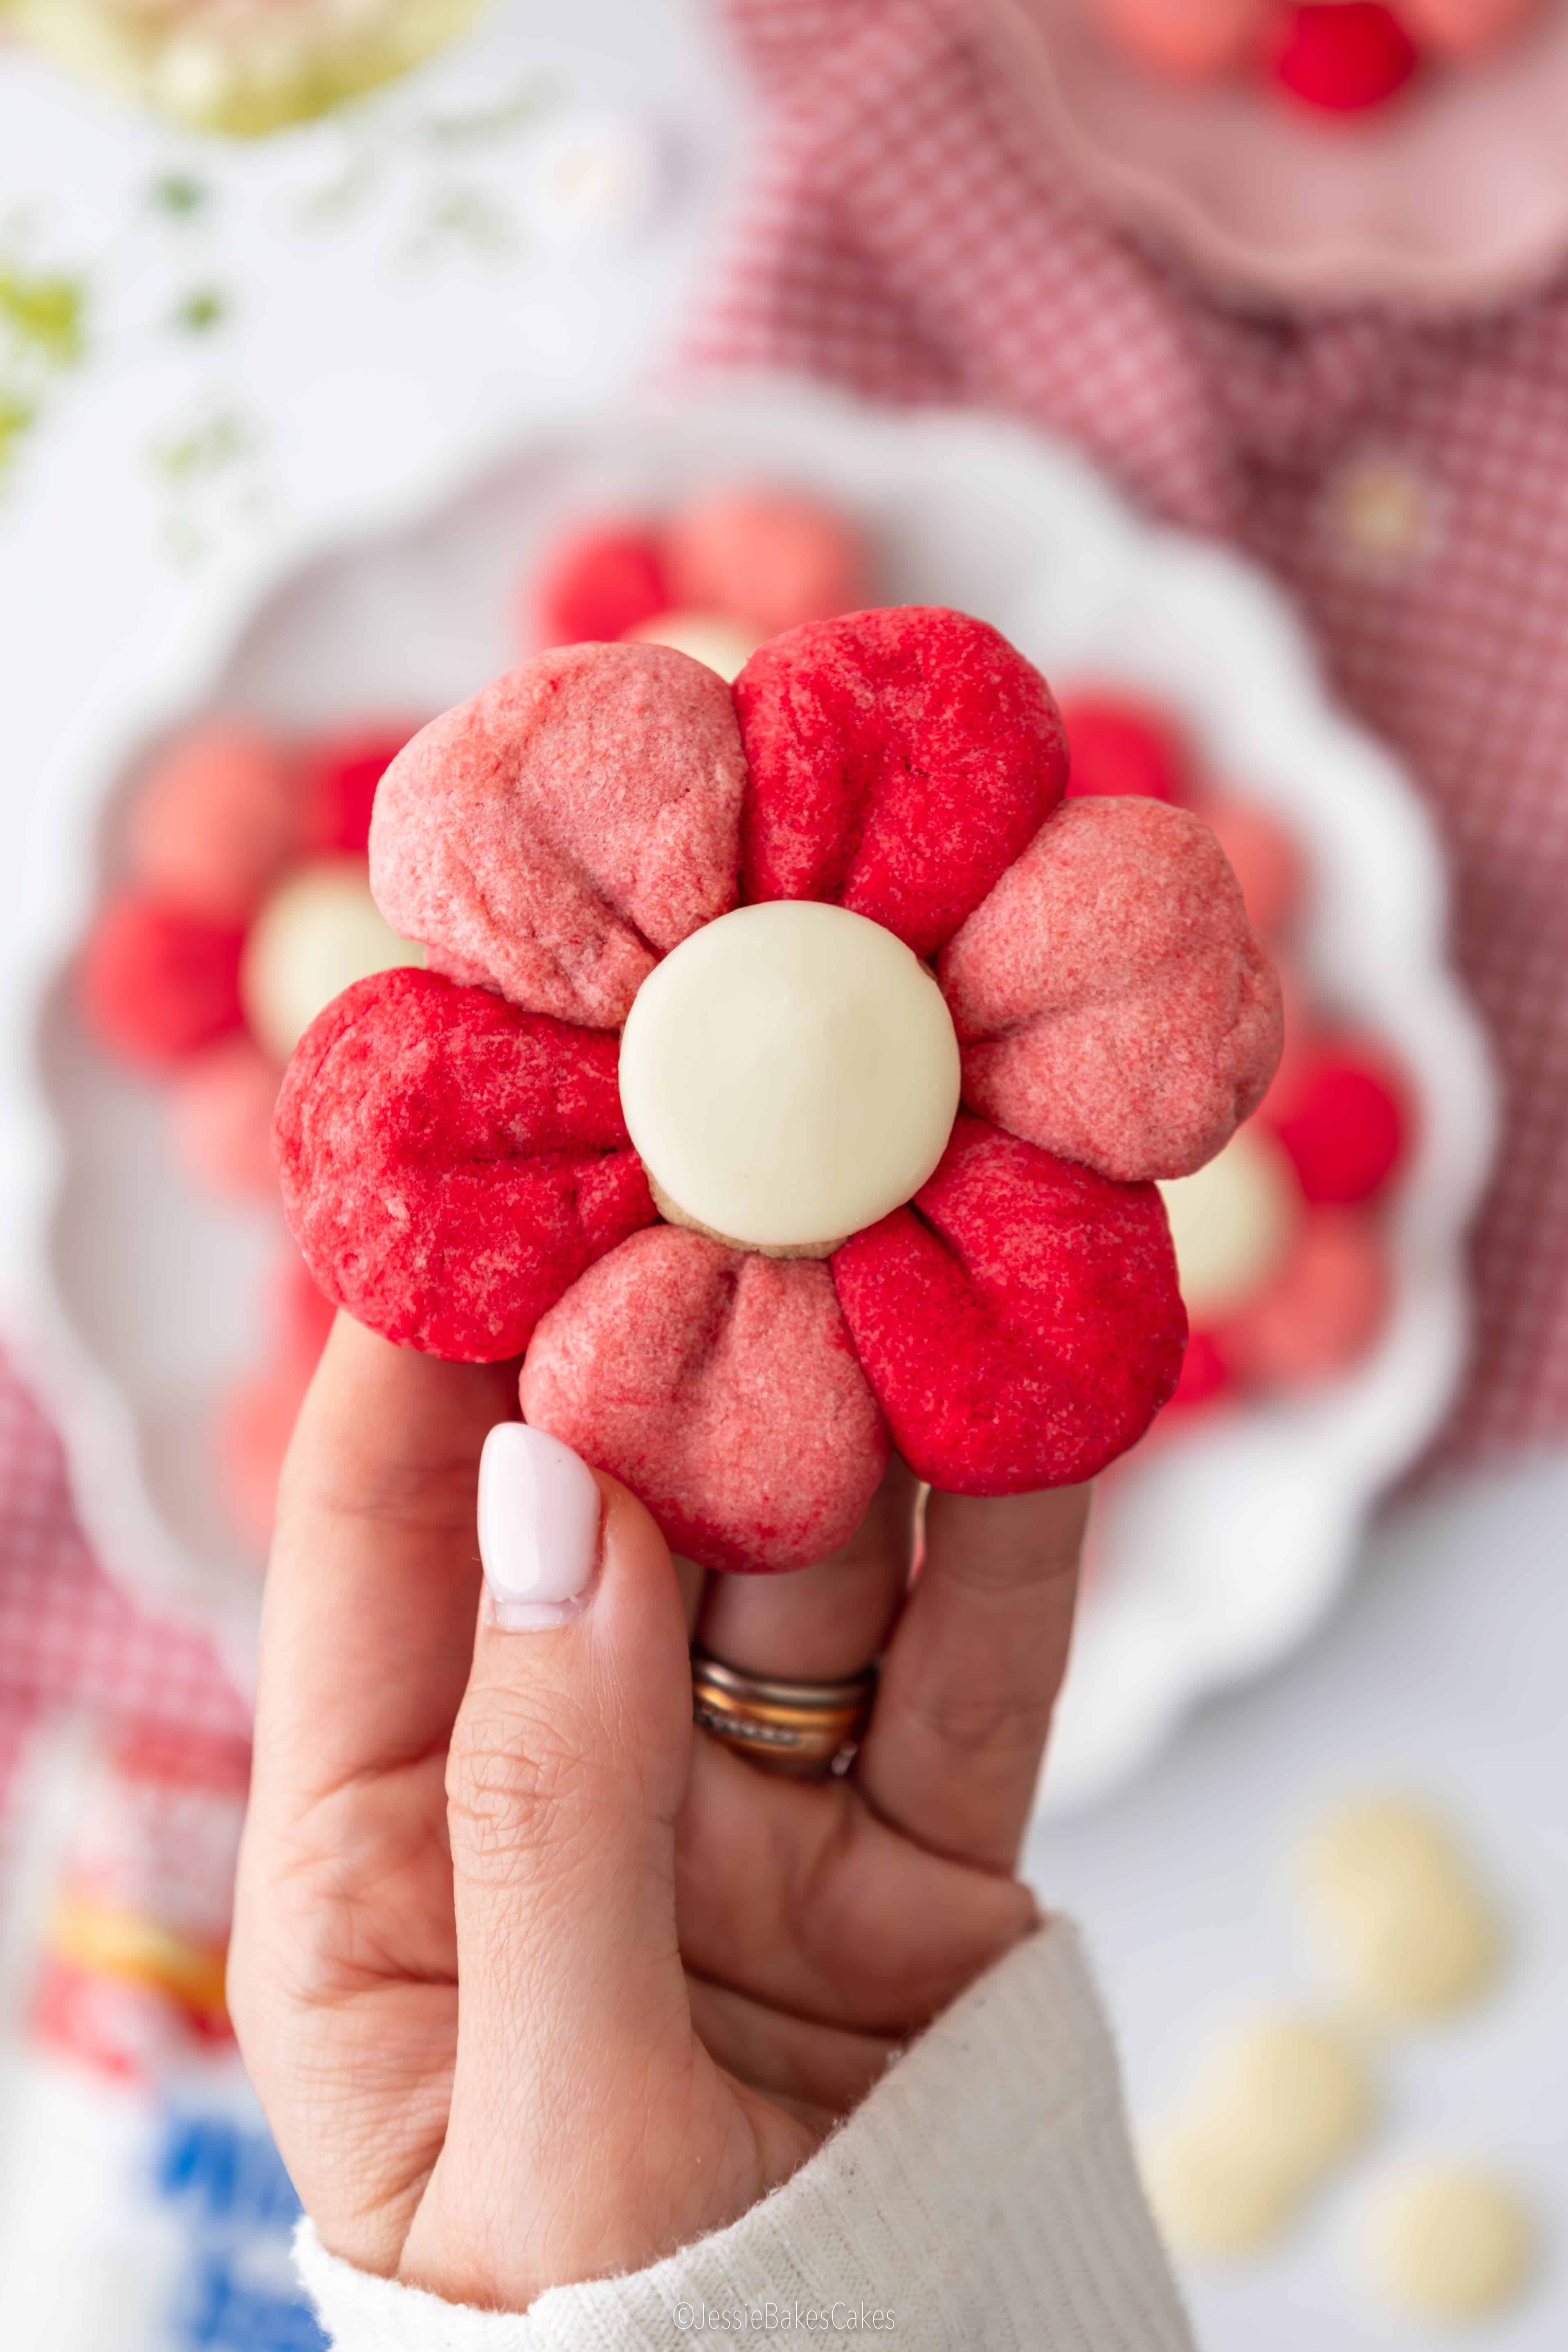
These sweet little Blossom Flower Cookies are just as cute as they are delicious! Soft, buttery, crumbly cookies shaped into beautiful flowers and finished with Milkybar Buttons for a creamy white chocolate centre. They’re the perfect springtime bake to celebrate the blooming blossom trees or experiment with colours to bake a variety of different flowers. Yellow for buttercups, purple for pretty pansies, red for poppies… whatever suits the season. You can totally play around with the flavour too, try swapping the vanilla extract for lemon, almond, cherry or orange extract – the options are endless!
This recipe is created in partnership with Milkybar. I only recommend products and ingredients that I personally love, use and trust!
Ingredients To Make Blossom Flower Cookies
Before we dive into the mixing bowl, here’s everything you’ll need to whip up a batch of these Blossom Flower Cookies. The ingredients are simple, but together they create a biscuit that’s buttery, crumbly and just sweet enough:
- Unsalted butter or plant-based baking block: Gives the cookies a rich, buttery flavour and crumbly texture. The butter can be swapped for a vegan baking block (e.g. Stork or Flora), just remember that butter should be used at room temperature and baking block should be used from chilled.
- Sugar: Sweetens the cookie dough and keeps the edges of the cookies crisp.
- Vanilla extract: Used to flavour the cookies with a fragrant warmth. Make sure to use vanilla extract (not essence) for the best flavour.
- Egg: Gives the cookies a rich flavour and soft texture. This recipe uses one medium-sized egg.
- Plain all-purpose flour: Binds the cookie dough together, gives the cookies structure, and helps them puff up in the oven.
- Pink food colouring: Use can use liquid or gel colouring to make these flower cookies. Liquid colouring can make the dough a bit sticky, so keep some extra flour nearby to add to the dough to make it easier to handle.
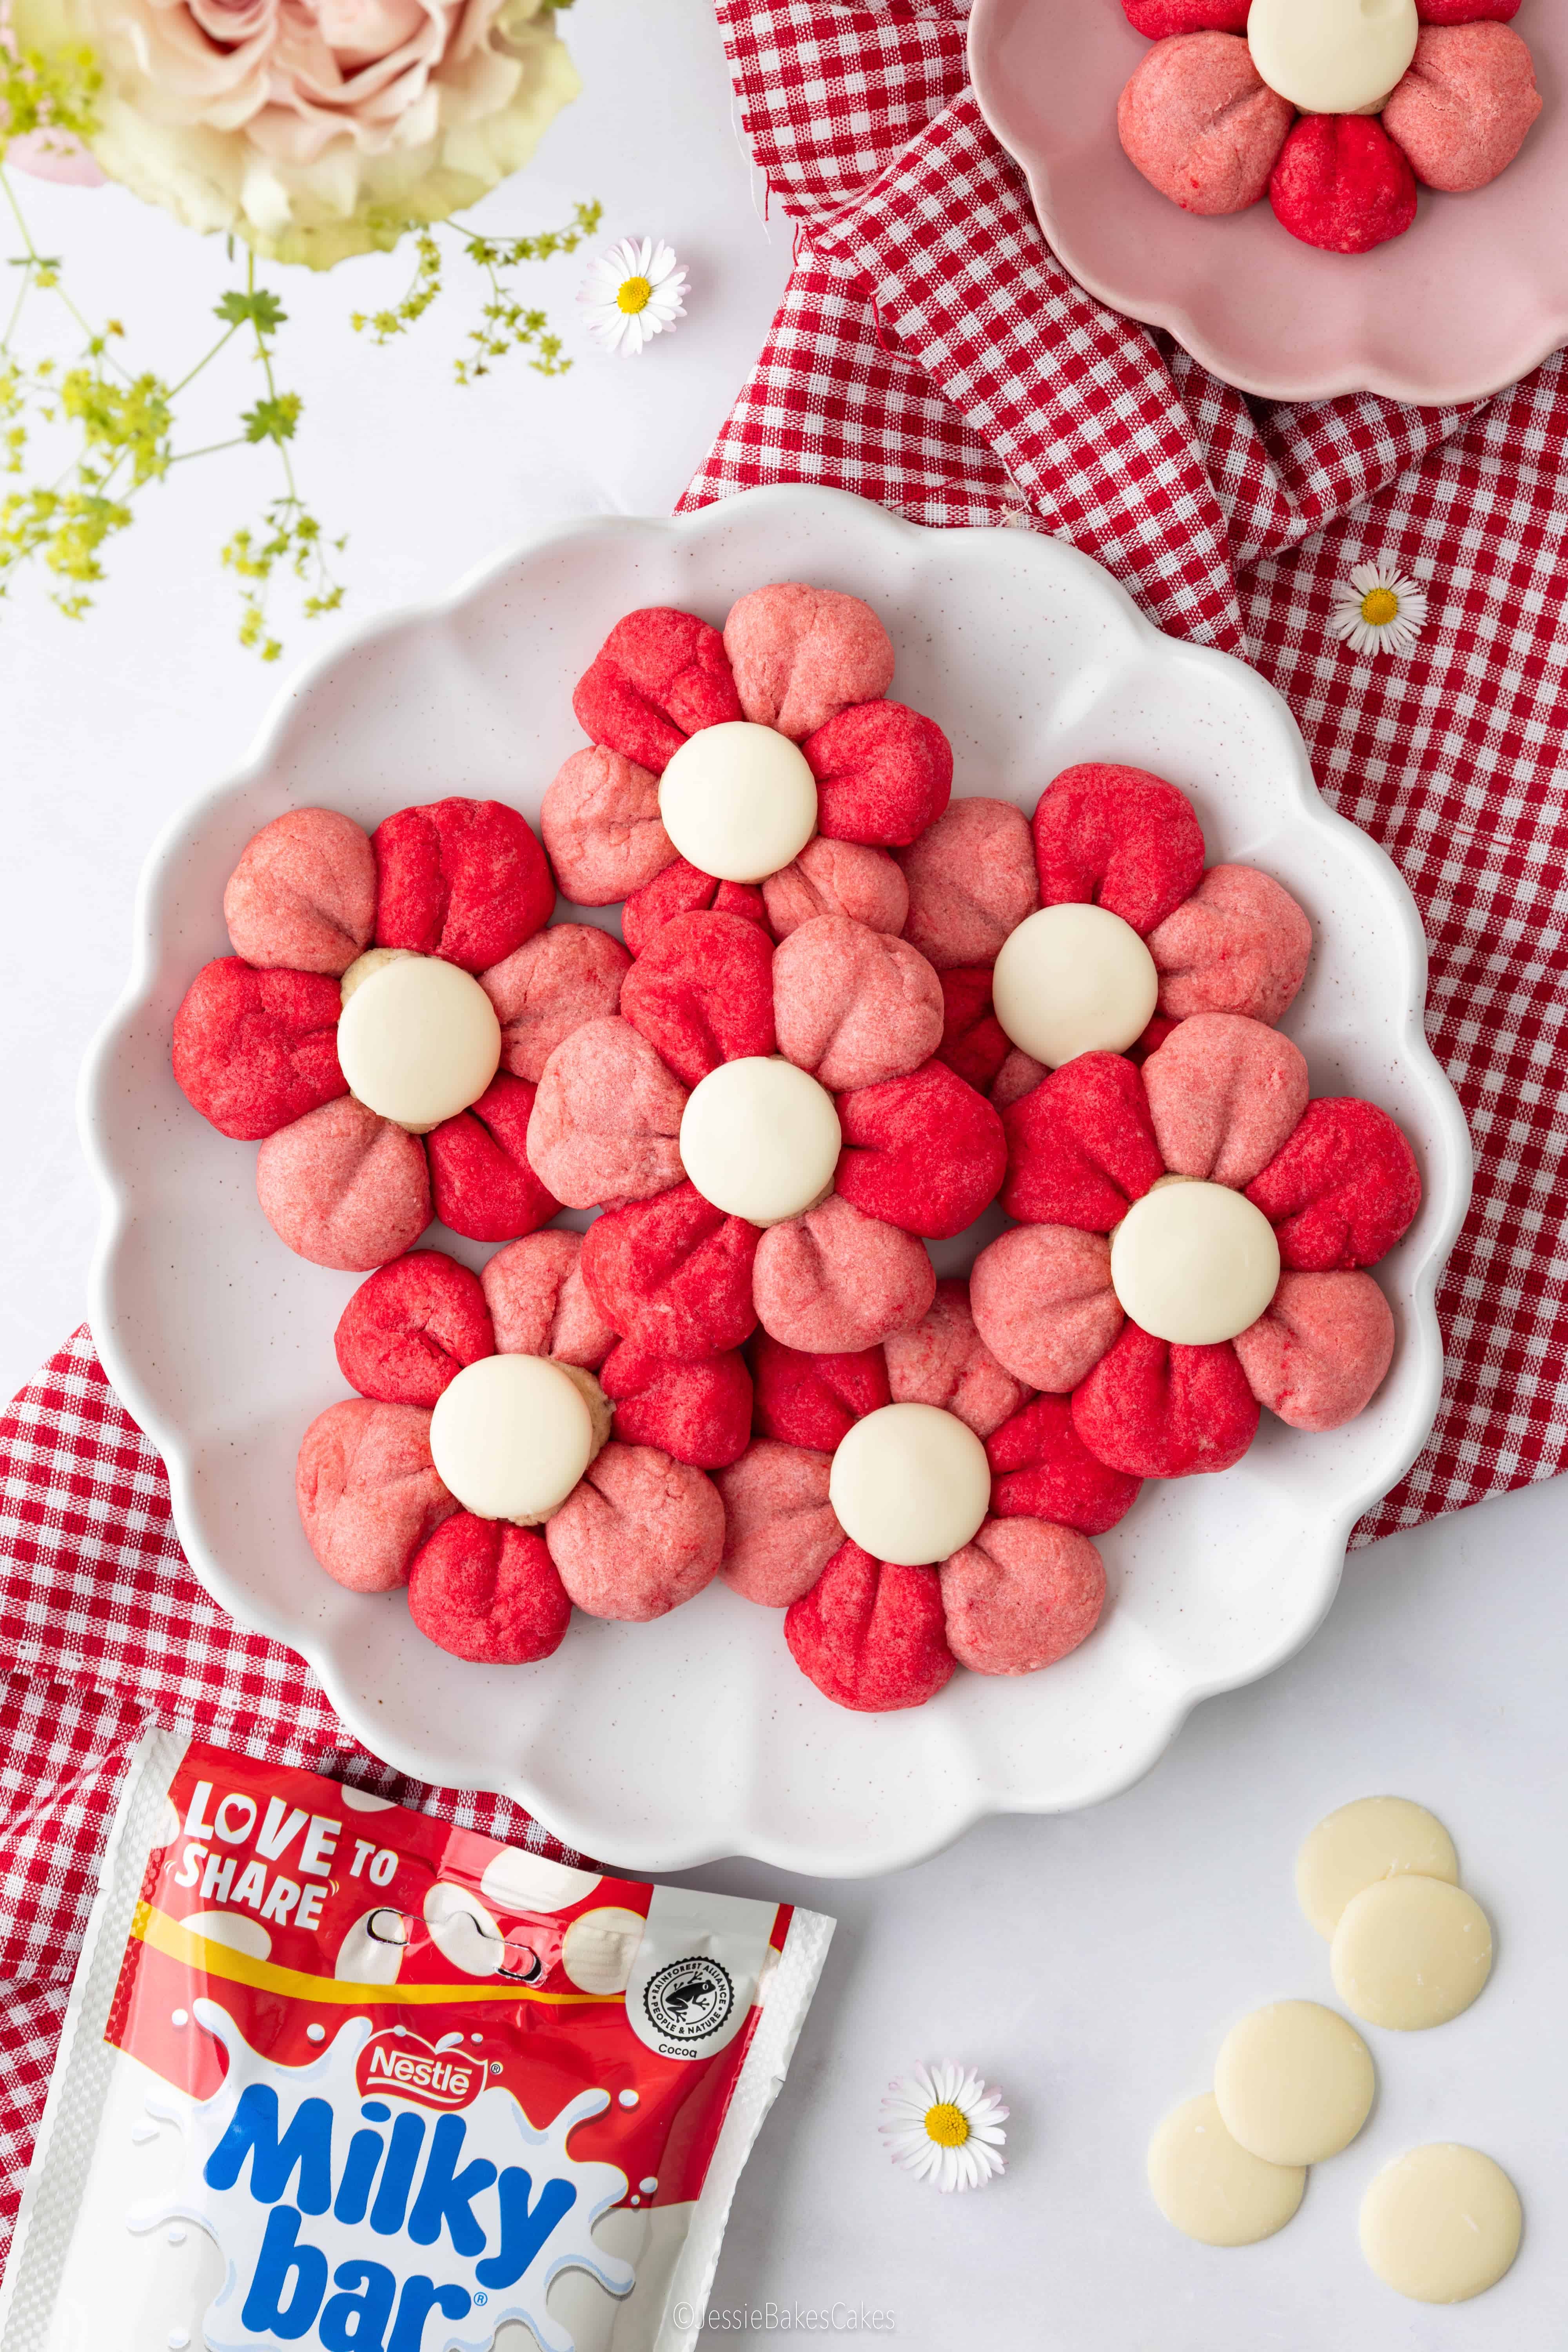
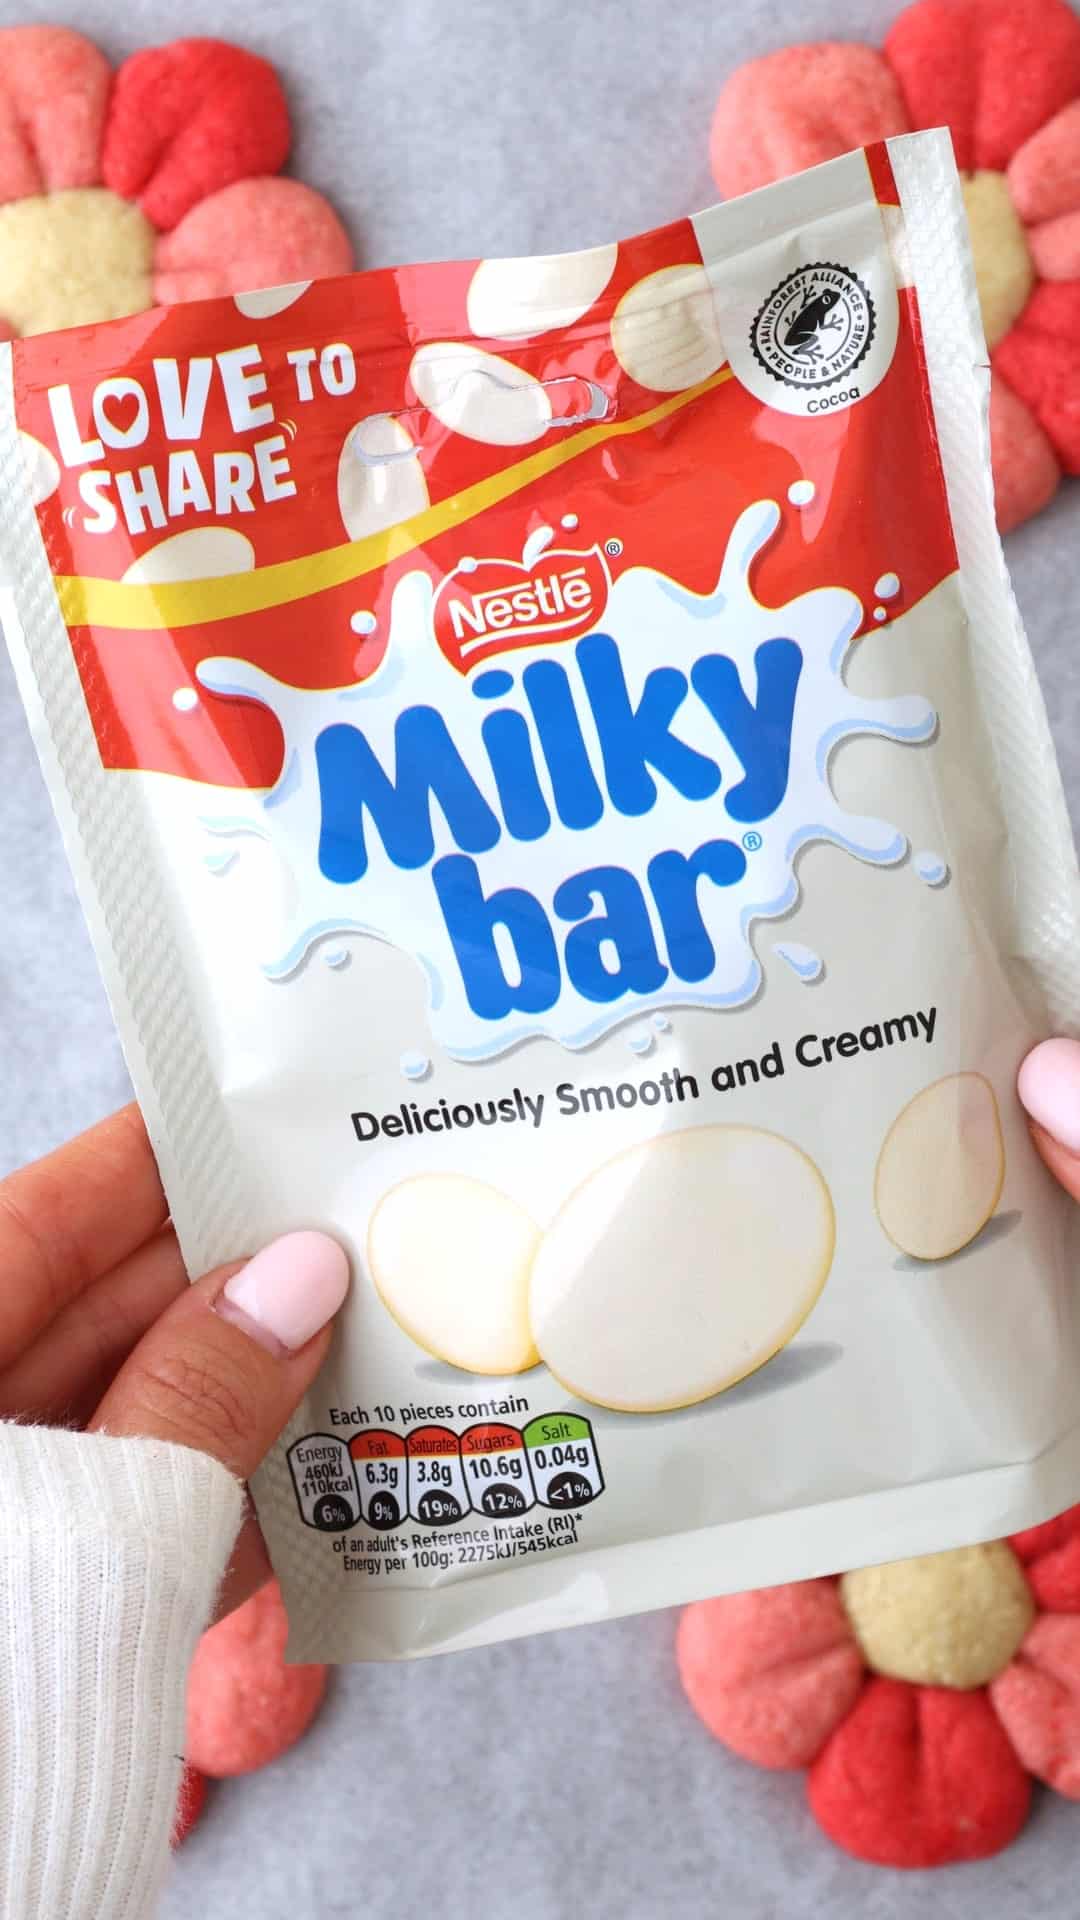
- Milkybar Buttons: I used the Milkybar sharing bag buttons for their larger size. The buttons are added to the middle of the flower cookies and bring a rich white chocolate flavour.
Why You’ll Love These Blossom Flower Cookies
- FLAVOUR: These cookies are full of buttery flavour with a hint of vanilla, and a sweet white chocolate richness.
- TEXTURE: You can expect a soft and crumbly texture, with crisp edges and a creamy chocolate middle. They really do melt in the mouth!
- SKILL: This recipe is super easy. It just requires some time and patience to roll out the balls of cookie dough.
- SERVES: This recipe makes 10 flower cookies.
Prepare The Cookie Dough
The first step to making these flower cookies is to prepare the cookie dough. It’s super easy to throw together and only uses 5 ingredients:
- Prepare the basic cookie dough: First cream the butter, sugar and vanilla together until light and fluffy. Then mix in the egg and then stir in the flour to bind everything together into a dough. You’re after a soft but workable dough that doesn’t stick to your hands.
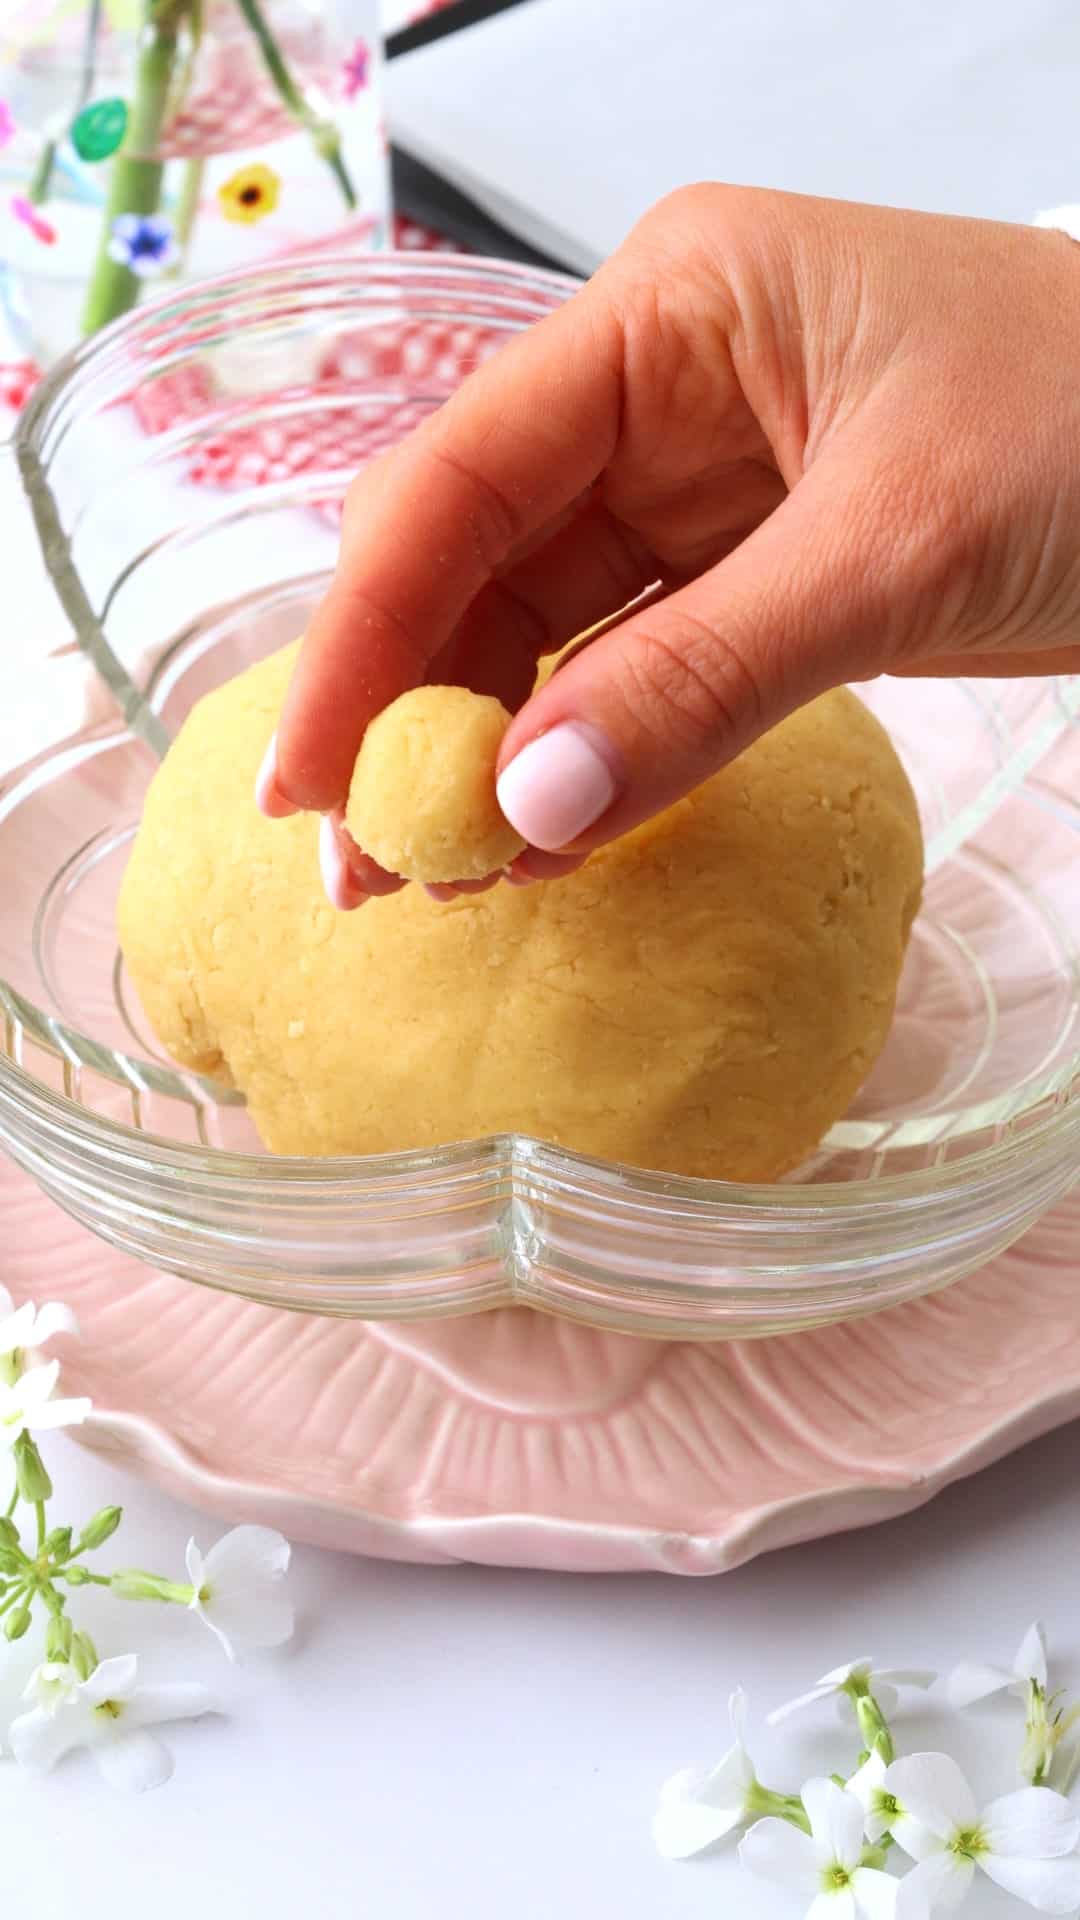
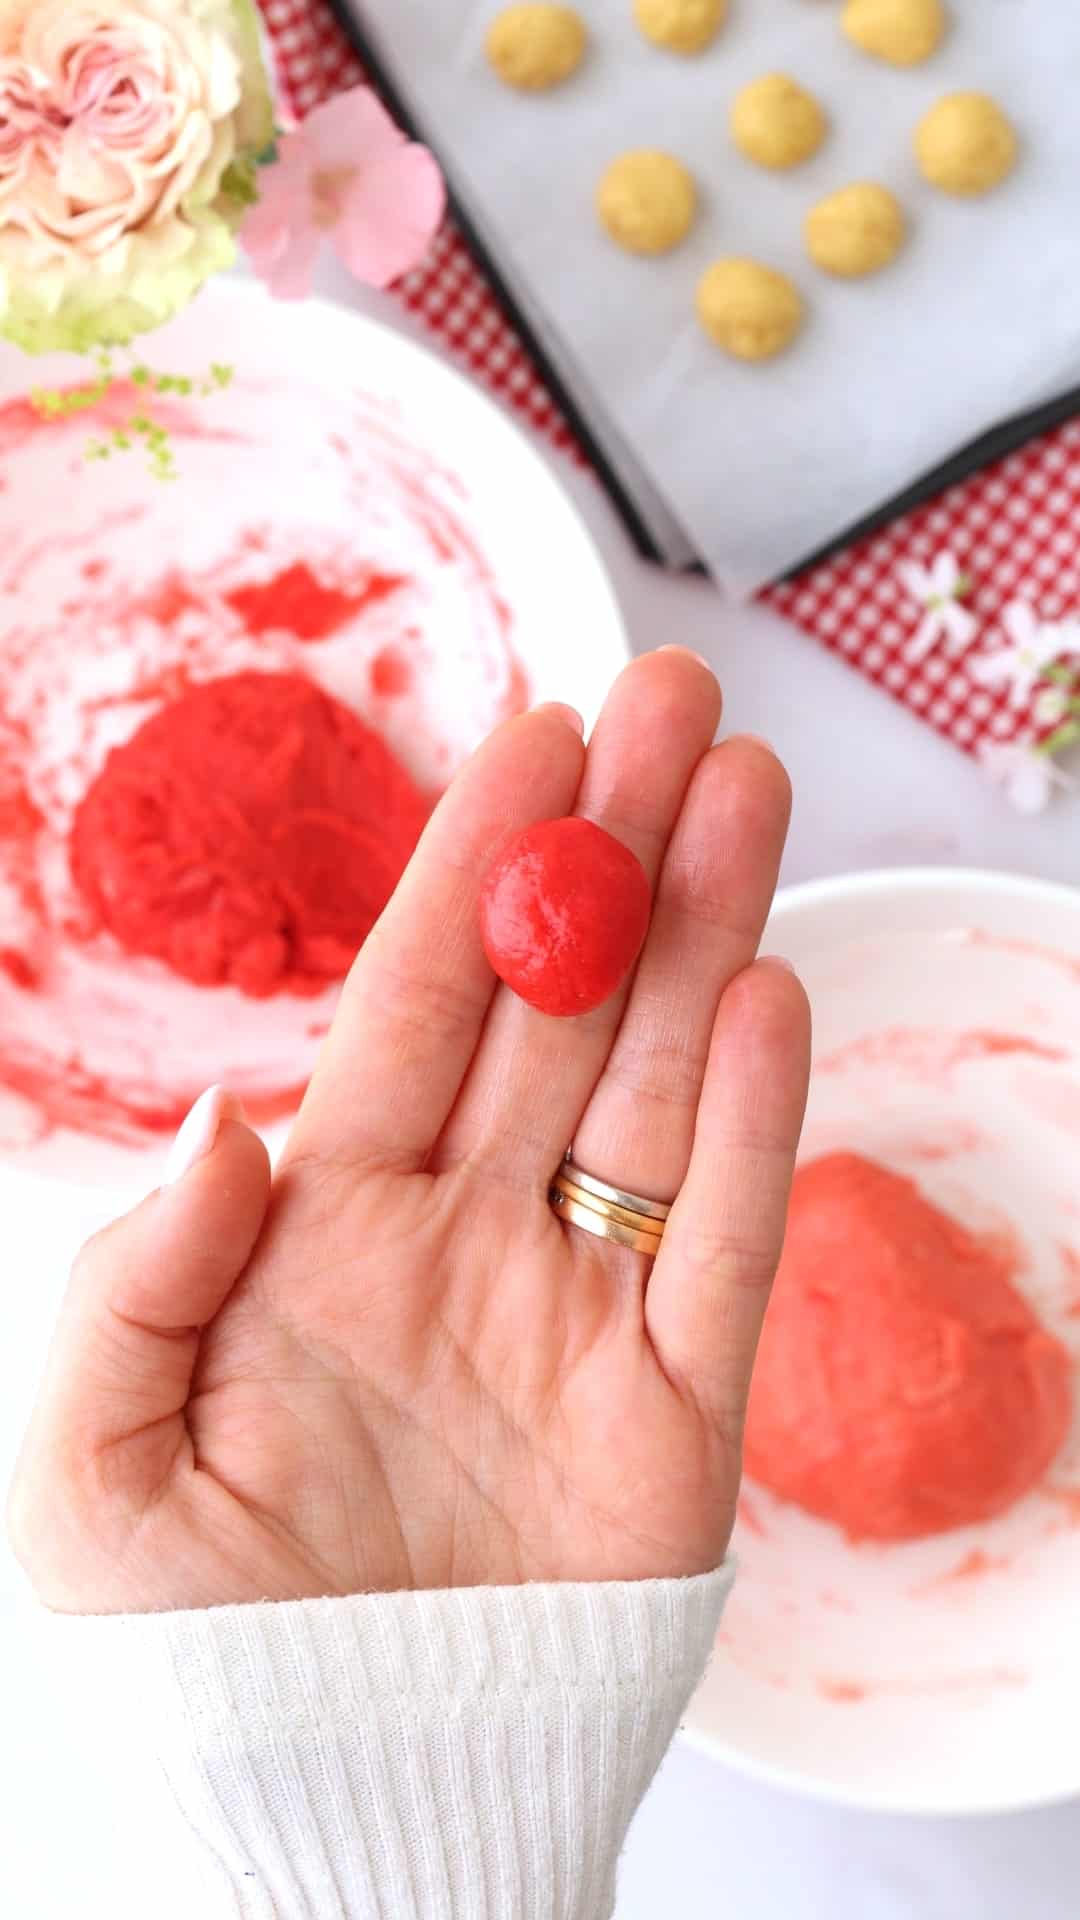
- Roll the plain dough: Next, scoop out 10 marble-sized balls of the plain dough – these will become the centres of your flowers. Roll them between your palms until smooth, then pop them to one side for later.
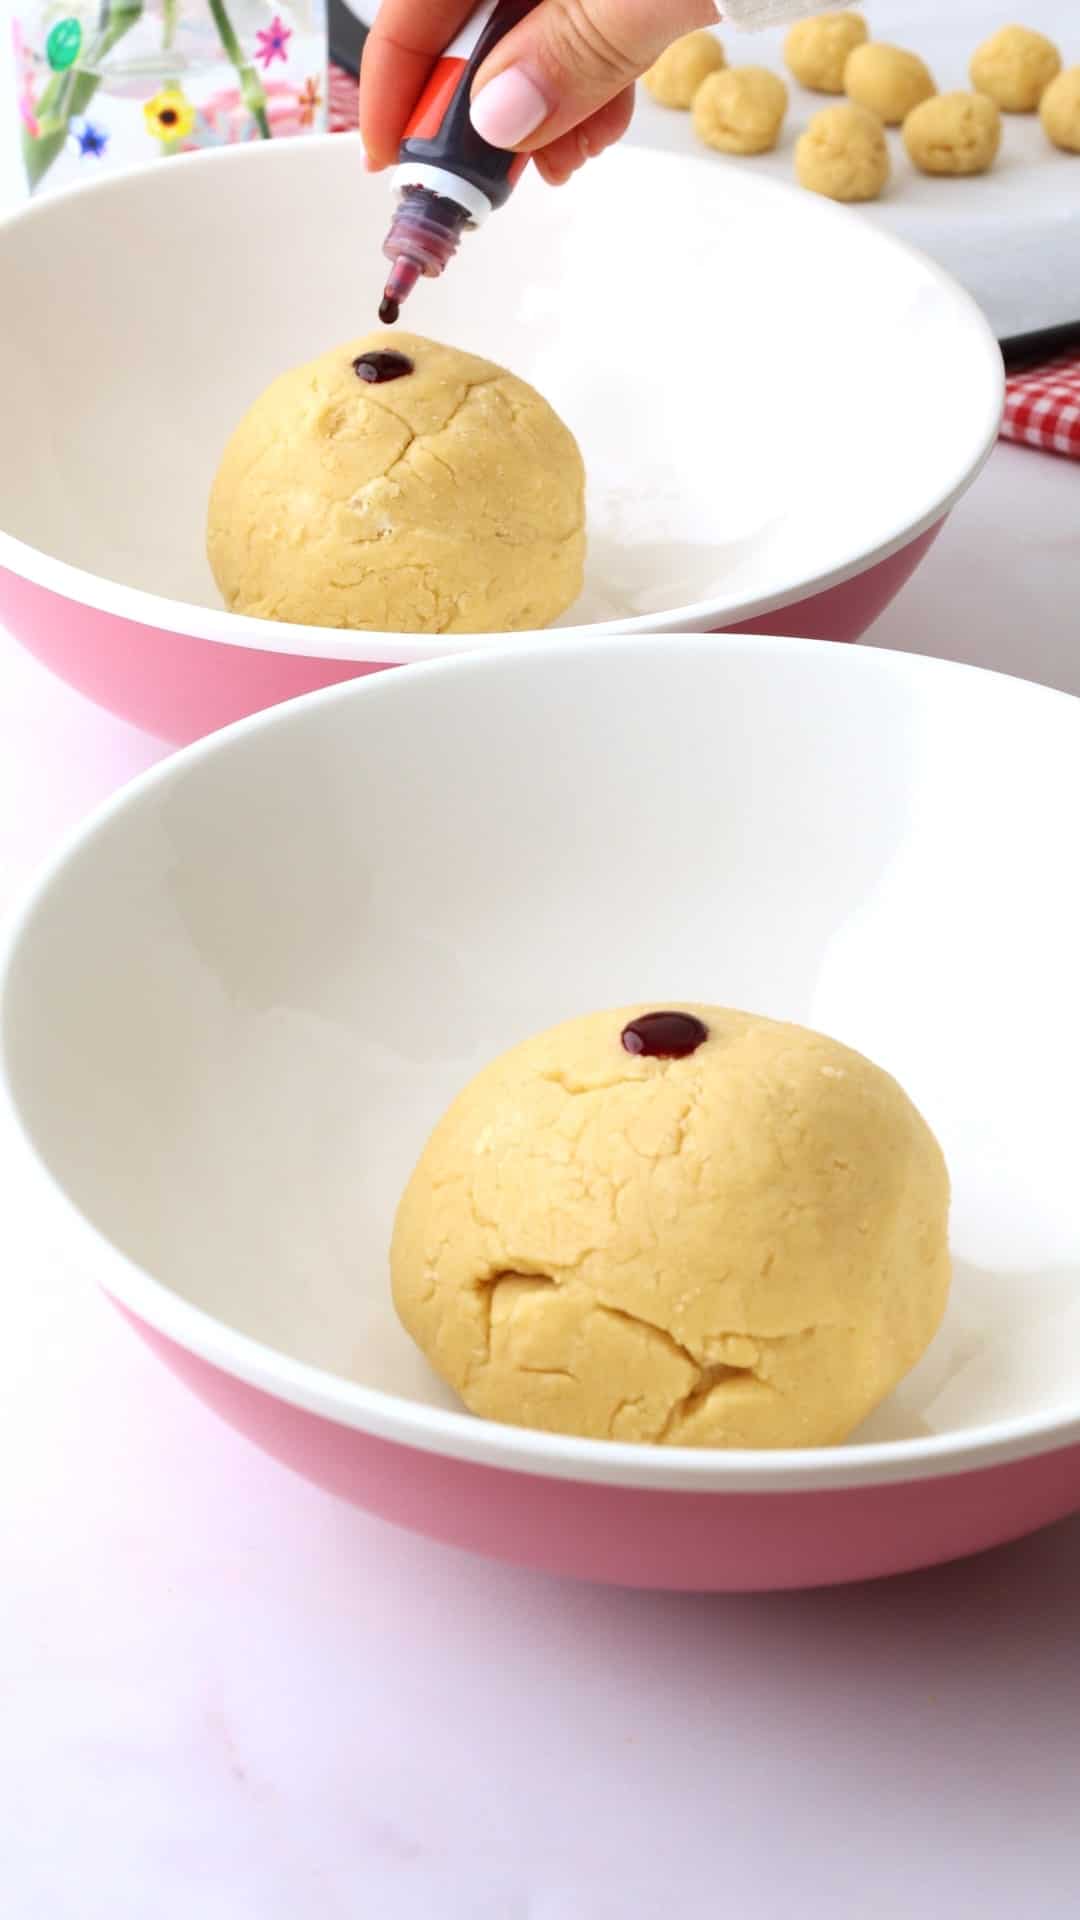
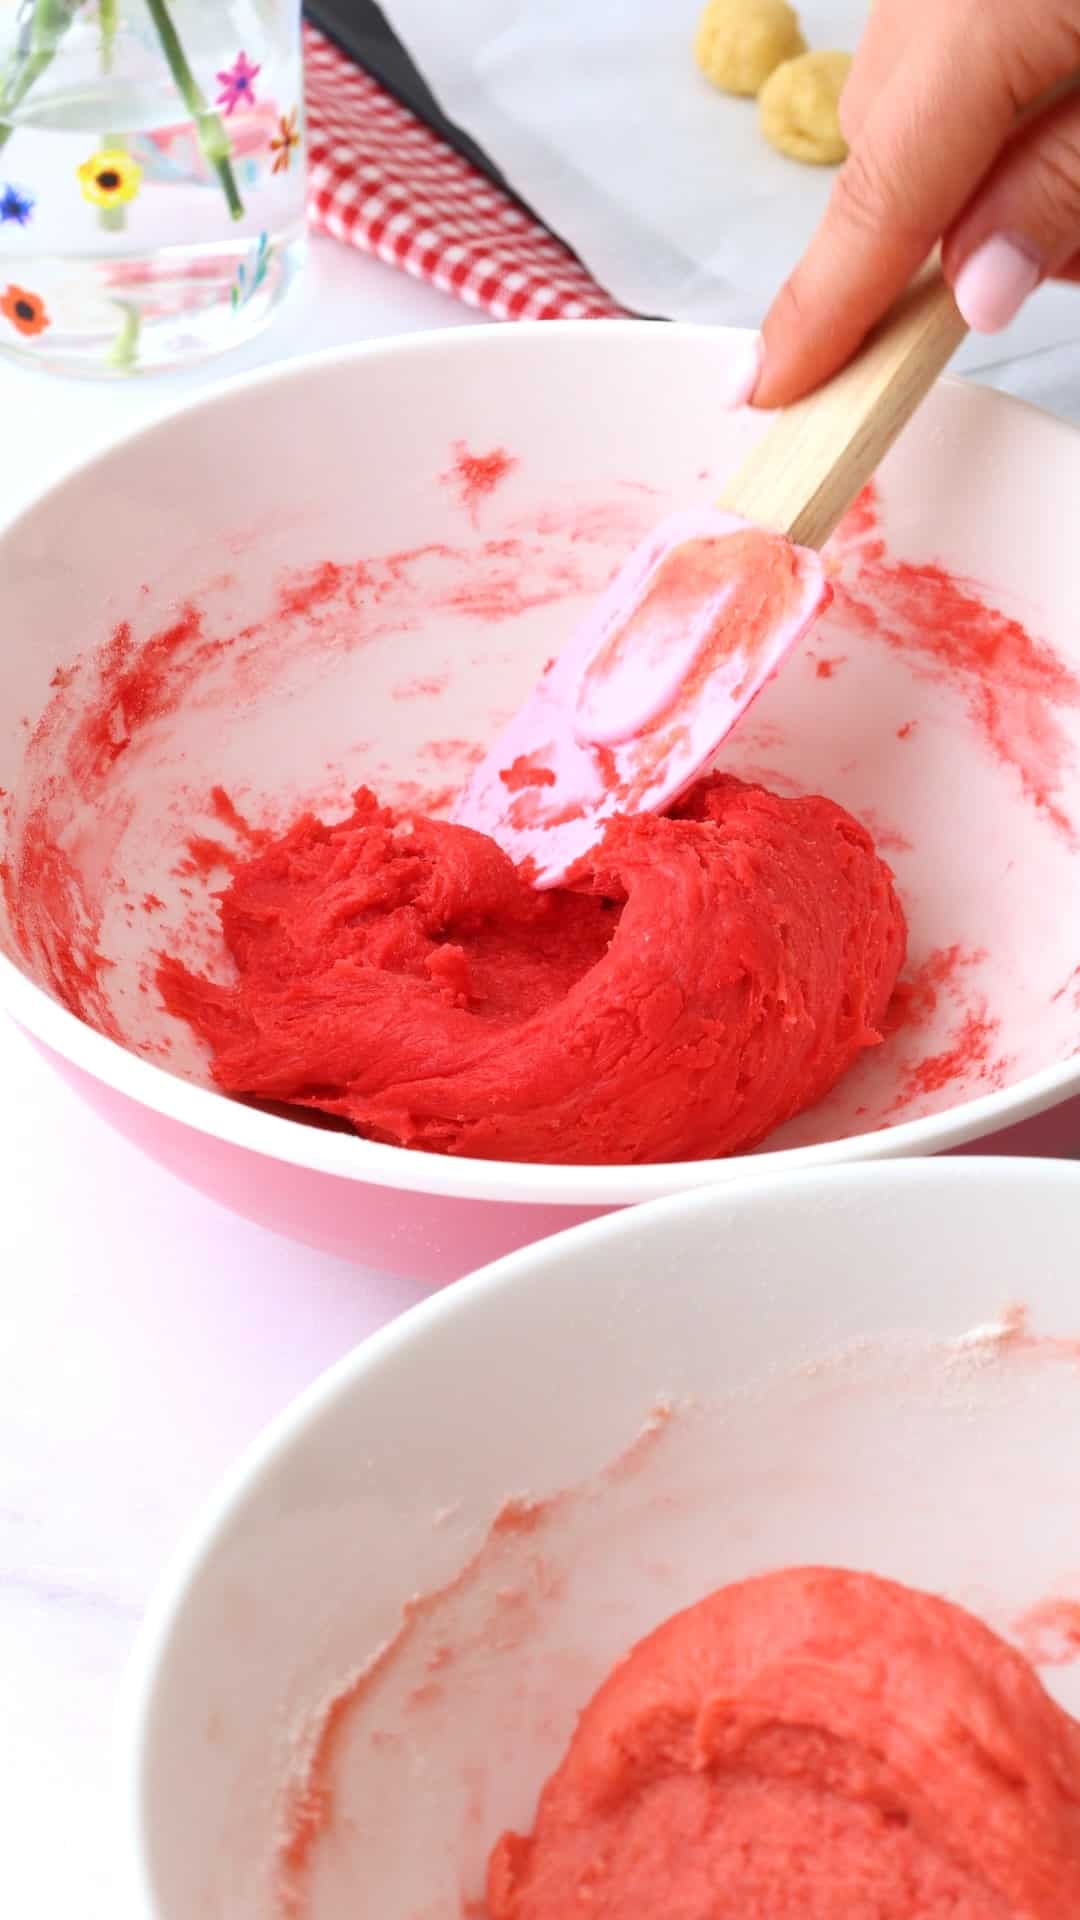
- Colour the dough: Divide the rest of the dough into two equal parts. Add a few drops of pink food colouring to one bowl for a light shade, and a touch more to the second bowl for a darker shade. Mix each one well until you’ve got two lovely pink shades. If the dough is feeling sticky, add 10g of flour to each bowl and mix until combined.
TOP TIP: Experiment with different food colourings to bake a variety of flowers. Yellow for buttercups, purple for pretty pansies, red for poppies… whatever you fancy or what suits the season.
Rolling the Cookie Dough into Balls
Once your cookie dough is prepped it’s time to roll it into balls to make the flower petals. This part does take a bit of time, so pop some music on or an episode of your favourite show and enjoy the process. After a while, it starts to feel therapeutic!
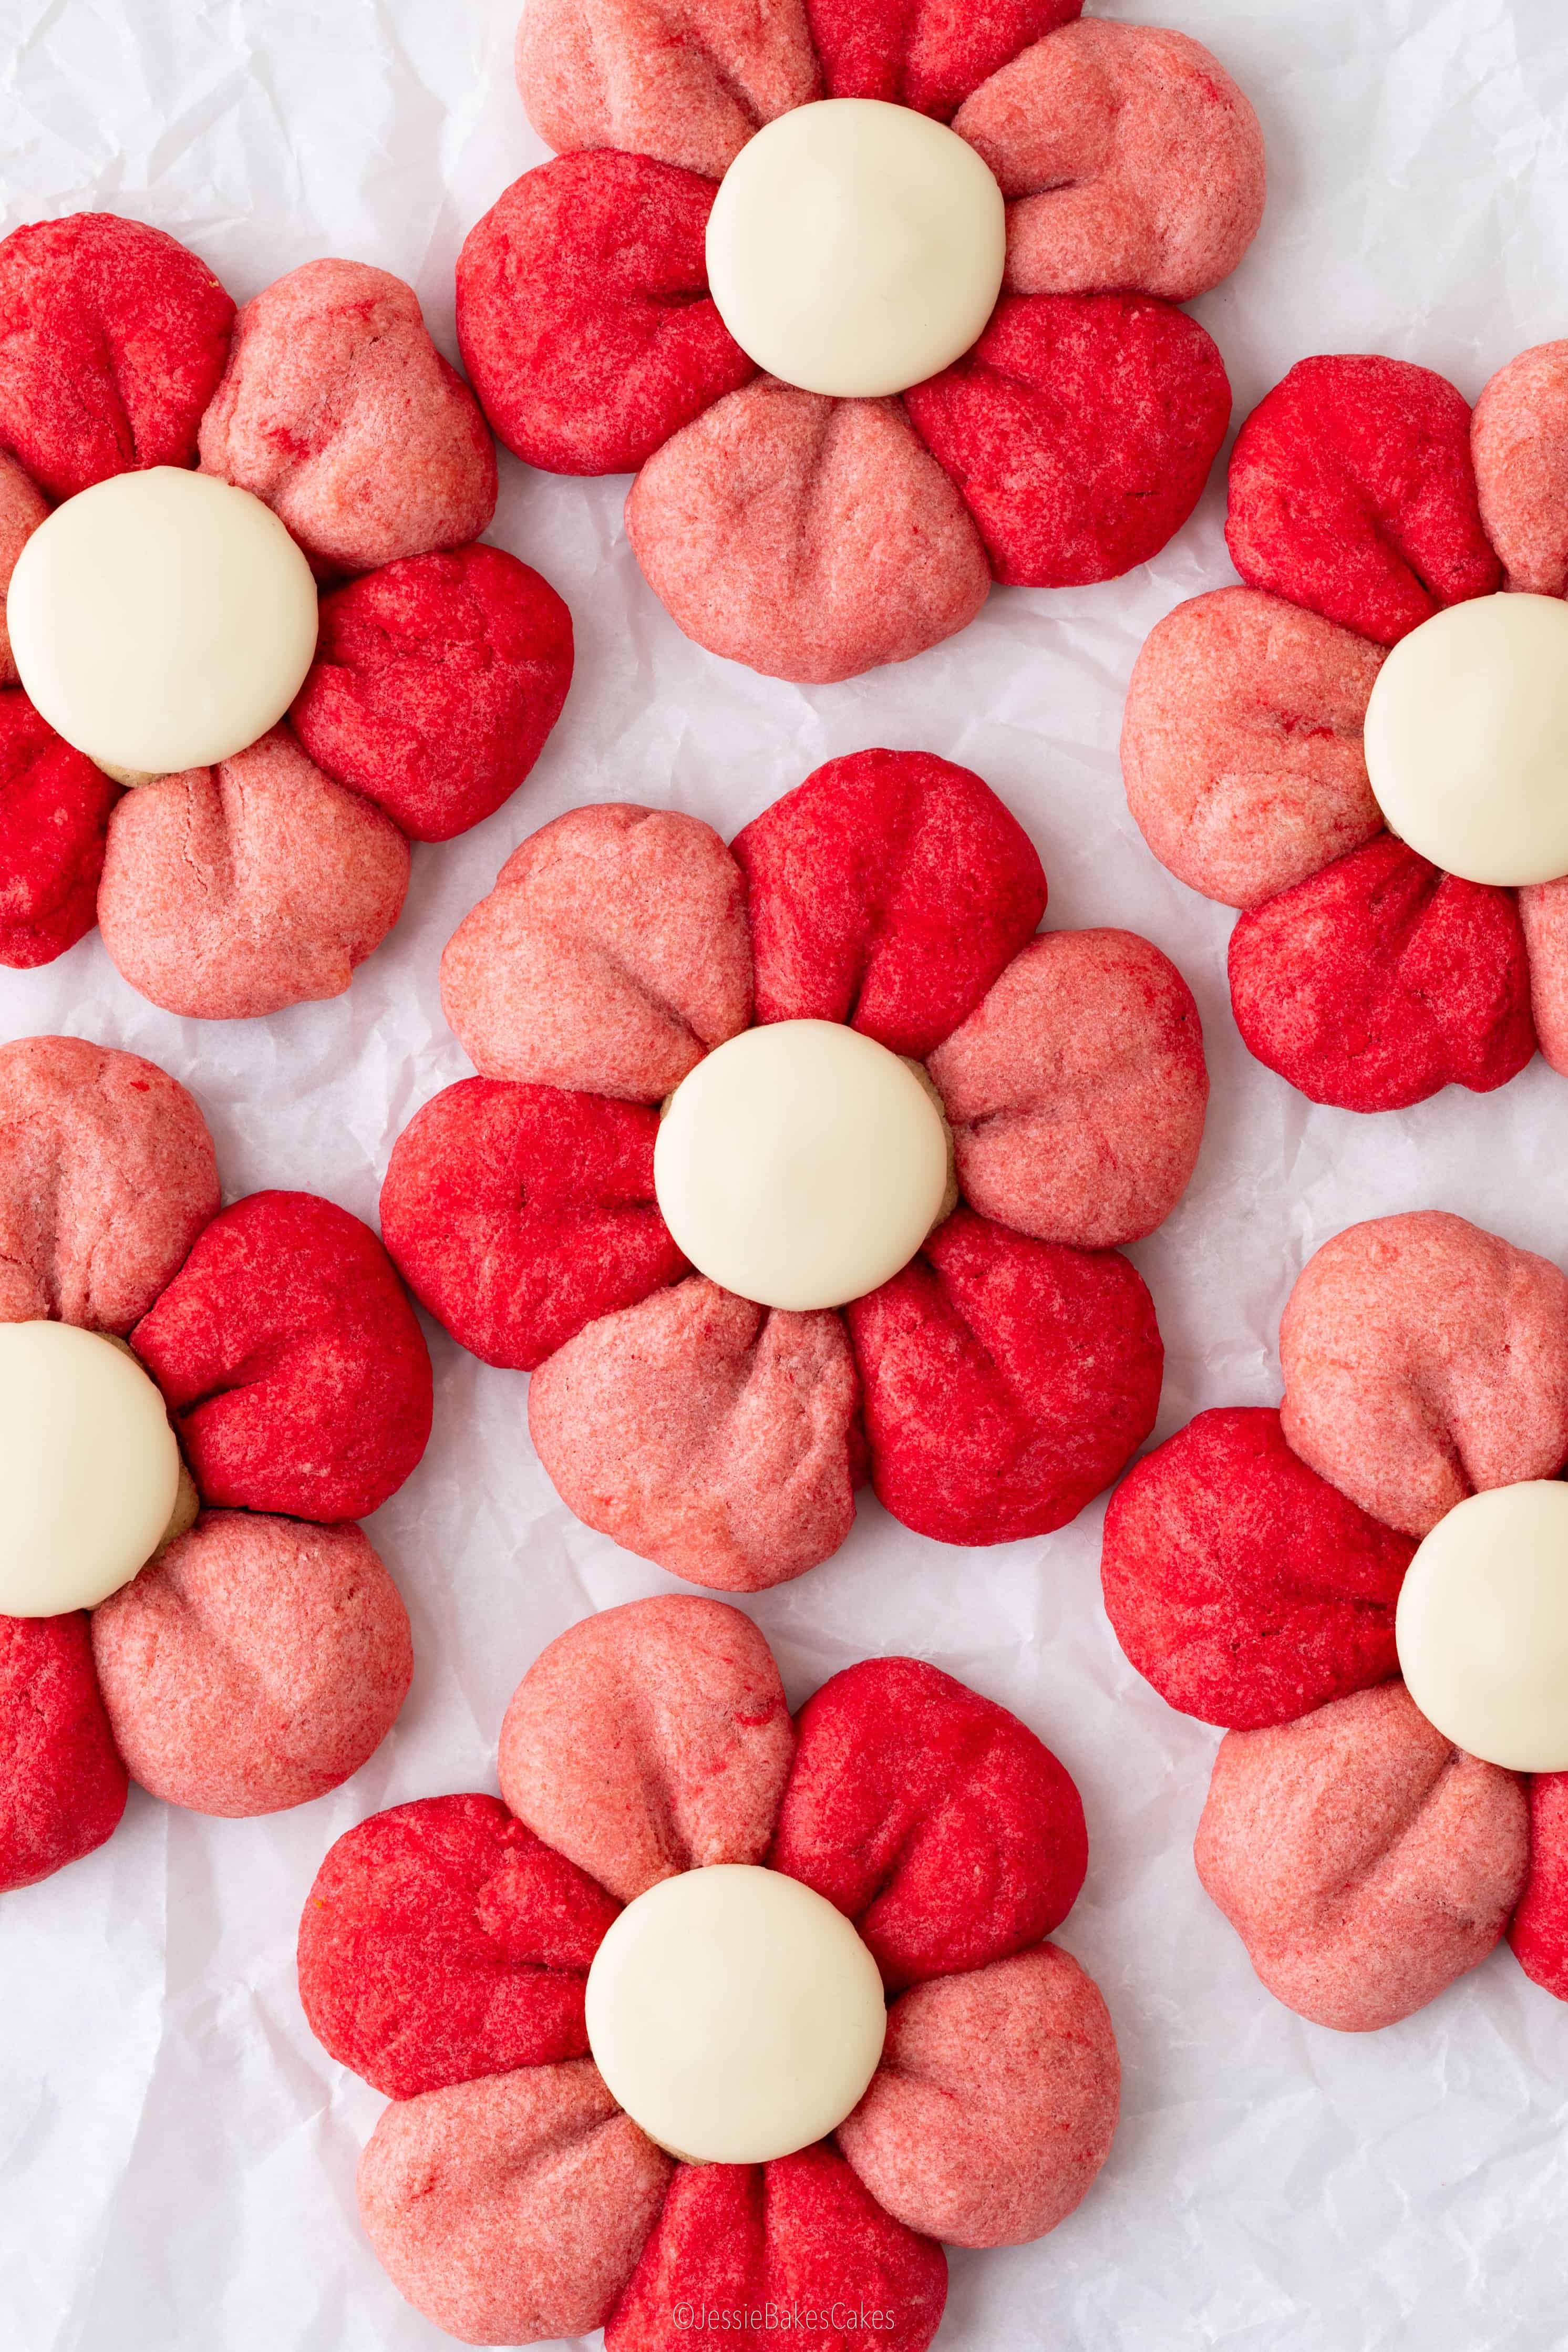
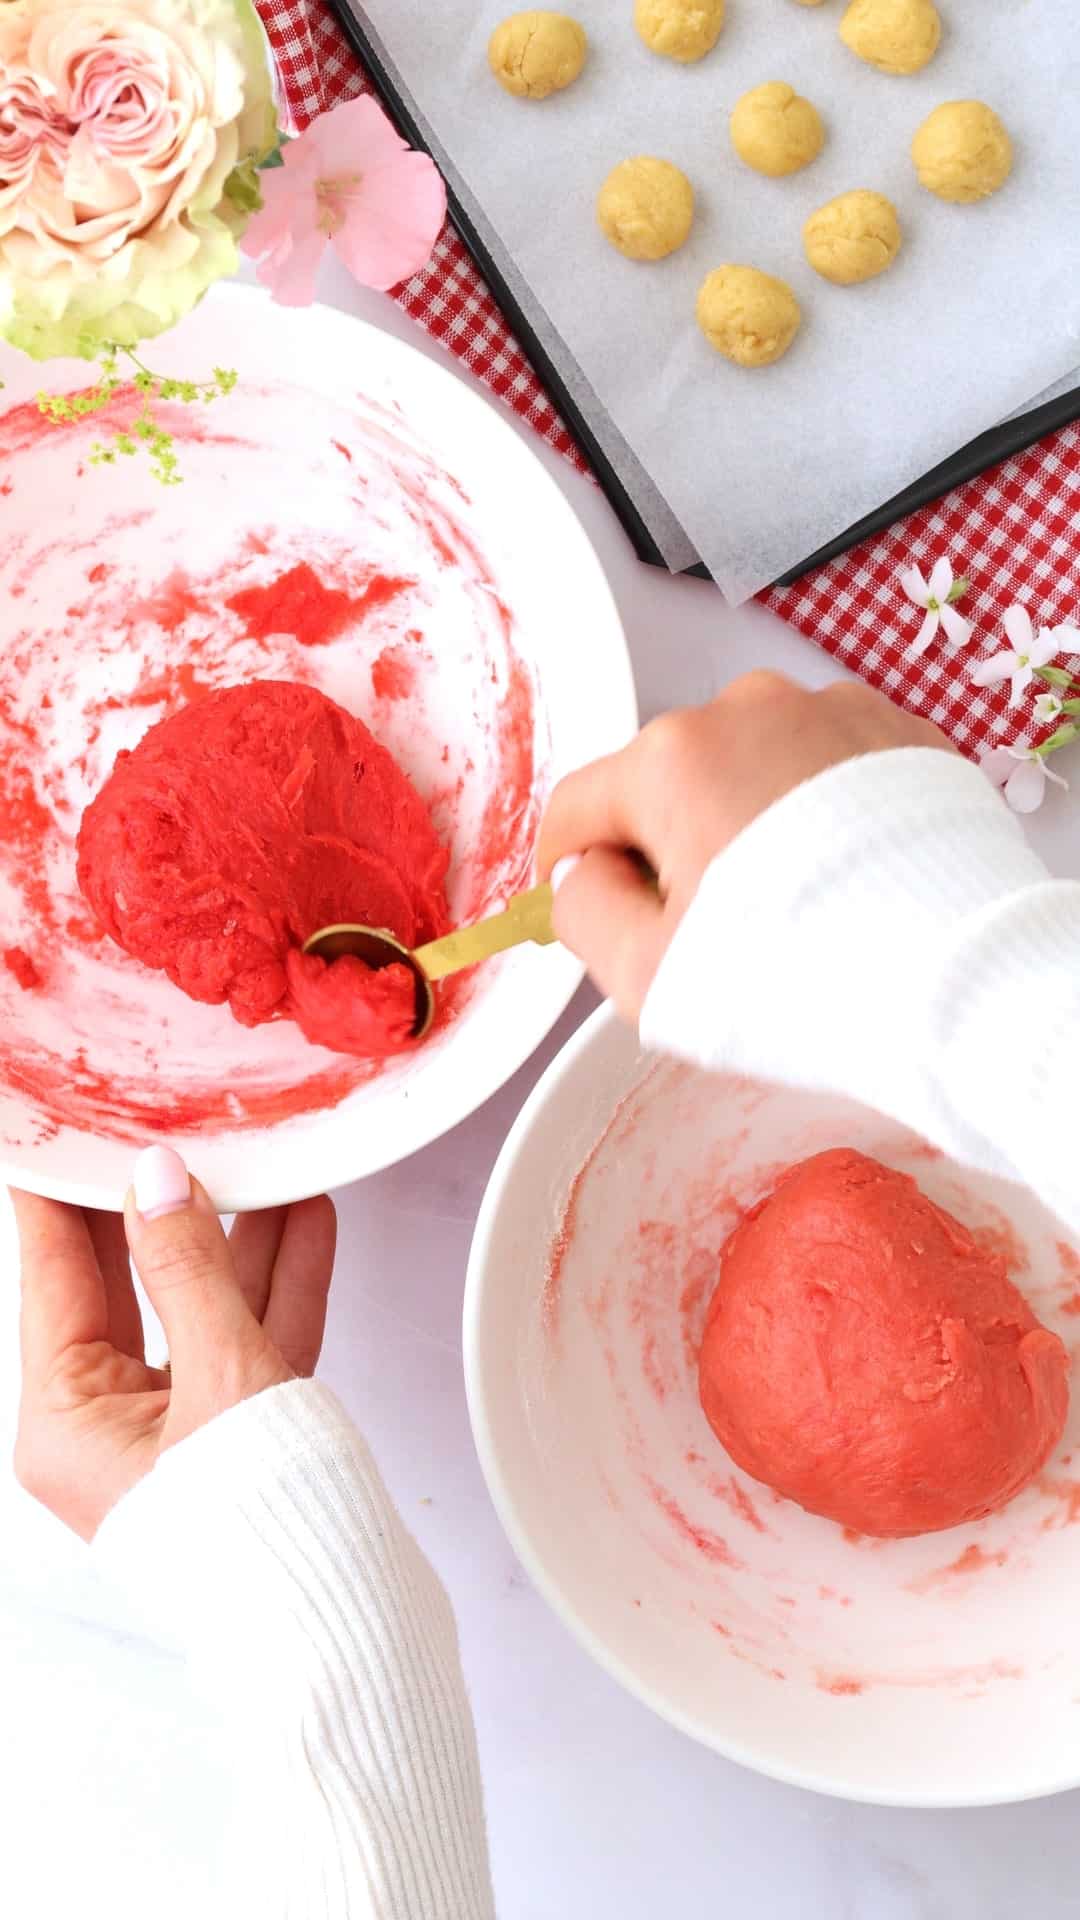
Each cookie has six petals, and they’re arranged in alternating colours to give that pretty blossom flower effect. To make a batch of 10 cookies, you will need to roll 30 balls of the pale pink dough and 30 of the darker one. The easiest way to keep all your petals the same size is to use a 1/2 teaspoon measuring spoon to scoop the dough. It gives you just the right amount for each petal and helps keep everything nice and uniform. Once scooped, roll each bit of dough between your palms until it’s smooth and round – like a little marble.
Shaping The Flower Cookies
- Prep the baking tray: Start by lining your baking tray with greaseproof paper, it’s best to do this before you start shaping the cookies so you’ve got everything ready to go.
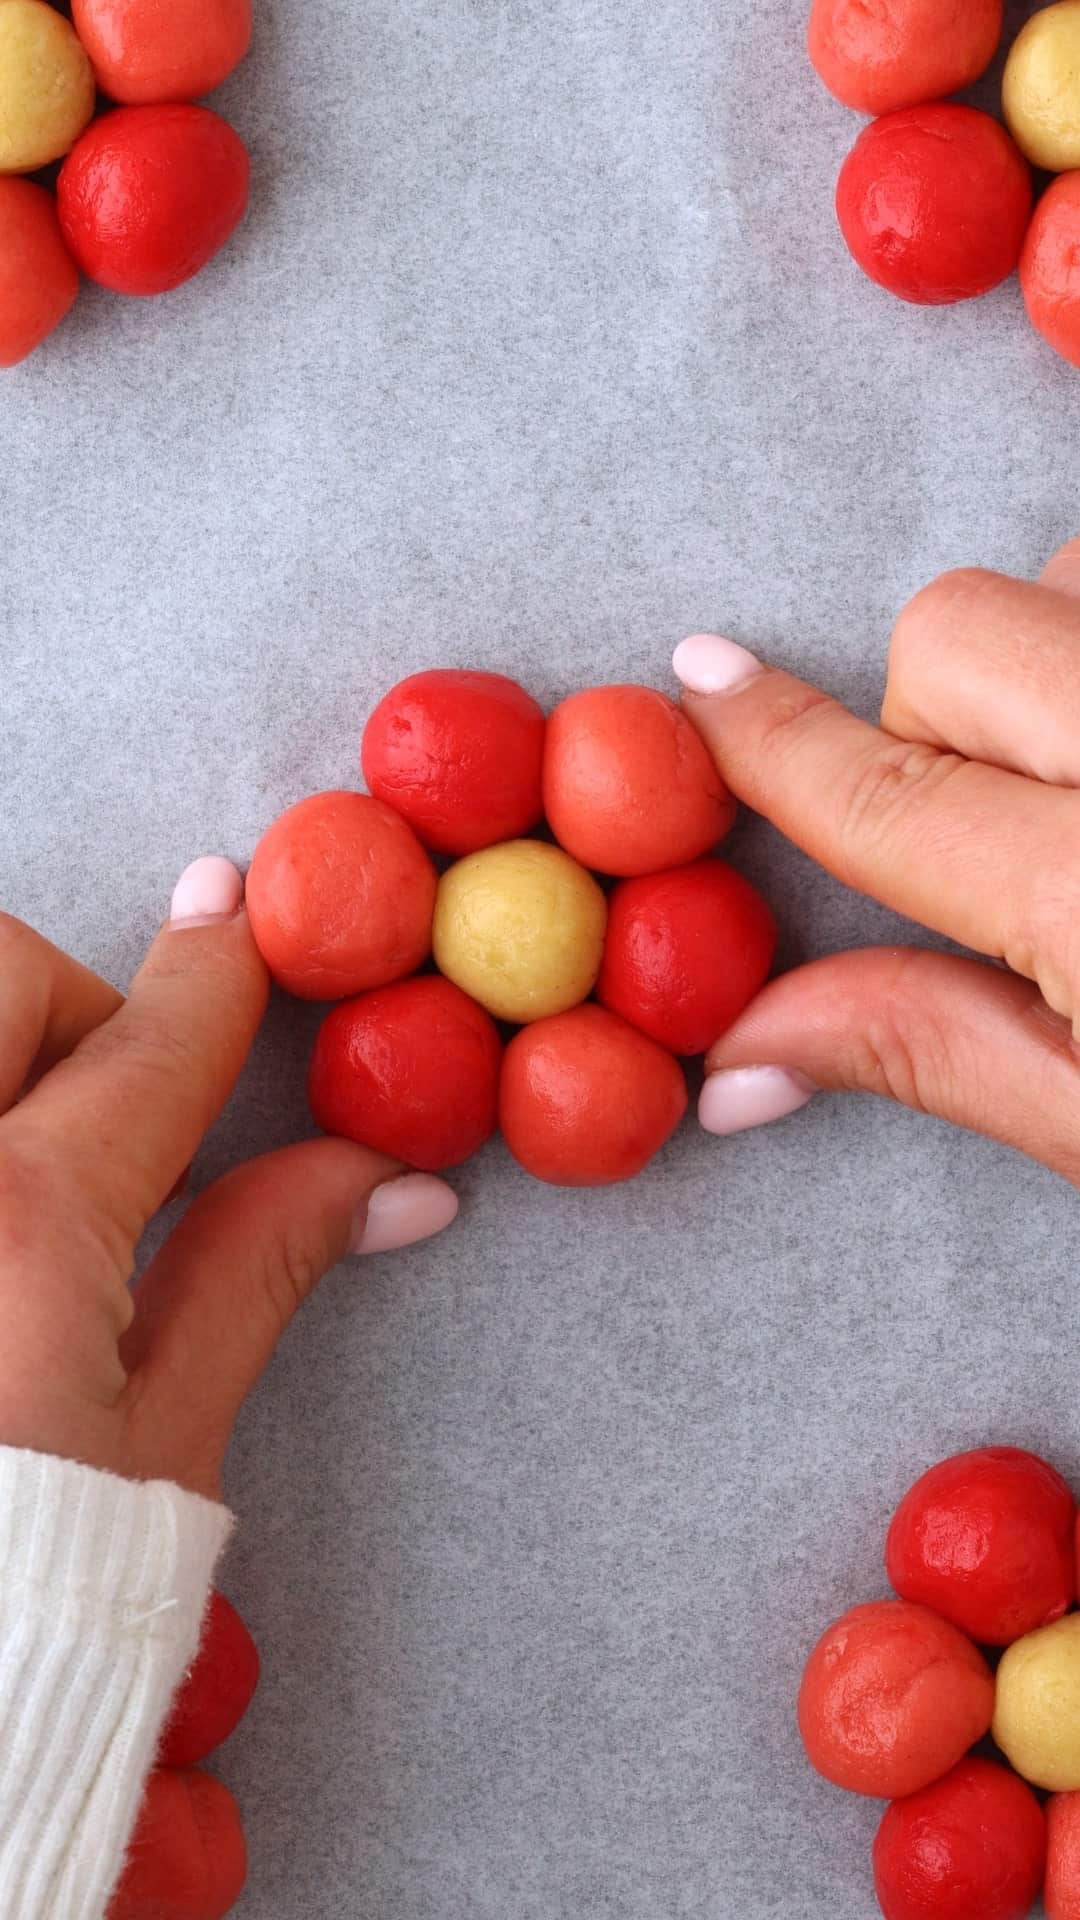
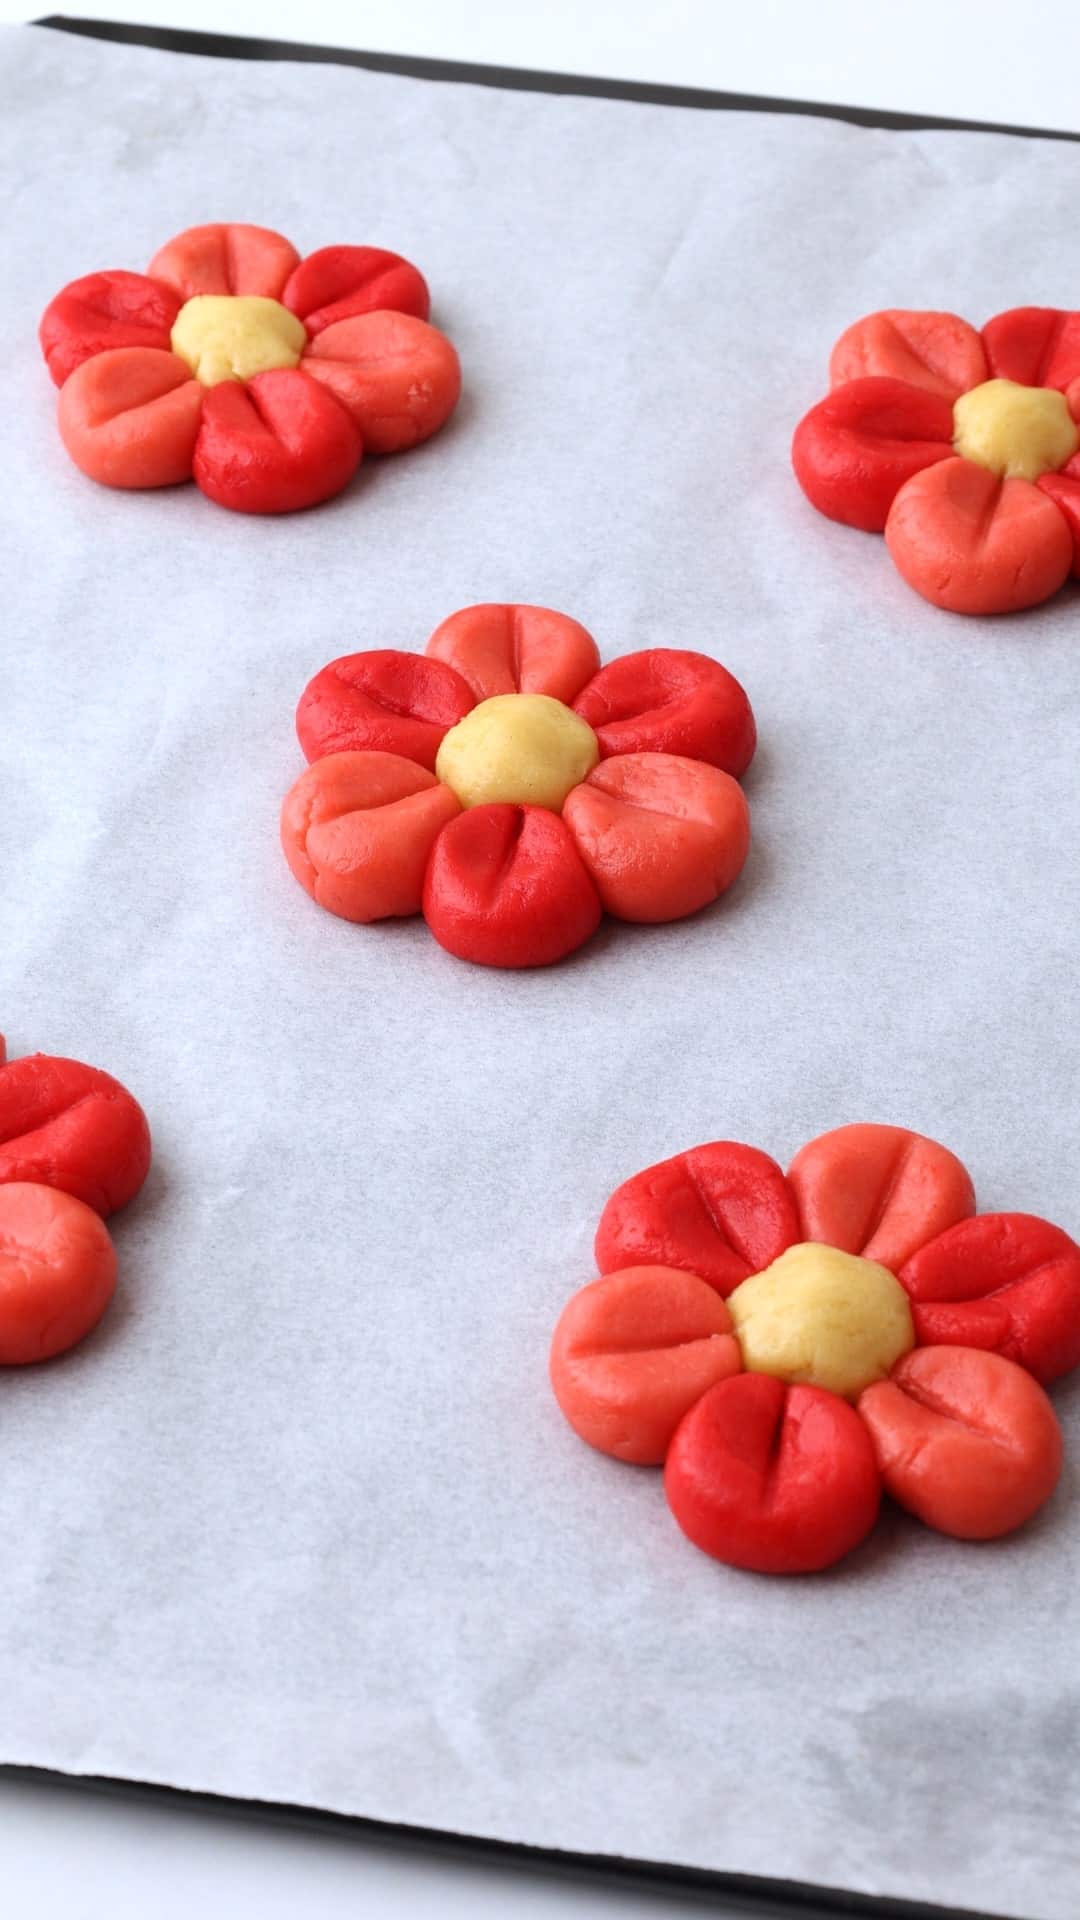
- Arrange the flowers: Arrange six coloured balls in a circle on the baking tray, alternating between the light and dark shades. Once your petals are in place, drop one of the plain balls in the centre to form the middle of the flower. Gently use your fingers to squish the flowers together so they’re nice and snug so they bake in to one solid shape.
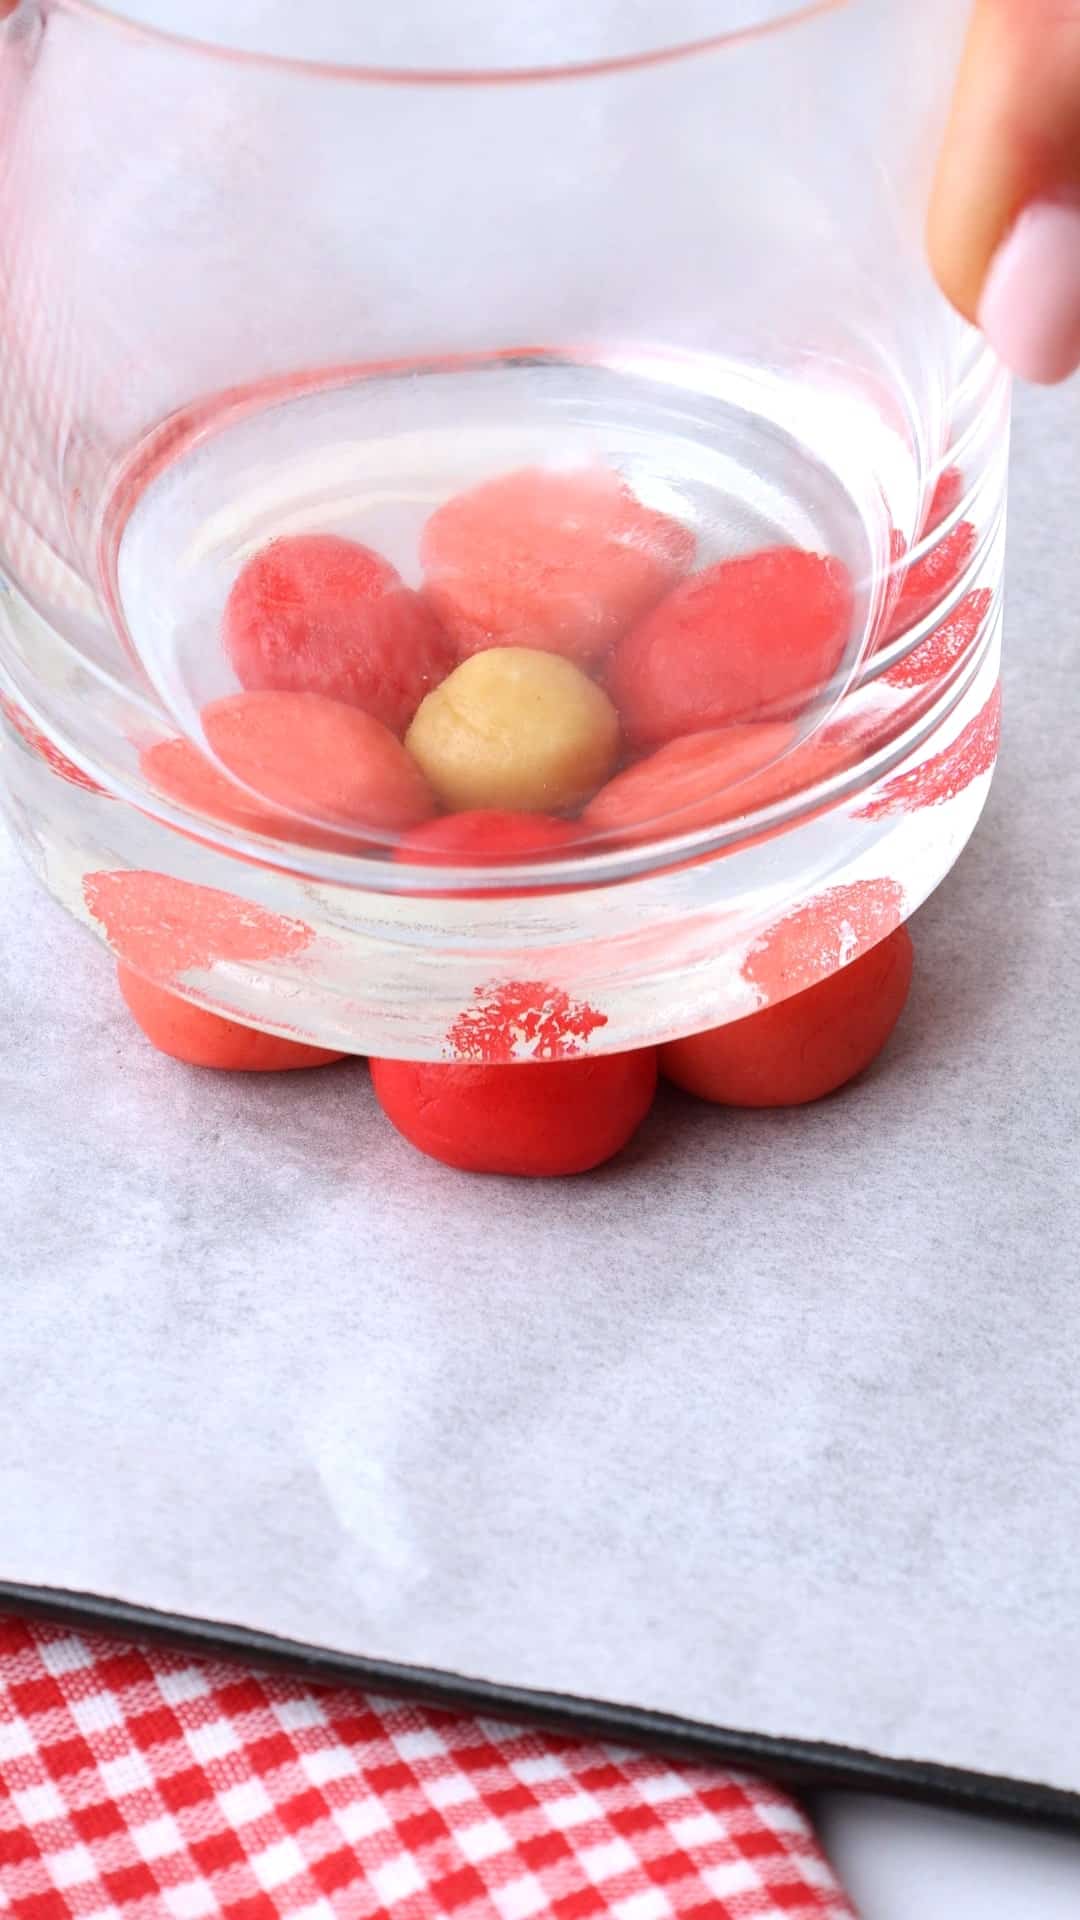
- Press with a glass: Lightly grease the bottom of a glass with a flat base with cooking spray. Press the flowers down with the base of the glass to squish the petals together.
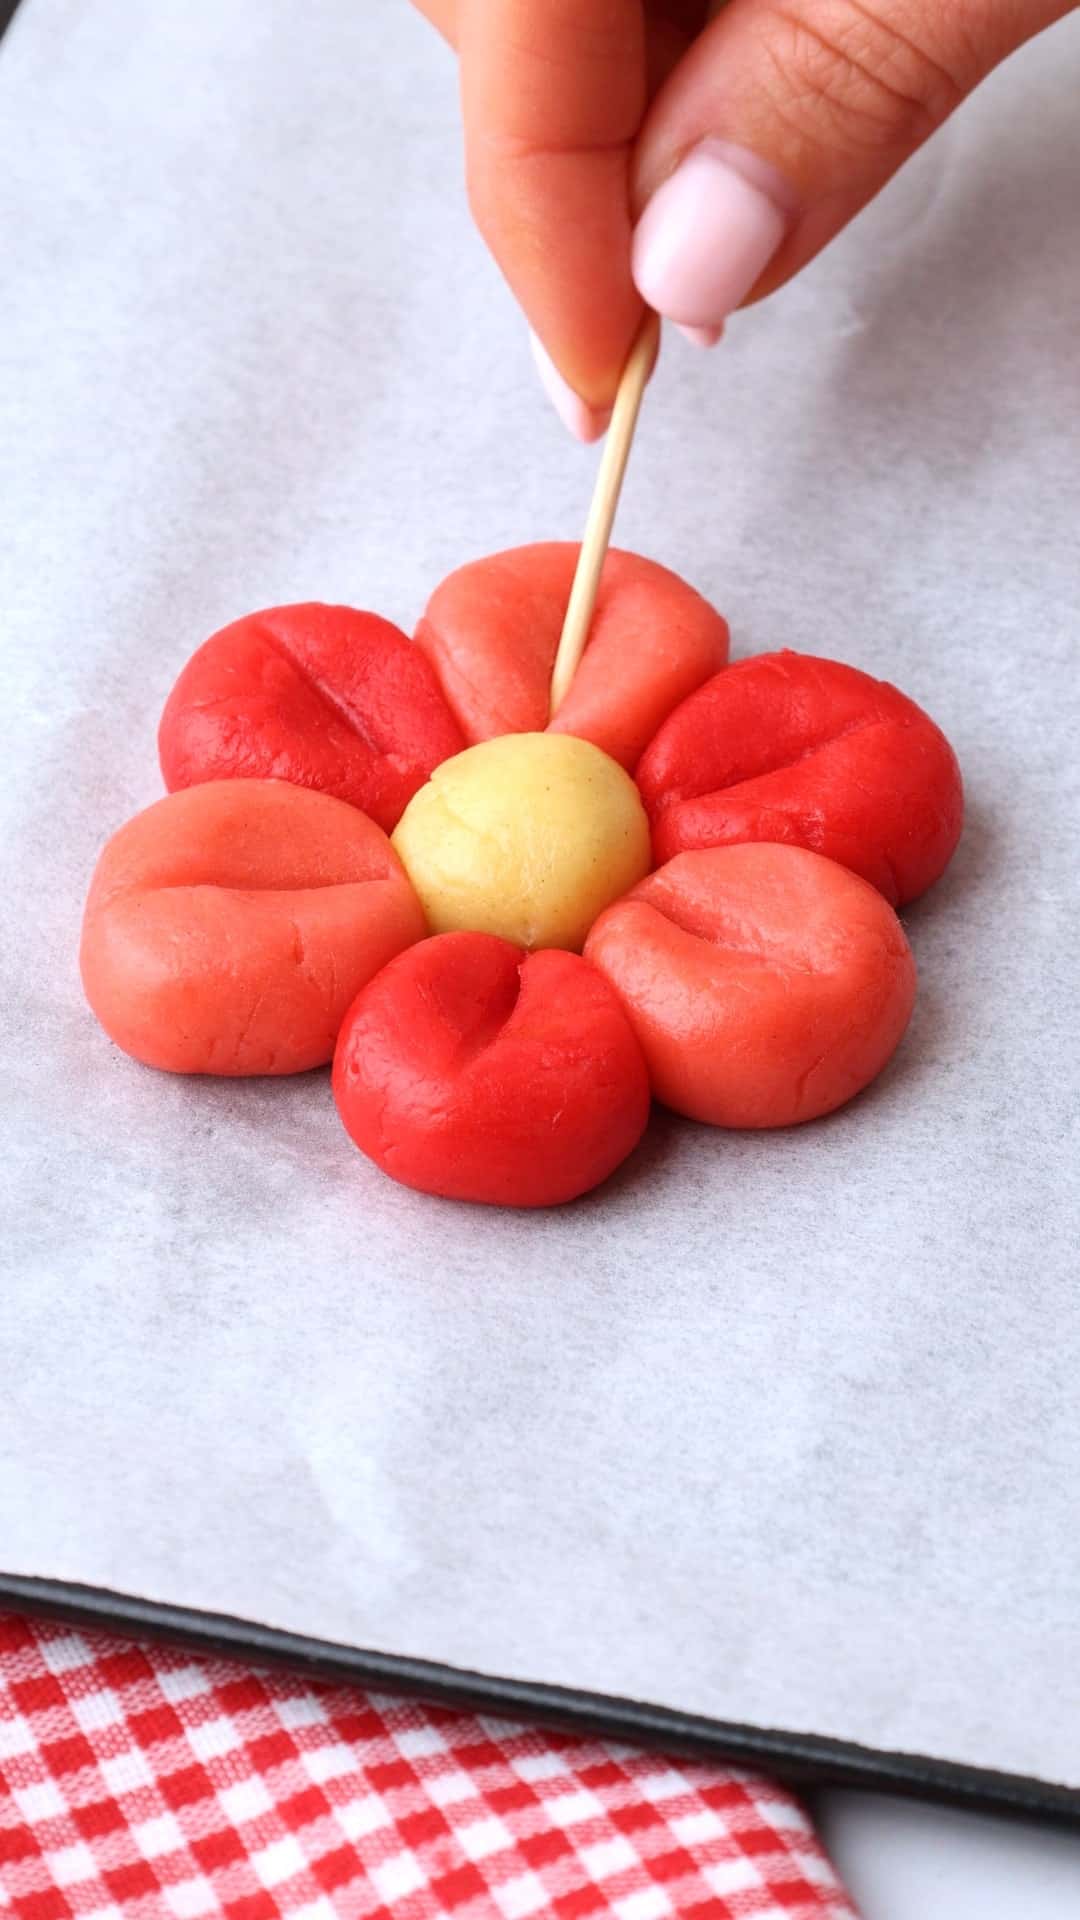
- Add the details: Use your index finger to press each petal into shape and use a toothpick to make a deep indent for a more realistic flower shape.
Bake & Add the Milkybar Buttons
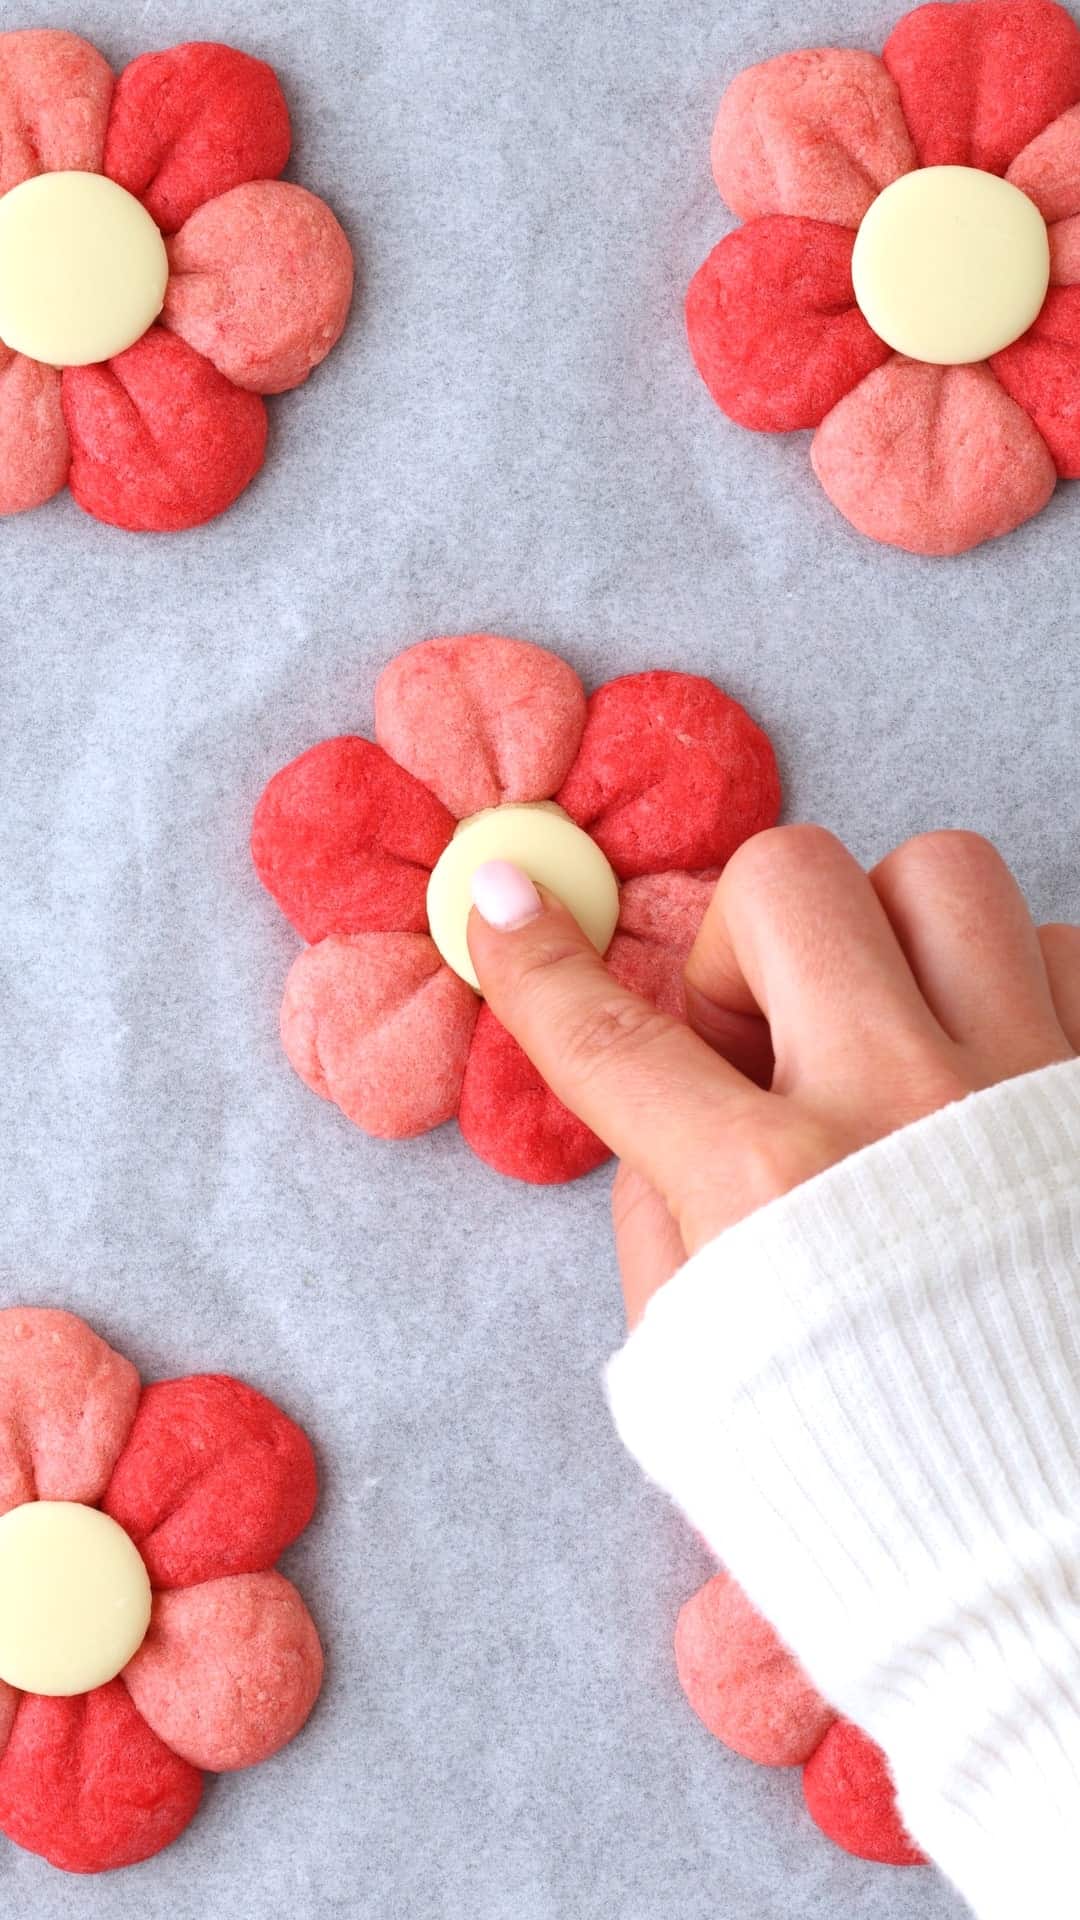
Now it’s time to bake the flower cookies and finish them off! Bake the cookies at 160°C fan for around 10 minutes. You’re looking for edges that are just set, with a soft centre that still looks slightly puffed. As soon as they come out of the oven, press a Milkybar Button into the centre of each one. The warmth from the cookie will gently melt the chocolate, helping it stick in place. I used the Milkybar sharing bag as the buttons are a bit larger, which makes them the perfect size for a flower centre. Leave the cookies on the tray to cool completely, they’ll firm up as they cool, and lift off easily once they’ve set.
Recipe FAQ’s
Yes, you can use either — but gel food colouring is usually the better choice. It gives a more vibrant colour without changing the texture of your dough. Liquid colouring can make the dough sticky, so if you go that route, just add it gradually and be ready to dust with a little extra flour if needed.
If your dough feels too sticky, it could be from adding liquid food colouring or slightly too much butter. Try adding 10g of flour to bring it back to a smooth dough that’s easier to handle. You can also try chilling the dough for 15–20 minutes to firm it up.
Dry, crumbly dough usually means there’s a bit too much flour or the dough hasn’t been worked enough. Try gently kneading it with your hands to bring it together. If it still won’t hold, add a teaspoon of milk or water and knead again until smooth.
They’ll stay fresh for 3–4 days in an airtight tin. Perfect for making ahead!
Blossom Flower Cookies
Rate this Recipe
Print Pin Rate this RecipeIngredients
- 80 grams Unsalted butter or vegan baking block
- 50 grams Caster sugar
- 1 teaspoon Vanilla extract
- 1 medium Egg
- 180-200 grams Plain all-purpose flour
- Pink food colouring light and dark shades or adjust amount to make two tones
- 10 Milkybar Buttons (sharing bag)
- Cooking spray for greasing the glass
Instructions
- Preheat your oven to 160°C fan (180°C conventional / 350°F). Line a large baking tray with greaseproof paper.
- In a mixing bowl, cream together the butter, sugar and vanilla extract until pale and fluffy. Beat in the egg, then stir in 180g of flour to form a soft, smooth dough.80 grams Unsalted butter or vegan baking block, 50 grams Caster sugar, 1 teaspoon Vanilla extract, 1 medium Egg, 180-200 grams Plain all-purpose flour
- Scoop out 1/2 teaspoon portions of dough and roll them into 10 marble-sized balls using your hands. These will be the centres of your flower cookies. Set them aside.
- Divide the remaining dough into two equal portions. Place each in a separate bowl. Add a few drops of food colouring to each dough, remember to add more to one dough to make two different shades of pink. Mix with a spatula or your hands until the colour is evenly distributed. If the dough feels too soft or sticky to handle, add 10g extra flour to each dough and mix again until it’s easier to work with.Pink food colouring
- Roll the pink doughs into marble-sized balls: 30 balls from the light pink dough. 30 balls from the dark pink dough.
- On the lined tray, arrange six pink dough balls in a ring – alternate between light and dark pink for a petal effect. Place one plain ball in the centre of each ring to complete the flower shape. Repeat until you have 10 flowers, leaving space between each for spreading.
- Lightly grease the base of a glass with cooking spray and gently press down each cookie to squish the petals together.Cooking spray
- Use your index finger to gently indent each petal. Then, with a toothpick, press a deep line into each petal for added detail.
- Bake the cookies for 10 minutes, until slightly puffed and just set around the edges.
- As soon as the cookies come out of the oven, press a Milkybar button into the centre of each. The warmth will melt the chocolate slightly, helping it stick.10 Milkybar Buttons (sharing bag)
- Leave the cookies on the tray to cool completely before lifting them off – they’ll firm up as they cool. Enjoy!