Red Velvet Brownies
By Jessie
Updated: February 10, 2026
Rate This Recipe
By: Jessie
Updated: February 10, 2026
Rate This Recipe:

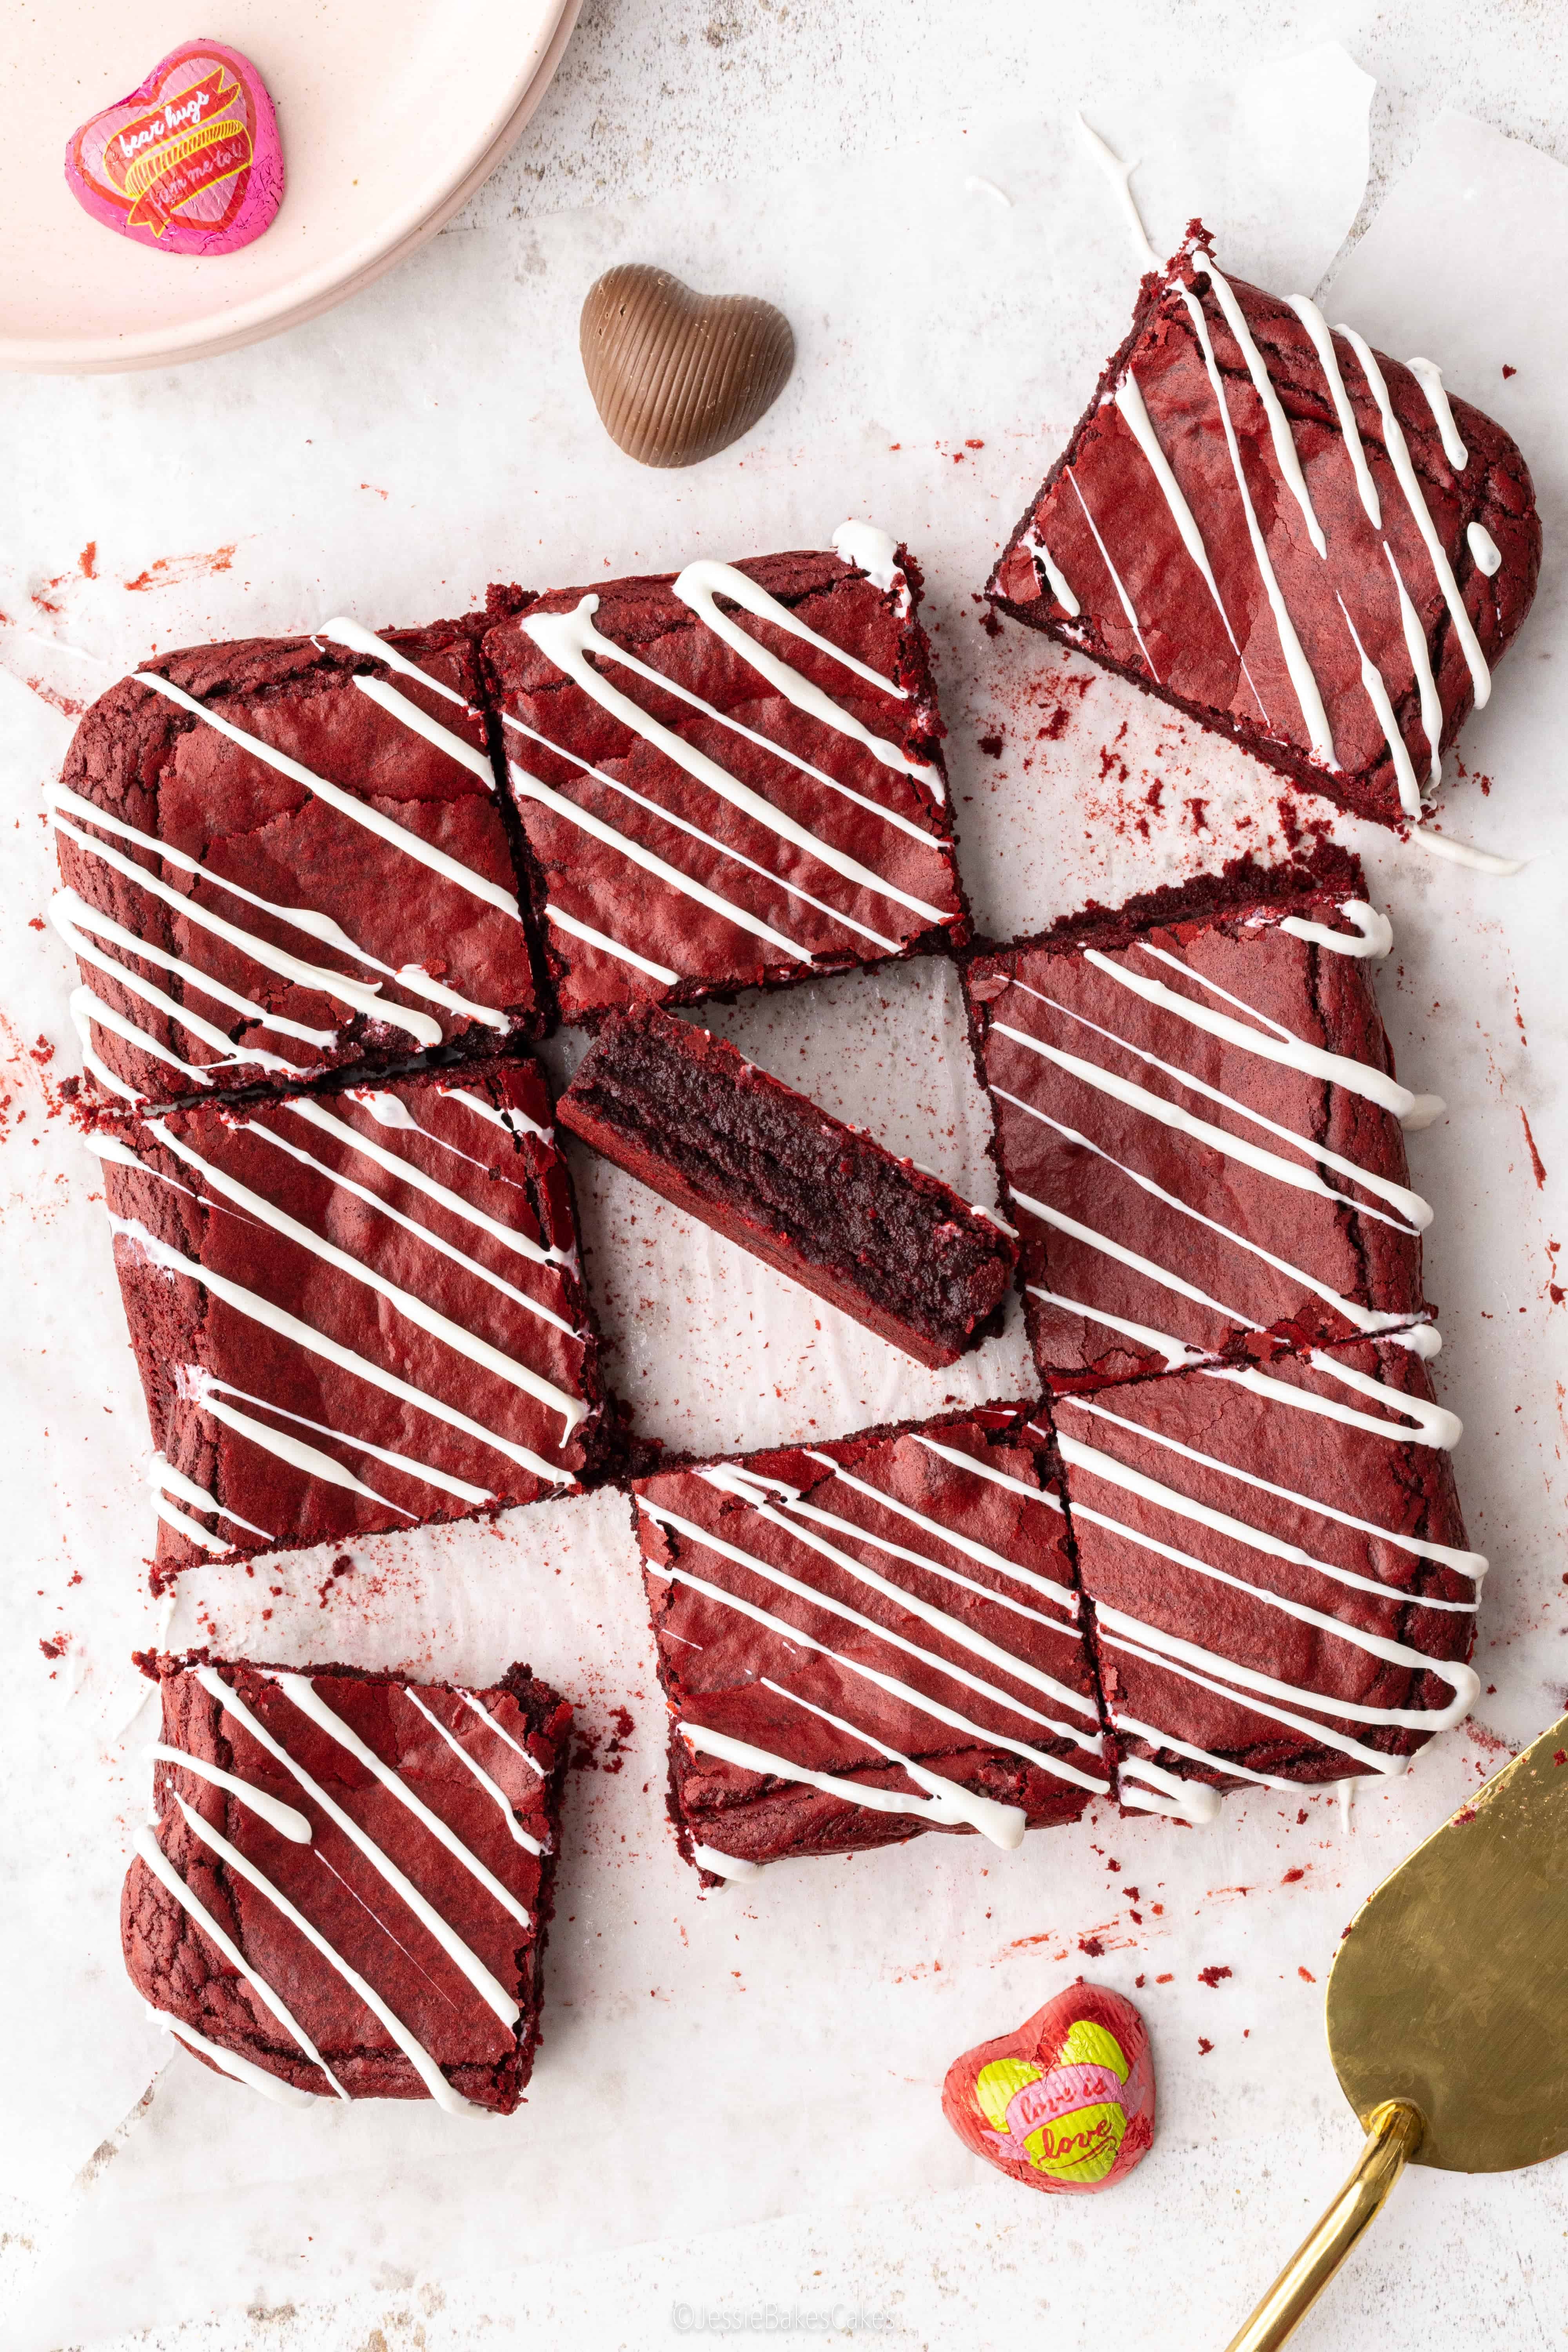
Fall in love with these delicious Red Velvet Brownies drizzled with cream cheese icing! Each bite has flavours of rich chocolate and sweet vanilla, baked into a soft and fudgy brownie. These Red Velvet Brownies would make a lovely Valentine’s Day recipe, festive Christmas bake, or simply a delicious treat when you’re in the mood for something indulgent.

RECIPE AT A GLANCE

TASTE
Red velvet combines sweet vanilla with rich chocolate to give its unique flavour. They’re drizzled with tangy cream cheese frosting, staying true to the flavours of classic red velvet cake!

TEXTURE
You can expect an extra fudgy, soft and dense brownie with a slightly crisp, crackly top.

SKILL
This is an easy, beginner-friendly recipe. The hardest part is waiting for the brownies to cool and set!

SERVES
Slice these red velvet brownies into 9 generously sized portions, 12 standard-sized brownies, or 16 bite-sized treats.
Red Velvet Brownies Ingredients
- Unsalted butter (melted): Melted butter gives the brownies a rich and buttery flavour and results in a softer, fudgier texture.
- Dark chocolate (melted): Using good-quality dark chocolate with 70% cocoa solids will result in a rich, chocolatey flavour without tasting too bitter.
- White caster sugar: The white caster sugar adds sweetness and gives the brownies a slightly crisp, shiny, crackly top.
- Eggs (room temperature): Add richness, moisture, and structure to the brownies.
- Vanilla extract: Vanilla extract adds a sweet and aromatic flavour that complements the rich chocolatey notes.
- White wine vinegar: Adds a subtle tangy flavour and the acidity disrupts the gluten development in the flour, making the brownies tender and moist.
- Self-raising flour: Binds the fats together without drying out the brownies. The added raising agent in self-raising flour will give the brownies a little rise to create a thicker brownie.
- Cocoa powder: The cocoa powder enhances the overall chocolatey-ness of these red velvet brownies and gives the brownies structure.
- Red food colouring: For these red velvet brownies, you must use either a gel or oil-based red food colouring. I highly recommend using Sugarflair Red Extra.

How to know when the Red Velvet Brownies are done baking
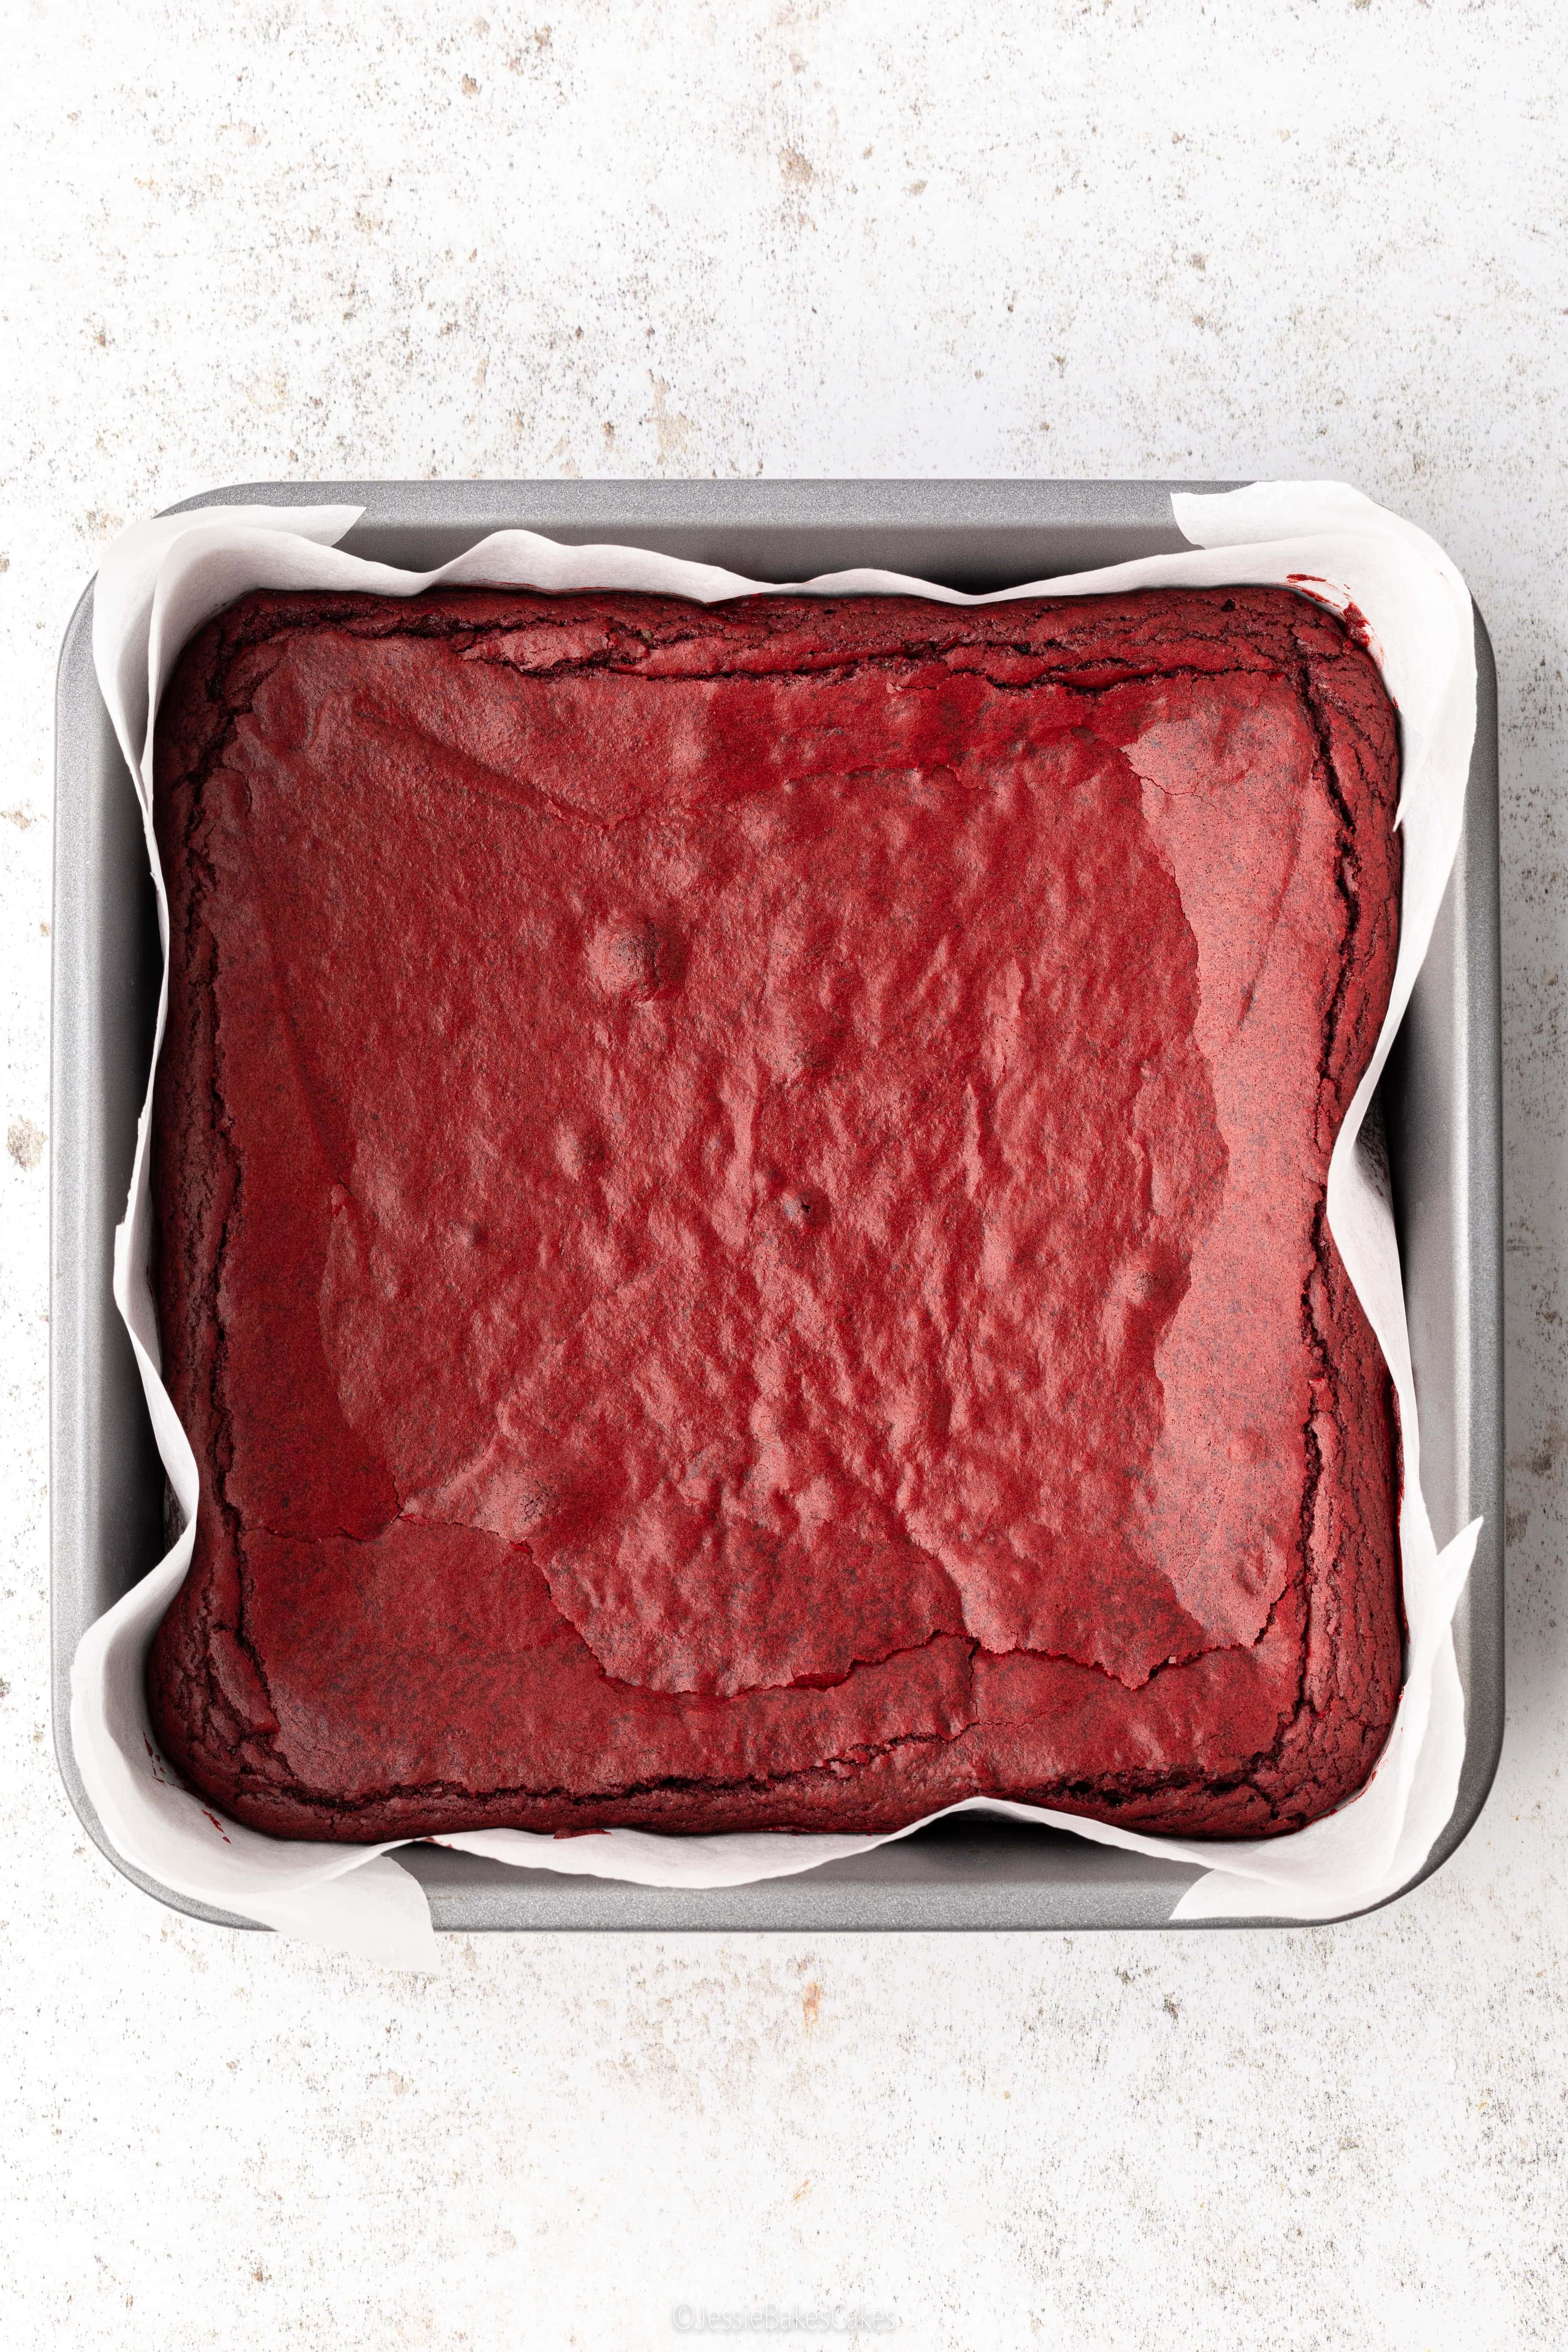
As these red velvet brownies cool down, they will continue to cook through. So, if you want to bake ultra-fudgy and moist brownies, remove the brownies from the oven while they are slightly underbaked. Here’s what to look for when the brownies are ready:
- The top of the brownies will be set and glossy
- Visible cracks around the outside edge
- The middle should wobble if you give the baking tin a shake
Now here’s the tough part… you must allow these red velvet brownies to cool down completely before slicing. Leave them in the baking tin for 3 to 4 hours at room temperature, or place in the fridge for 2 hours. Then slice for the ultimate fudgy brownie texture!
Quick Recipe Success Tips
- Use a 20cm square tin: It’s important to use the same-sized baking tin to get the best results from this recipe. The ingredient quantities and baking time are only accurate if you use a 20cm square tin.
- For the brownie mixture, use a gel or oil-based food colouring: This concentrated type of food colouring will transform the brownie mixture into a vibrant red hue. I recommend using Sugarflair Red Extra.
- When making the icing, use cold cream cheese: In the UK, cream cheese contains a lot of water, making it prone to becoming runny when mixed. Starting with cold cream cheese should result in a thick and pipeable icing. Mix the ingredients slowly and only until just combined.
- Allow the brownies to cool completely: During the cooling time, the brownies will continue cooking, firm up and turn extra fudgy. This step will test your willpower but I promise it will be worth the wait!
Red Velvet Brownies
Rate this Recipe
Print Pin Rate this RecipeIngredients
Red velvet brownies
- 150 grams Unsalted butter roughly chopped
- 120 grams 70% dark chocolate broken into chunks
- 220 grams White caster sugar
- 2 medium Eggs room temperature
- 2 teaspoon Vanilla extract
- 1 teaspoon White wine vinegar
- 130 grams Self-raising flour
- 20 grams Cocoa powder
- 1-2 teaspoons Red food colouring (gel or oil-based) I used Sugarflair Red Extra
Cream cheese icing
- 40 grams Full-fat cream cheese use cold from the fridge
- 50 grams Icing sugar
Instructions
To make the red velvet brownies:
- Preheat the oven to 160°C fan / 180°C conventional. Line a 20cm square baking tin with baking paper.
- In a glass bowl or jug, add the dark chocolate and butter. Microwave in 30-second blasts, stirring in between, until smooth and melted. Set aside to cool.120 grams 70% dark chocolate, 150 grams Unsalted butter
- In a separate bowl, whisk the caster sugar and eggs for a couple of minutes until pale in colour, thick and foamy.2 medium Eggs, 220 grams White caster sugar
- Add the vanilla extract, white wine vinegar, melted chocolate and red food colouring to the whisked eggs. Fold everything together until the mixture is smooth and bright red.2 teaspoon Vanilla extract, 1 teaspoon White wine vinegar, 1-2 teaspoons Red food colouring (gel or oil-based)
- Sift in the flour and cocoa powder, then fold together until the brownie mixture is just combined.130 grams Self-raising flour, 20 grams Cocoa powder
- Spoon into the baking tin and spread out evenly. Bake for 22-25 minutes until the brownies are set on top, small cracks appear on the outer edges, and the middle has a slight wobble to it.
- Leave to cool completely for at least 3-4 hours or overnight for best results (this will allow the brownies to set and turn fudgy). You can speed up the cooling time by refrigerating the brownies for 2 hours instead.
To make the cream cheese icing:
- In a small bowl, mix the cream cheese and icing sugar together until smooth and combined. Be careful not to overmix as the icing can become runny very quickly. If it does, just pop it in the fridge to firm up.40 grams Full-fat cream cheese, 50 grams Icing sugar
- Remove the cooled brownies from the baking tin and drizzle the cream cheese icing on top. Slice and enjoy!
Video
This post contains affiliate links which means I will make a small commission if you purchase through those links. I only recommend products that I know, trust and love!
Loved making this for my grandson….. his favorite’s is red velvet and as a brownie win win for me .Great recipe thank you .
Hi Mazine, awww that’s so lovely to hear!
It’s almost better than classic one’s
Thanks for the review Helena 🙂
[…] Get the recipe […]
This brownie recipe is just incredible I highly recommend it a pure delight🤩
Wow what a review! Thank you so much for sharing 😍
Hello, Eager to try your recipe but I am vegan. So can you please tell me substitute for eggs. Please
Hi, Jessie! Thanks for this recipe, can’t wait to try it. If you’re using AP flour, how much baking powder would you recommend in place of self raising flour?
Hey 😊 I would use 1 tsp baking powder. Enjoy your brownies!