Coffee Miso Caramel Halloween Brownies
By Jessie
Updated: October 8, 2025
Rate This Recipe
By: Jessie
Updated: October 8, 2025
Rate This Recipe:
These Halloween brownies are rich, fudgy, and devilishly gooey, with a wicked mix of Camp Coffee, salty miso, and swirls of caramel running through every bite! The best bit? You can spook them up with easy white chocolate decorations – choose from spiderwebs, ghosts, and mummies, or a mix of all three. They’re dark, decadent, and guaranteed to impress at any Halloween occasion.
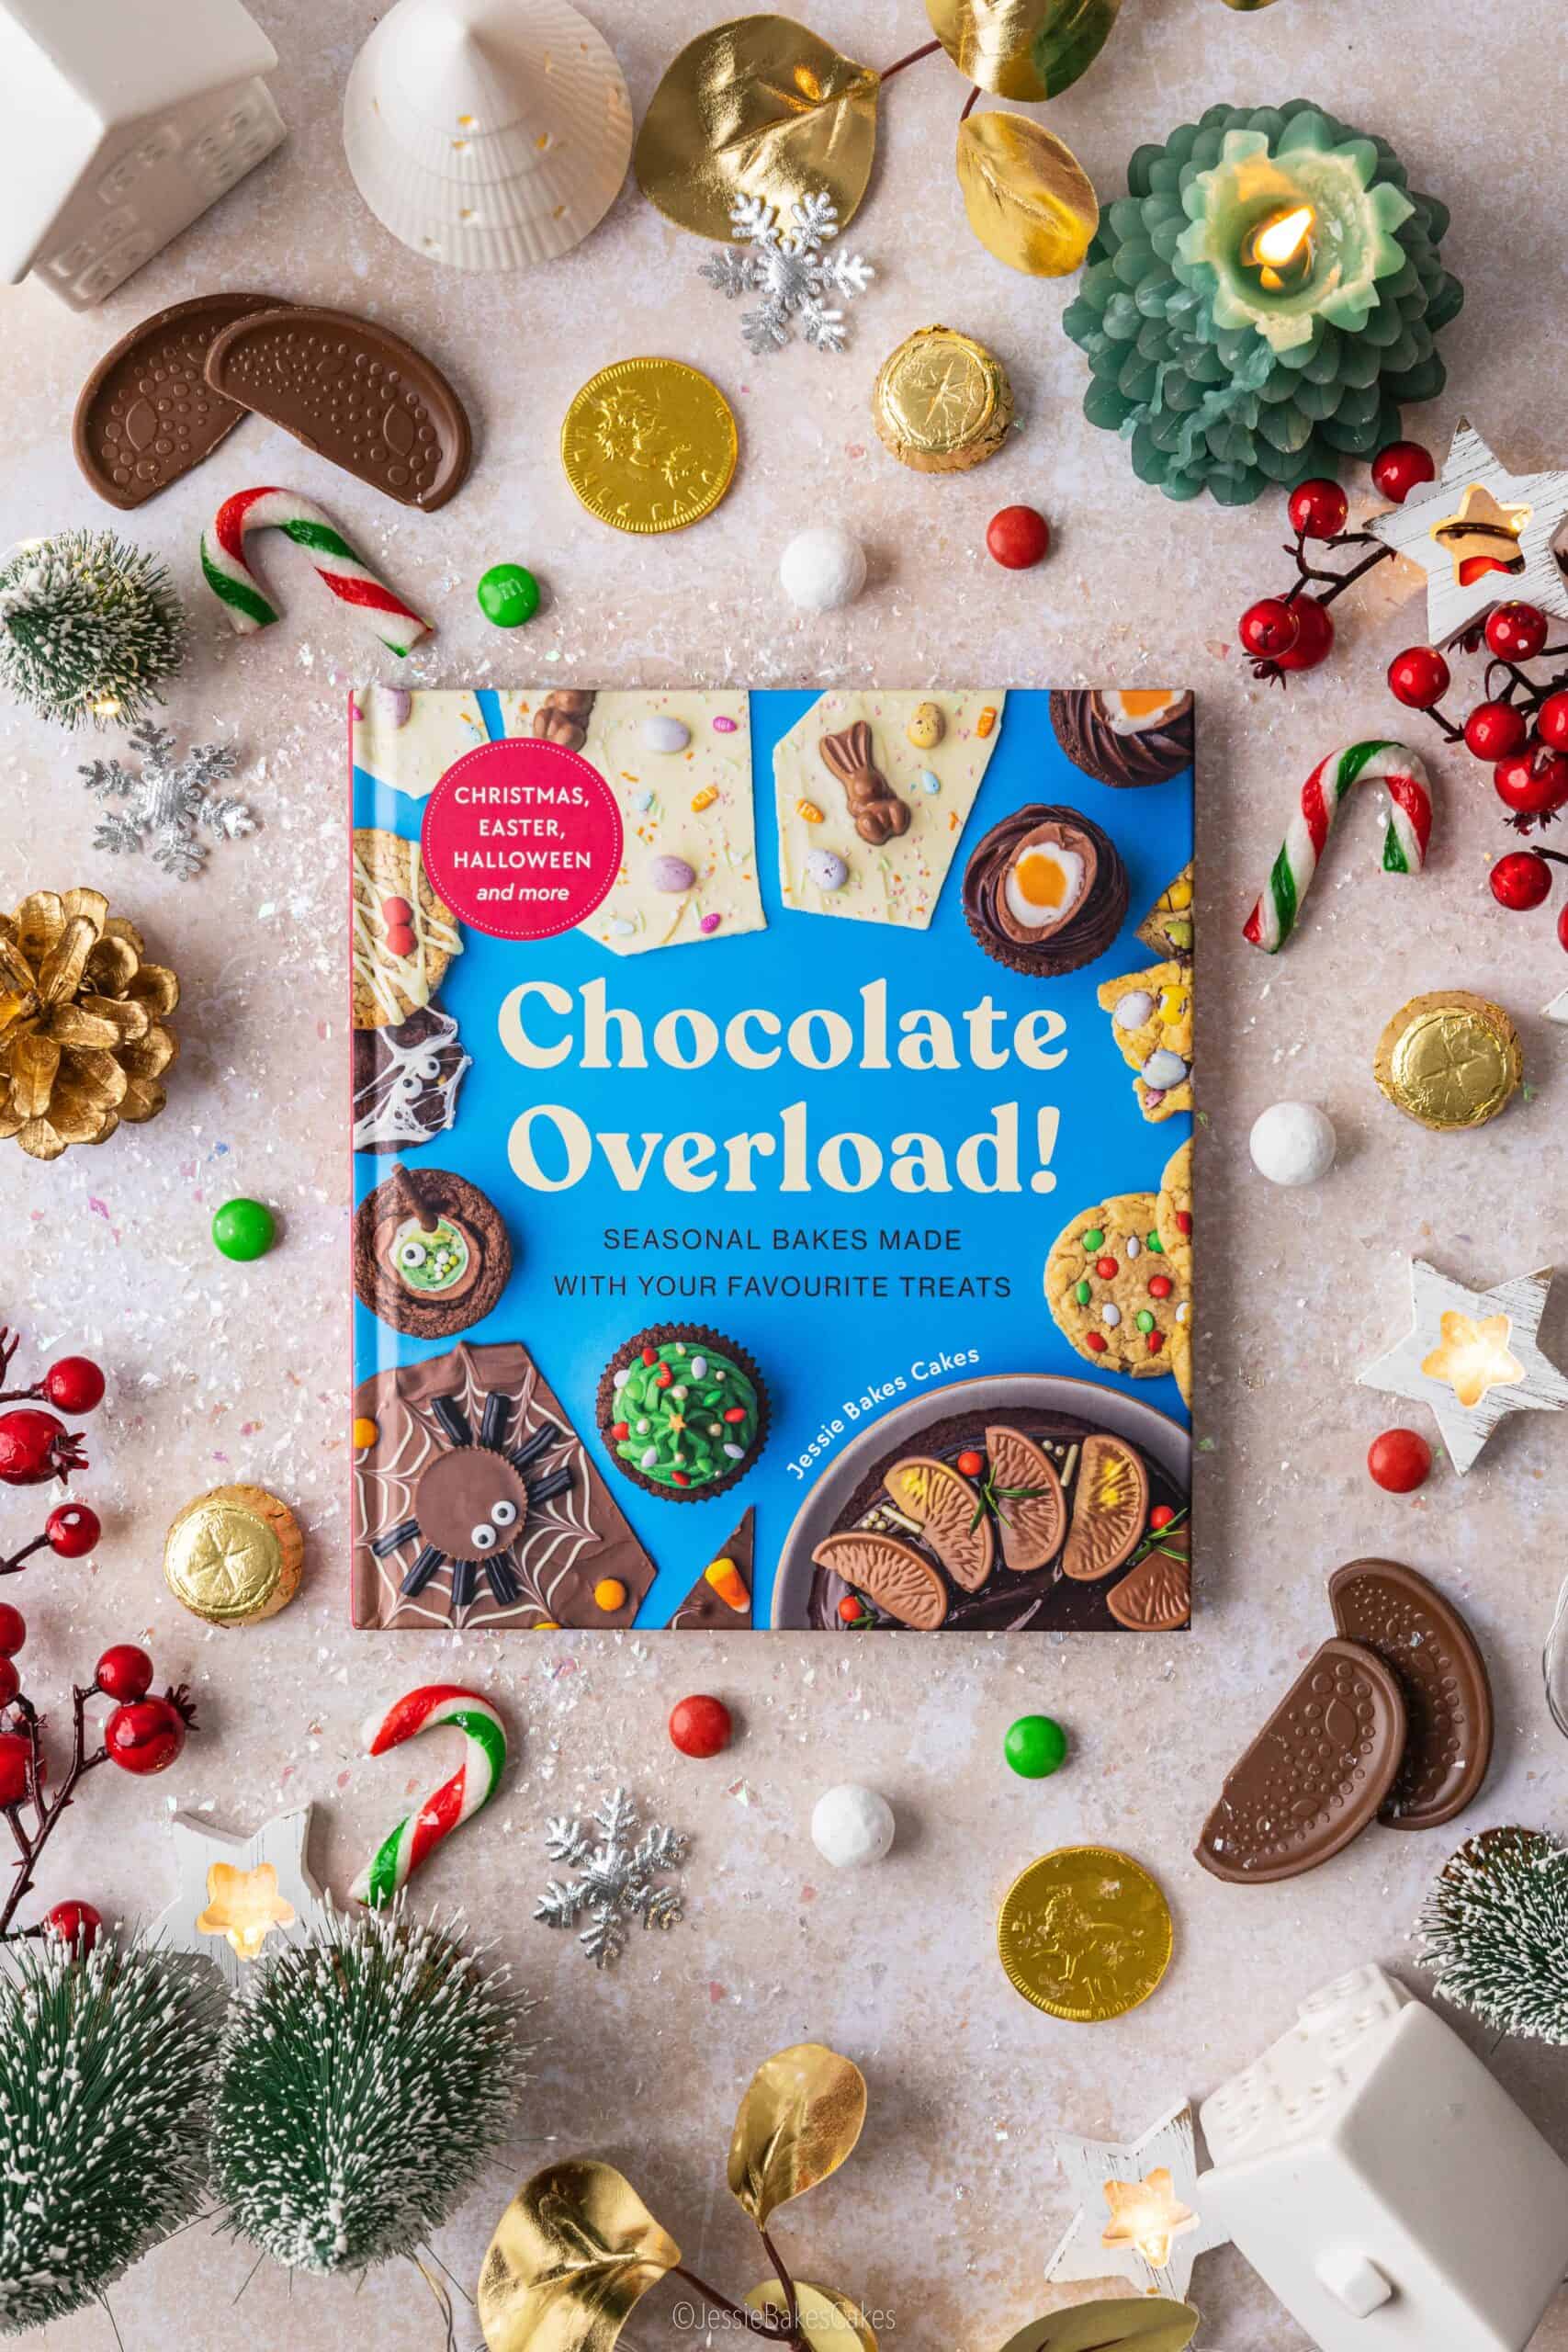
This recipe is kindly sponsored by Camp Coffee. I only recommend products I personally use, trust and love!
Your Ingredients List
- Dark chocolate: The base of your Halloween brownies to make them chocolatey and indulgent. Choose 70% dark chocolate for a rich and intense flavour that’s not overly sweet.
- Unsalted butter: Adds richness and gives the brownies a gooey, fudgy texture.
- Eggs: Gives the brownies structure, rise and richness.
- Caster sugar: Sweetens the brownies while locking in moisture. The sugar and eggs are whisked together to create a glossy, crackly top on your brownies.
- Camp Chicory & Coffee Essence: My secret ingredient for an instantly rich, bold and deep coffee flavour! No brewing needed, just add a few spoonfuls to instantly give your Halloween brownies with a coffee kick.
- White miso paste: Sounds unusual, but trust me… it’s magic. The savoury, salty edge balances out all the sweetness and boosts the chocolatey flavour. Prefer to leave it out? No problem, you don’t need to change anything else.
- Plain flour: Binds everything together and provides structure. We use a minimal amount of flour to retain a gooey, fudgy middle.
- Cocoa powder: Deepens the chocolate flavour, improves fudginess and makes the brownies extra rich.
- Salted caramel sauce: Thick, gooey, and decadent. Swirled through the brownie batter for sticky pockets of caramel in every slice. Choose a good-quality jar of caramel, not the liquid kind that comes in a squeezy bottle.
- White chocolate: Melted down for your spooky Halloween decorations.
- Decoration bits-and-bobs: Gather edible eyes, Halloween sprinkles and black writing icing to add the fun finishing touches to your halloween brownies.
RECIPE AT A GLANCE

TASTE
Think deep dark chocolate, rich coffee, sweet caramel, and a hint of salty miso to balance it all out. These brownies are perfectly balanced!

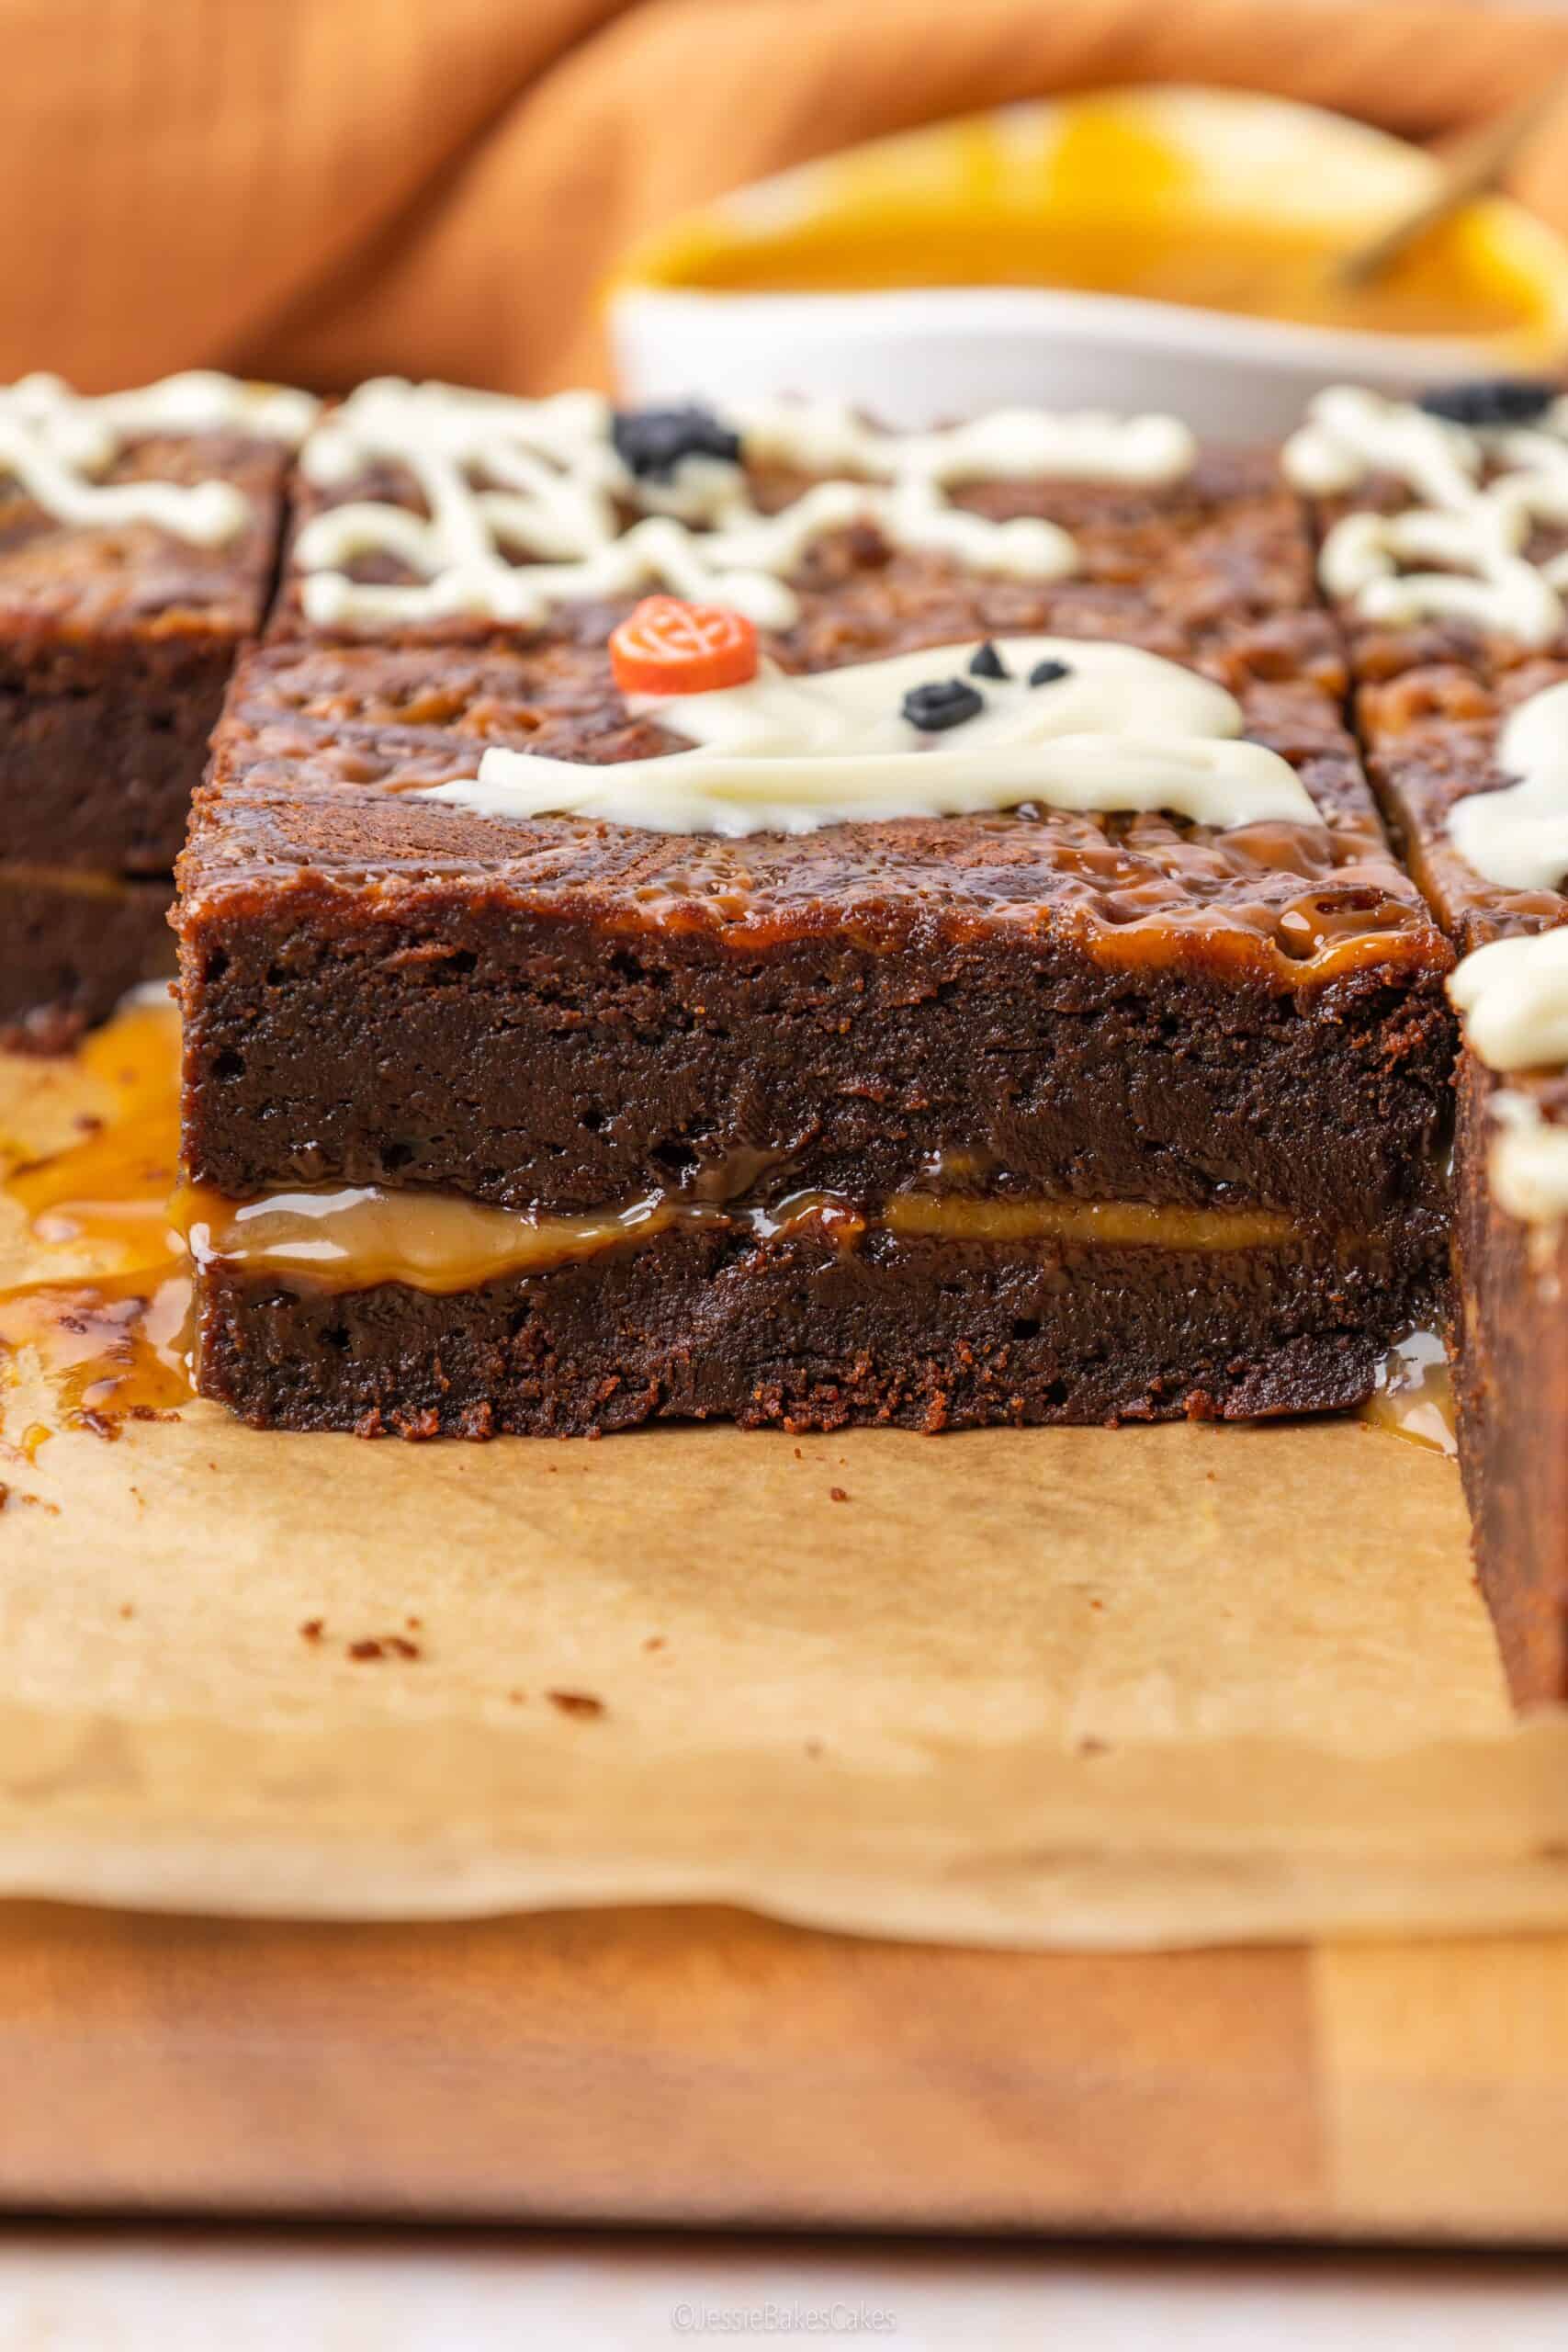
TEXTURE
Crisp tops, chewy edges and fudgy middles, with sticky caramel swirls running throughout. Each bite is dense and gooey in the best way.

SKILL
Honestly, these are super easy to make. Melt, whisk, fold, swirl and you’re basically there. The halloween decoration takes a matter of minutes too!

SERVES
Cut your coffee halloween brownies into 9 big bakery-style slices, or 12 smaller ones for more portions.
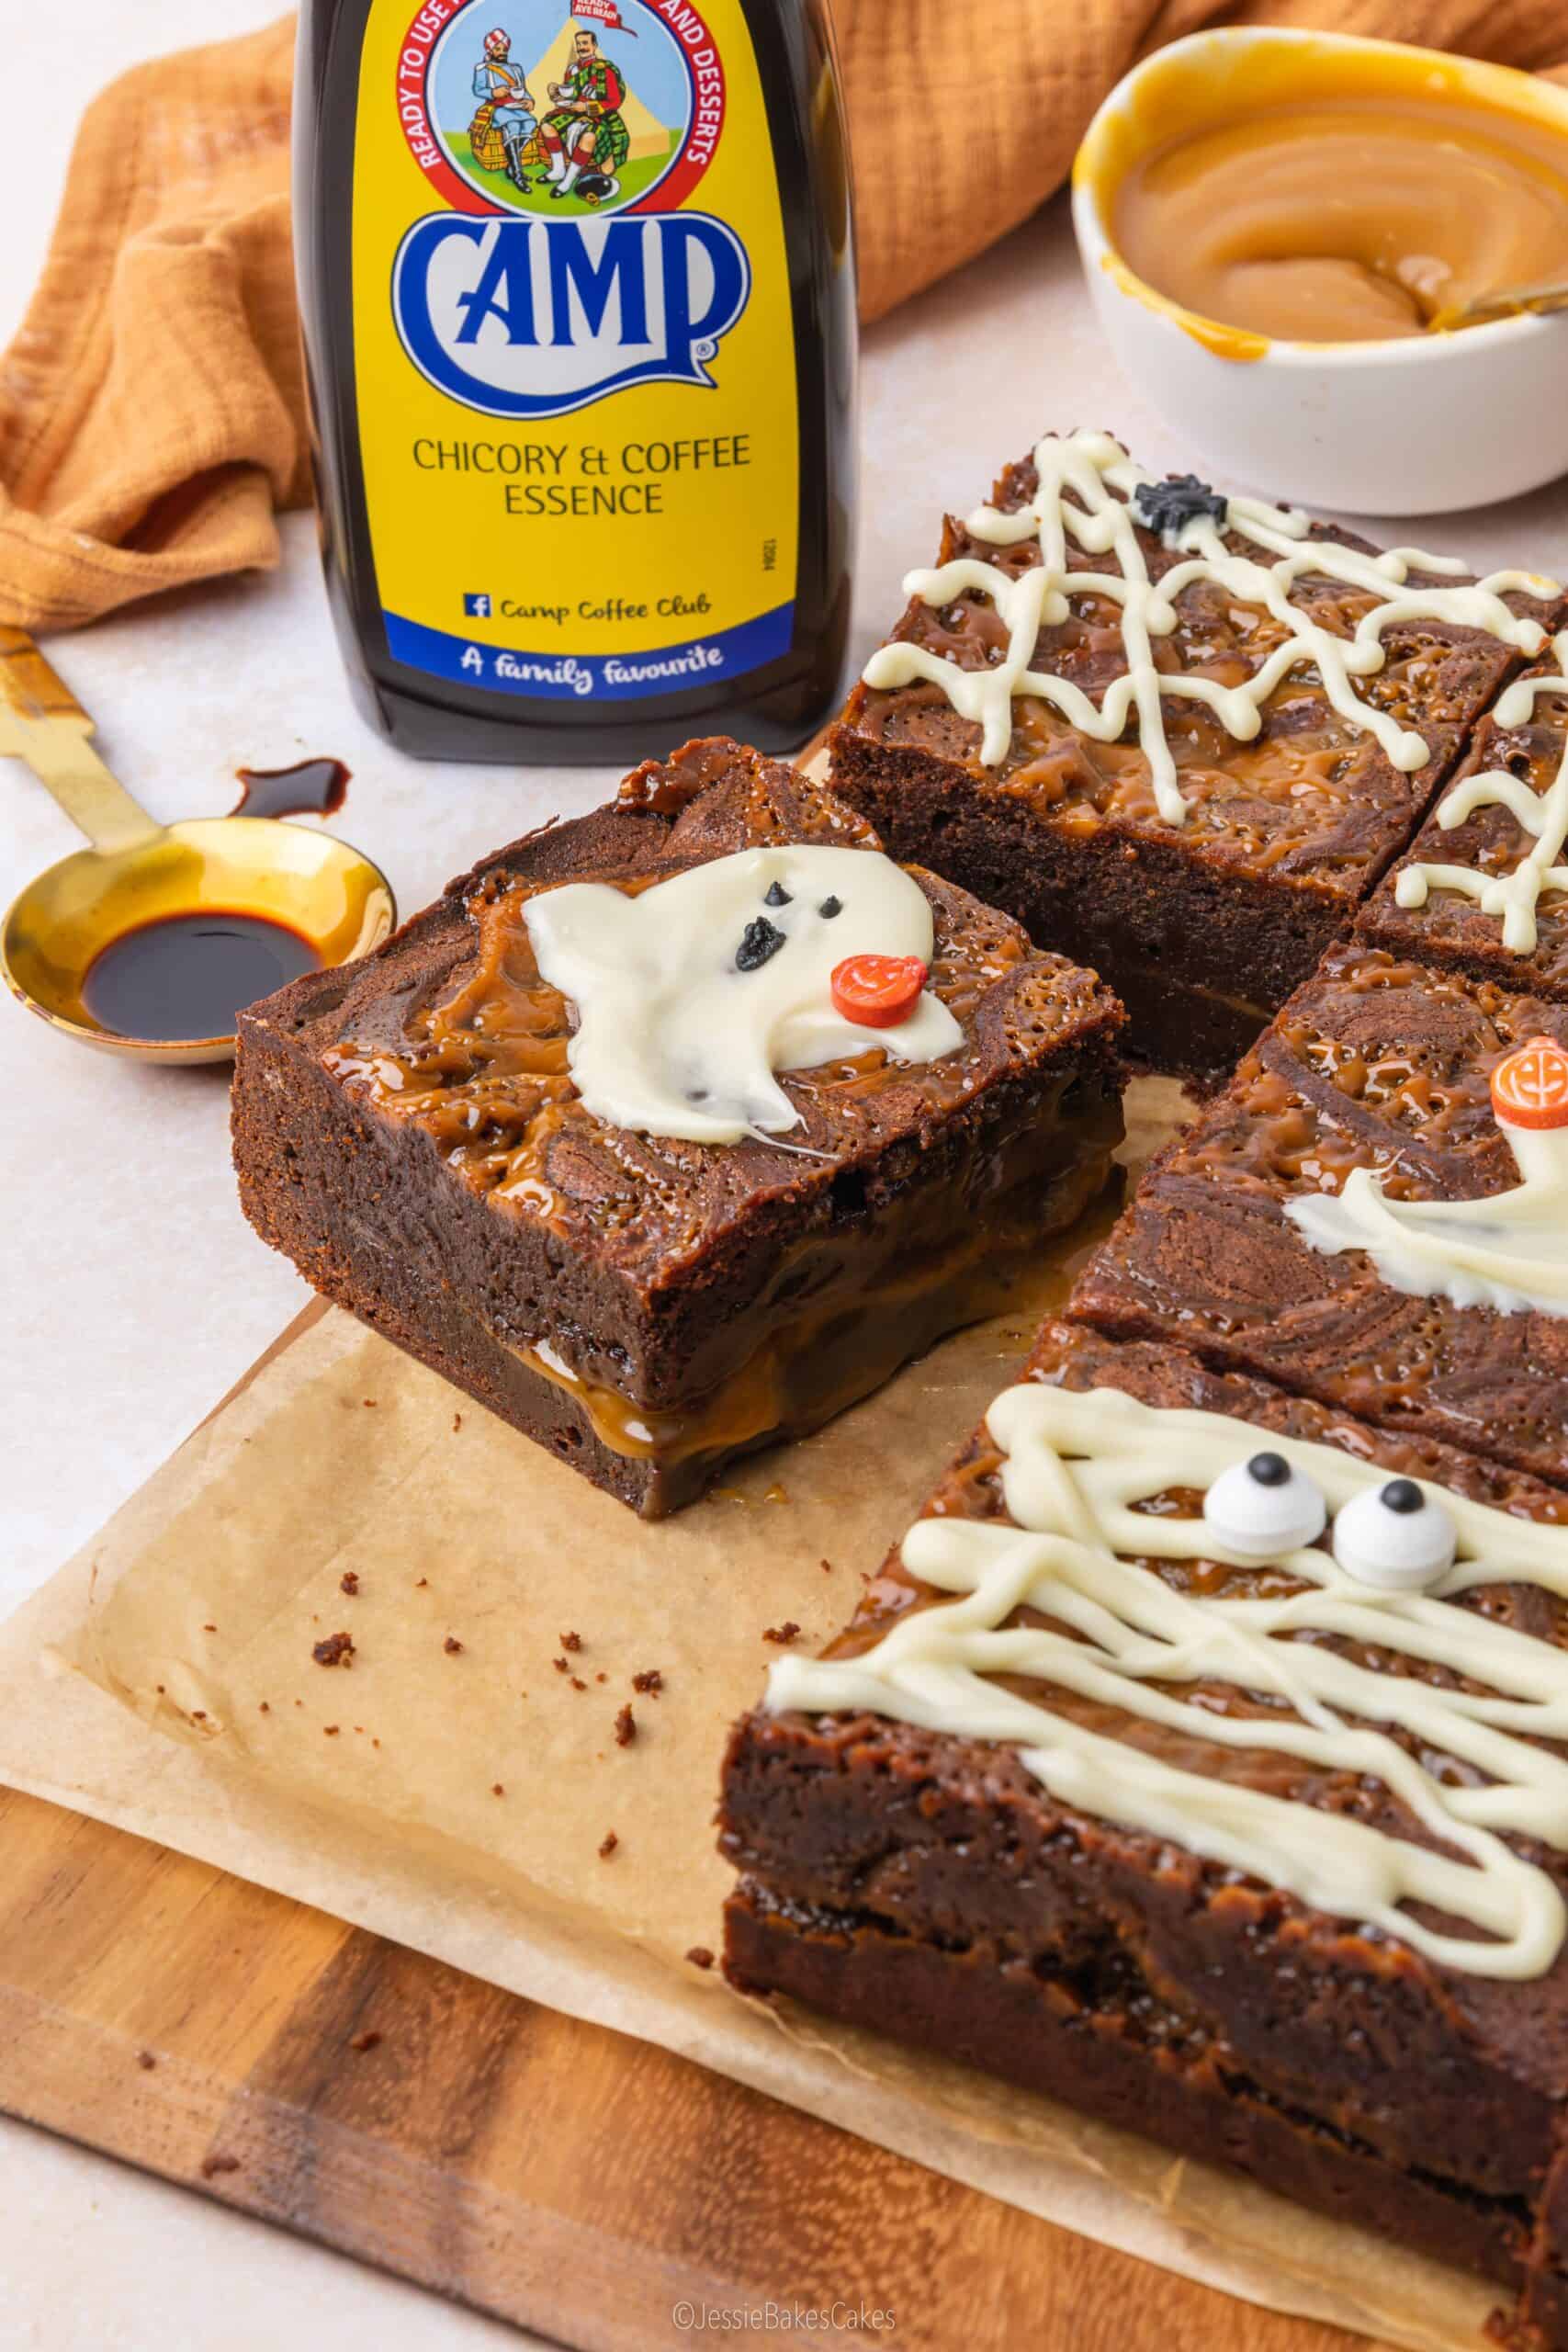
Why Use Camp Coffee in Brownies?
If you’ve never baked with Camp Coffee before, you’re in for a treat! It’s a brilliant little bottle that packs in a rich, deep, roasted coffee flavour, which is perfect for adding an instant coffee boost to brownies. Unlike adding liquid coffee, which can water down your brownie batter and mess with the texture, Camp Coffee essence can be stirred straight in from the bottle. The result? An intense, bold coffee kick that pairs beautifully with dark chocolate and makes your Halloween brownies taste even more luxurious. These Mocha Cherry Chocolate Cupcakes were also made using Camp Coffee essence, and is a lovely recipe for Valentine’s, girly get-togethers, or baby showers.
How To Make Coffee Miso Caramel Halloween Brownies
Step 1: Make the coffee miso brownie mixture
The brownie mixture comes together in four really easy steps:
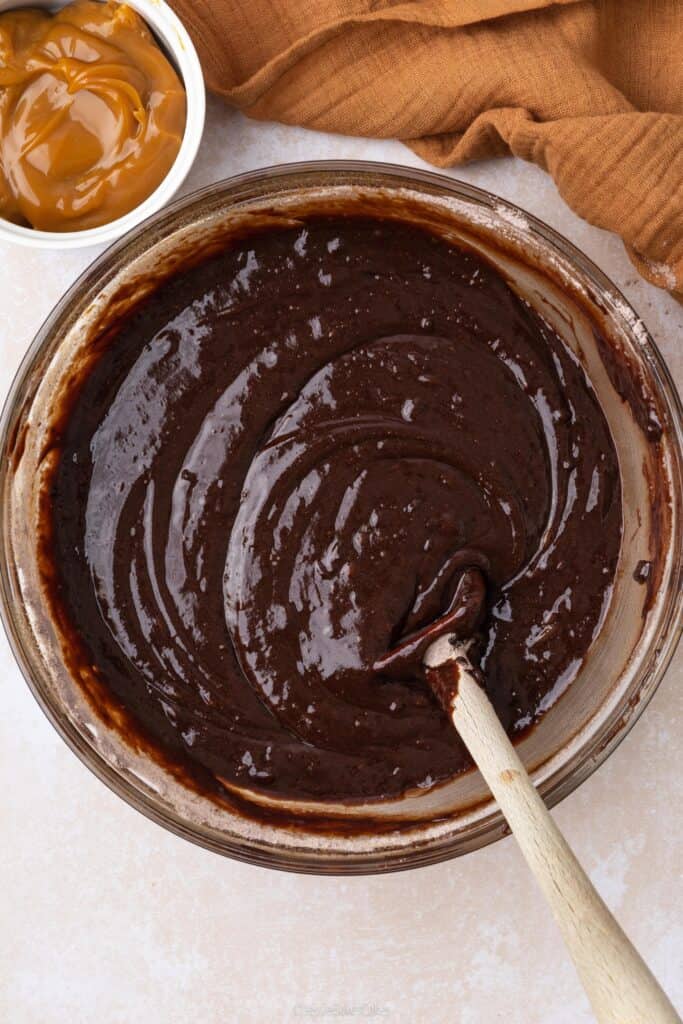
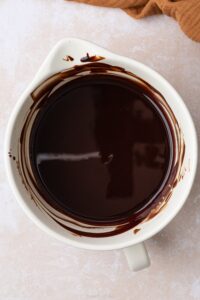
Melt the chocolate and butter: Break up your dark chocolate into a bowl and add the butter. Melt in the microwave until smooth and glossy – this will take 60-90 seconds. Just stop and stir every now and then so it doesn’t burn.
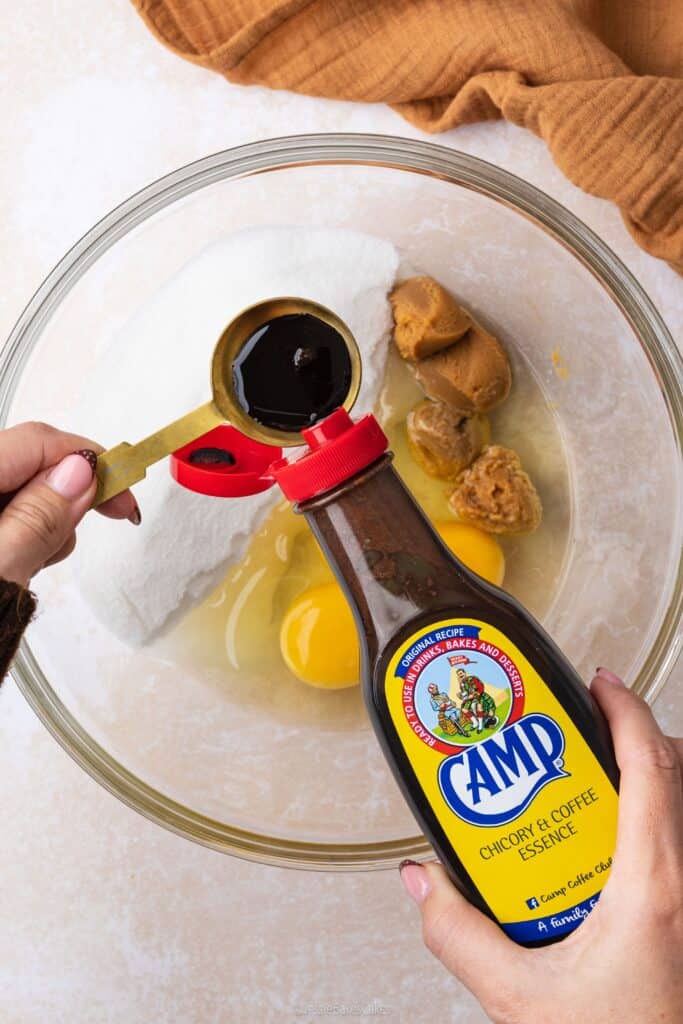
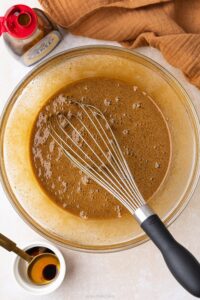
Whisk the wet ingredients: Pop your eggs, sugar, miso paste and Camp Coffee essence into a bowl and whisk vigorously for about 5 minutes (your arm should ache!). You’re looking for a thick, foamy, bubbly mixture. This bit is what gives the brownies that shiny, crackly, paper-thin top.
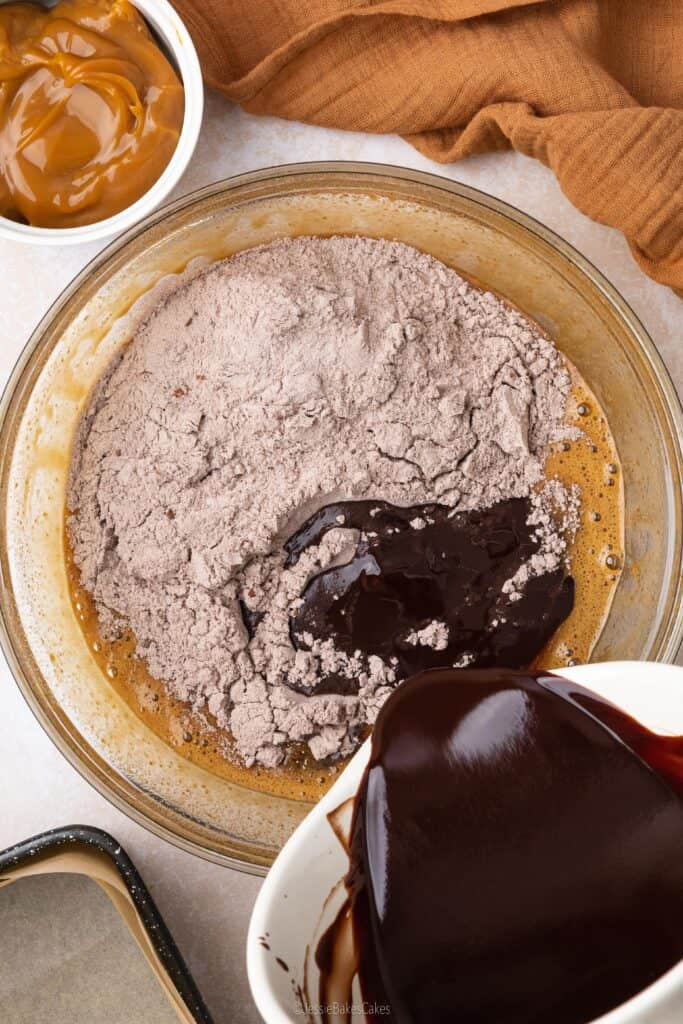
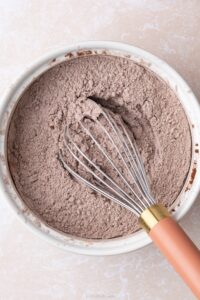
Stir the dry ingredients: In a separate bowl, mix your flour and cocoa powder together.
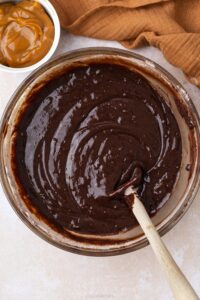
Combine all three mixtures: Add the dry ingredients and the melted chocolate mixture to the whisked eggs. Fold gently until the brownie mixture comes together.

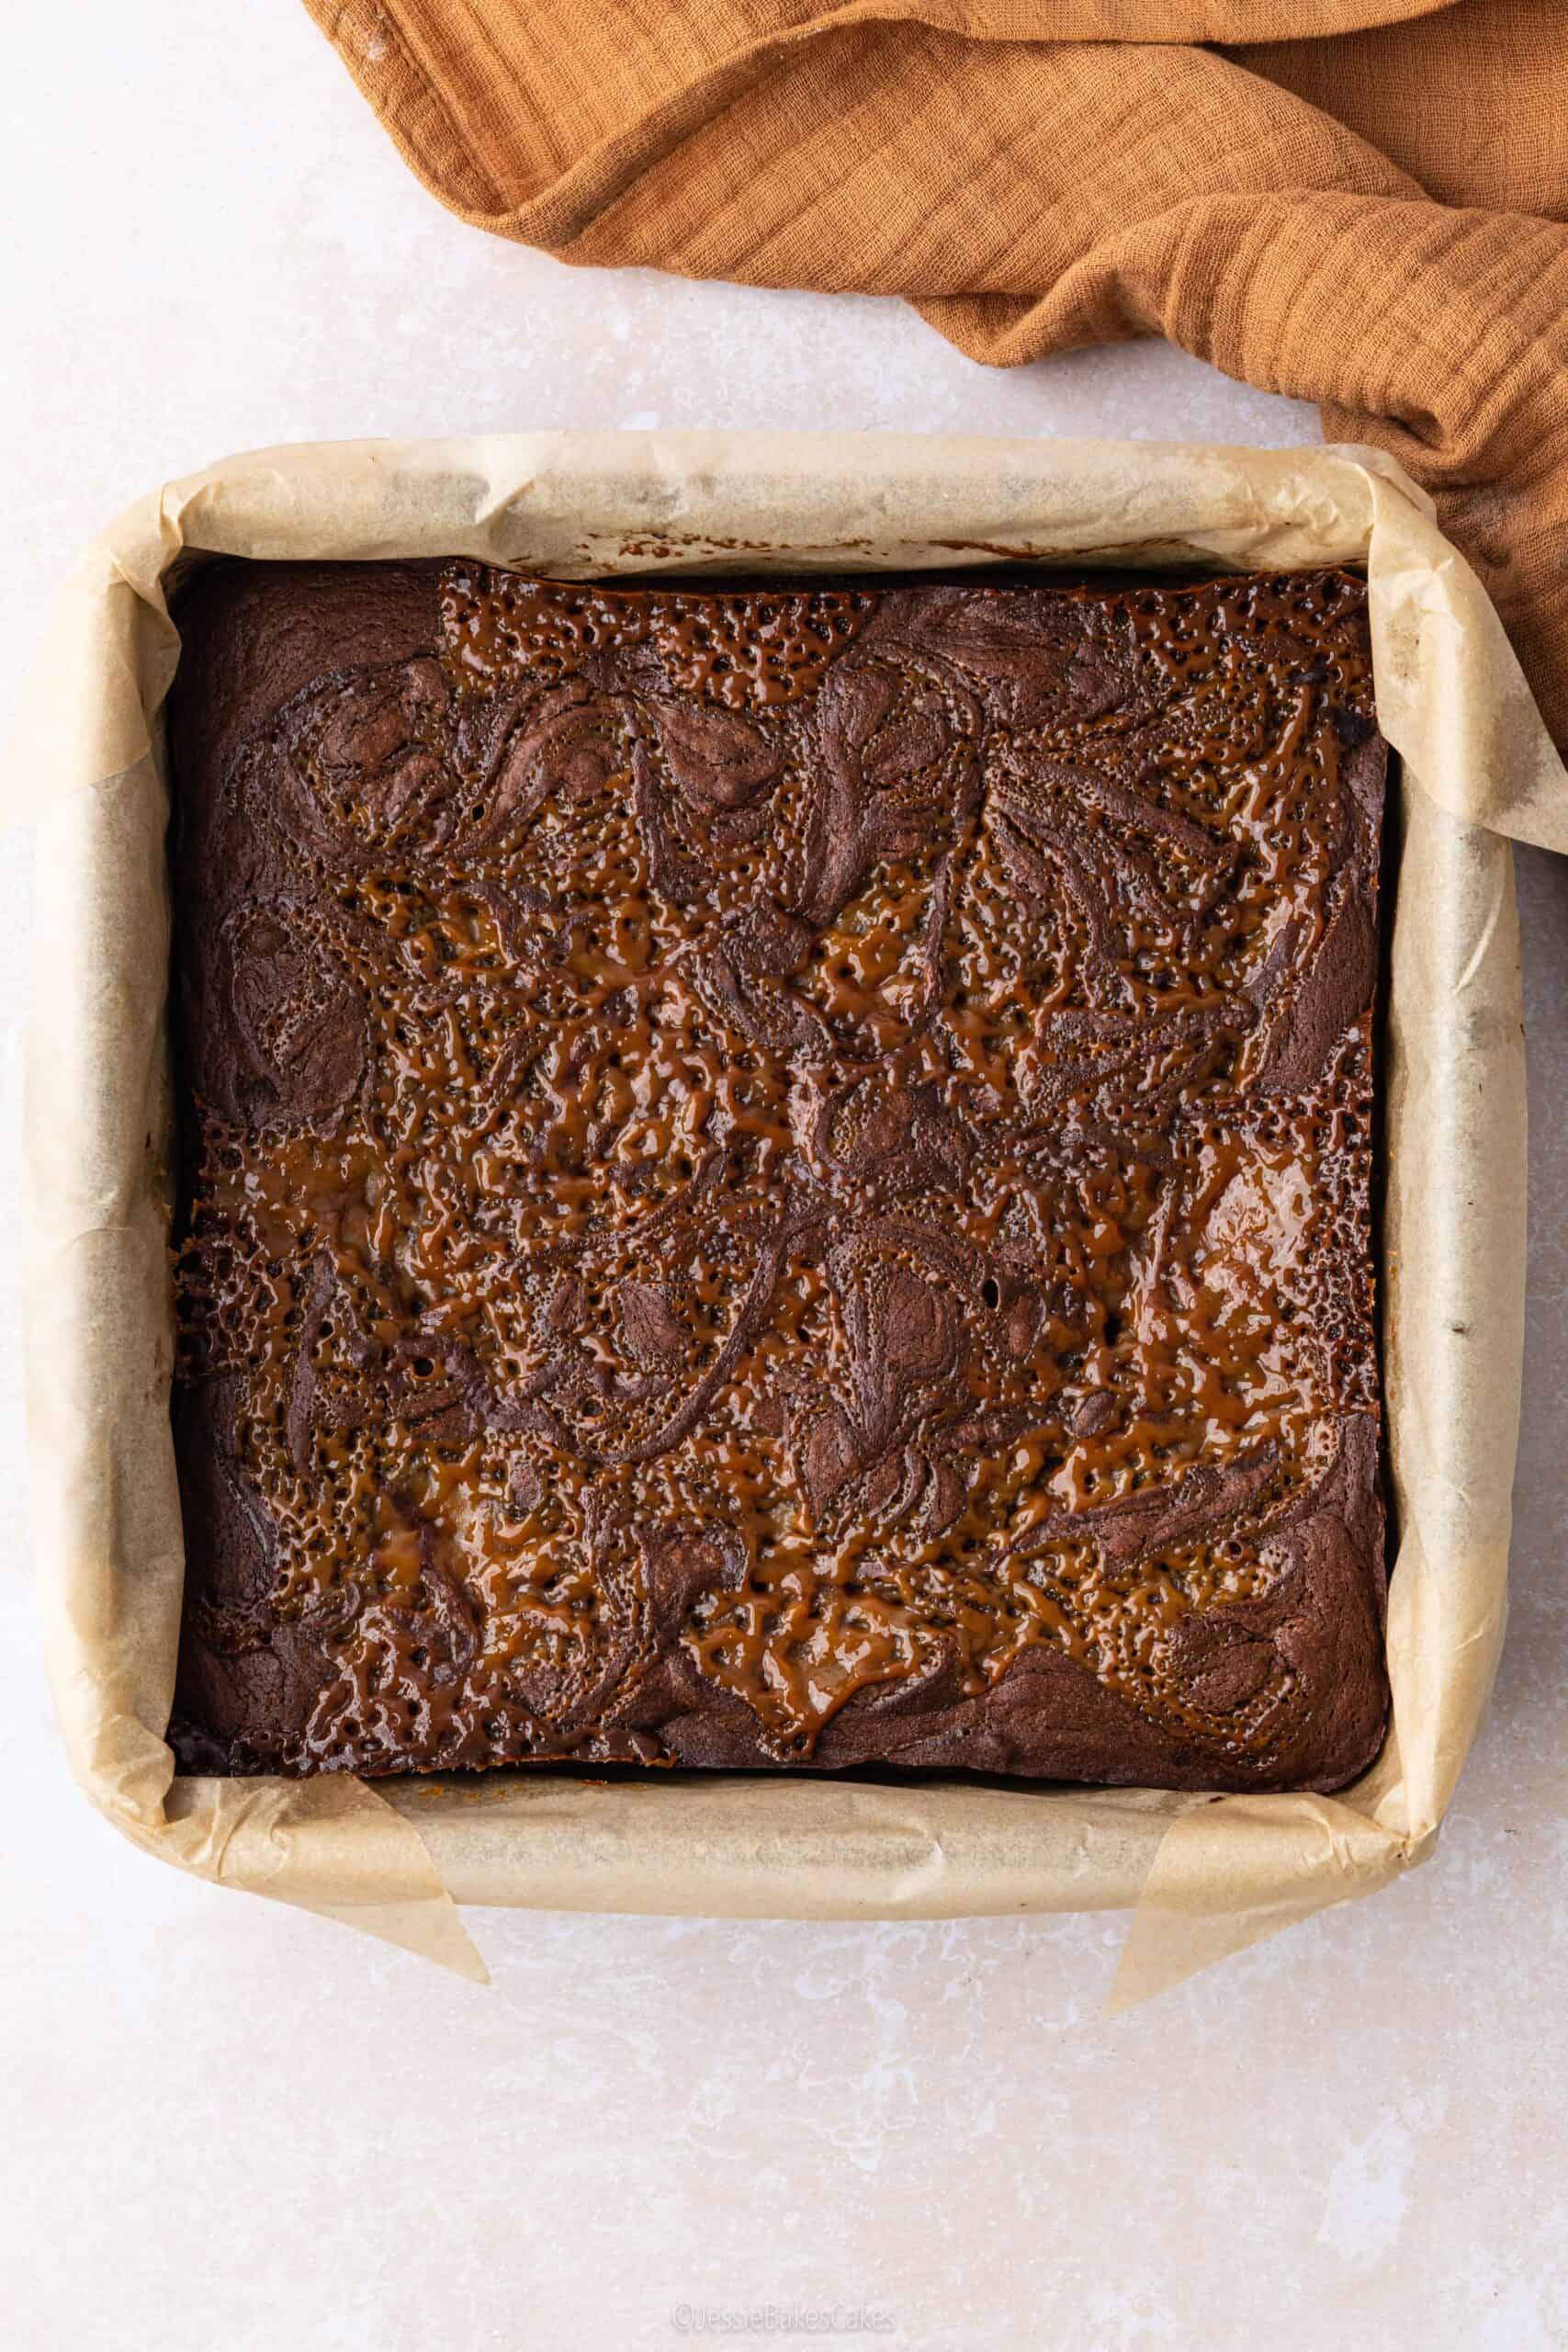
Step 2: Layer and swirl with salted caramel
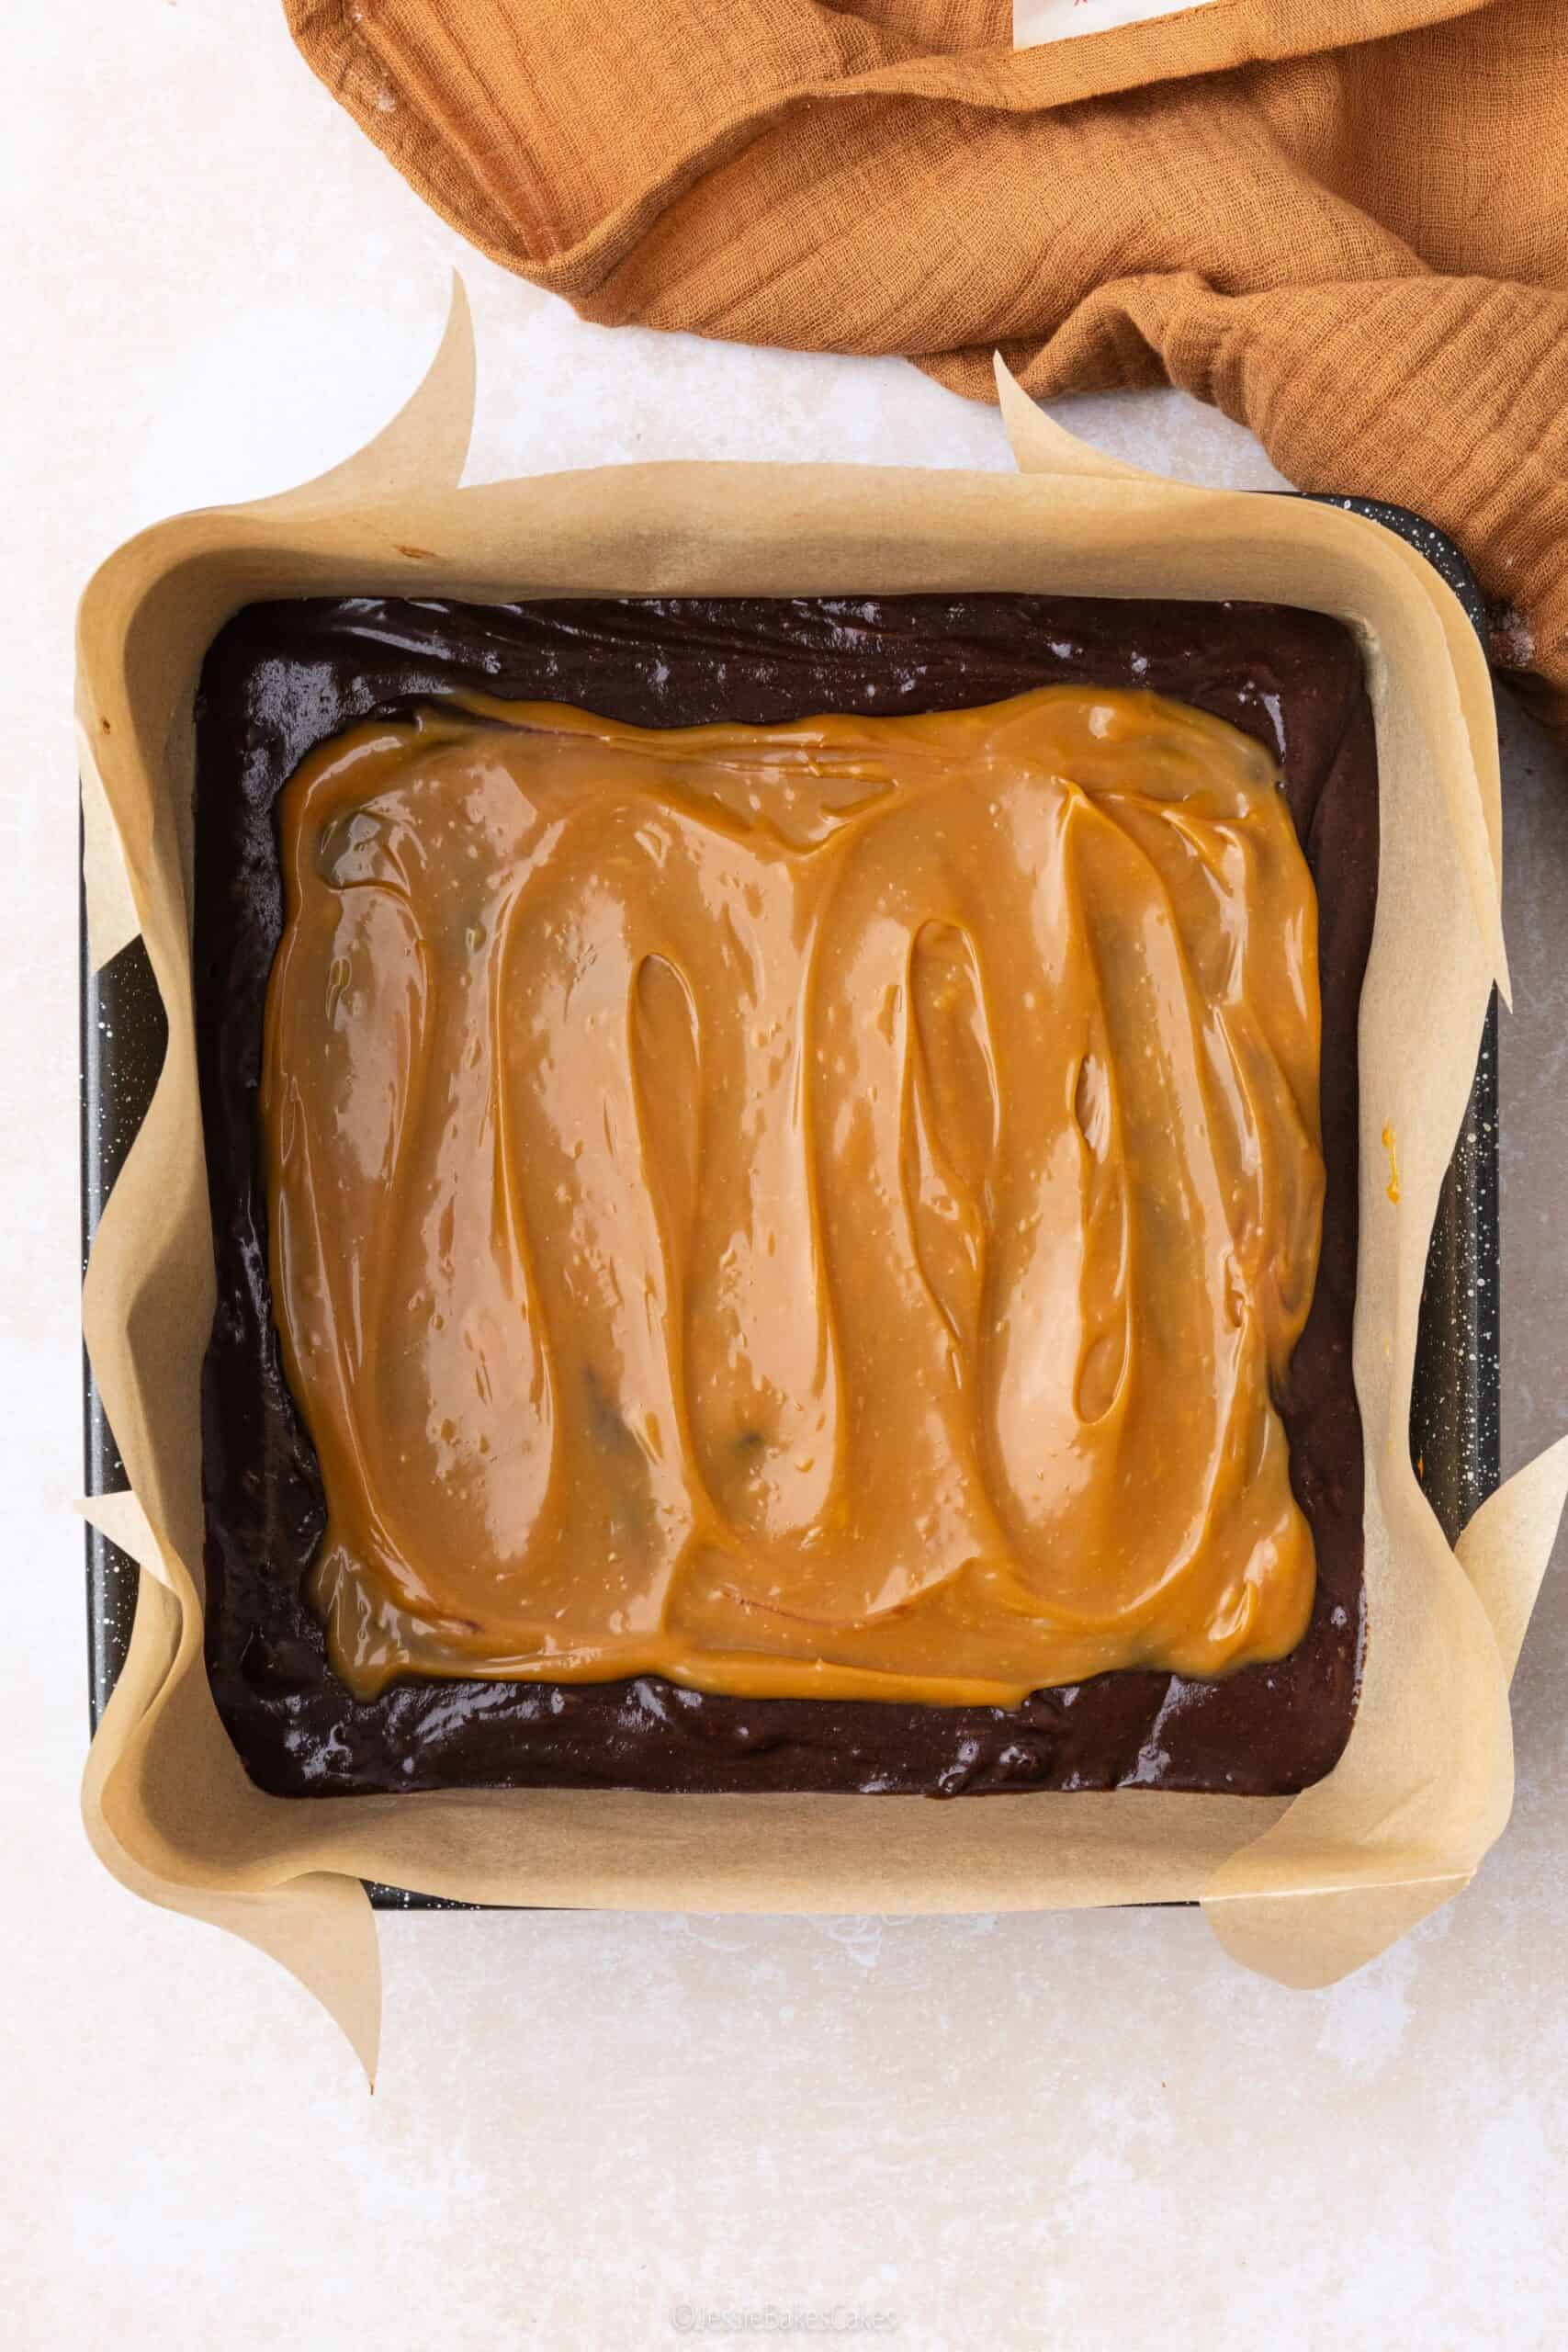
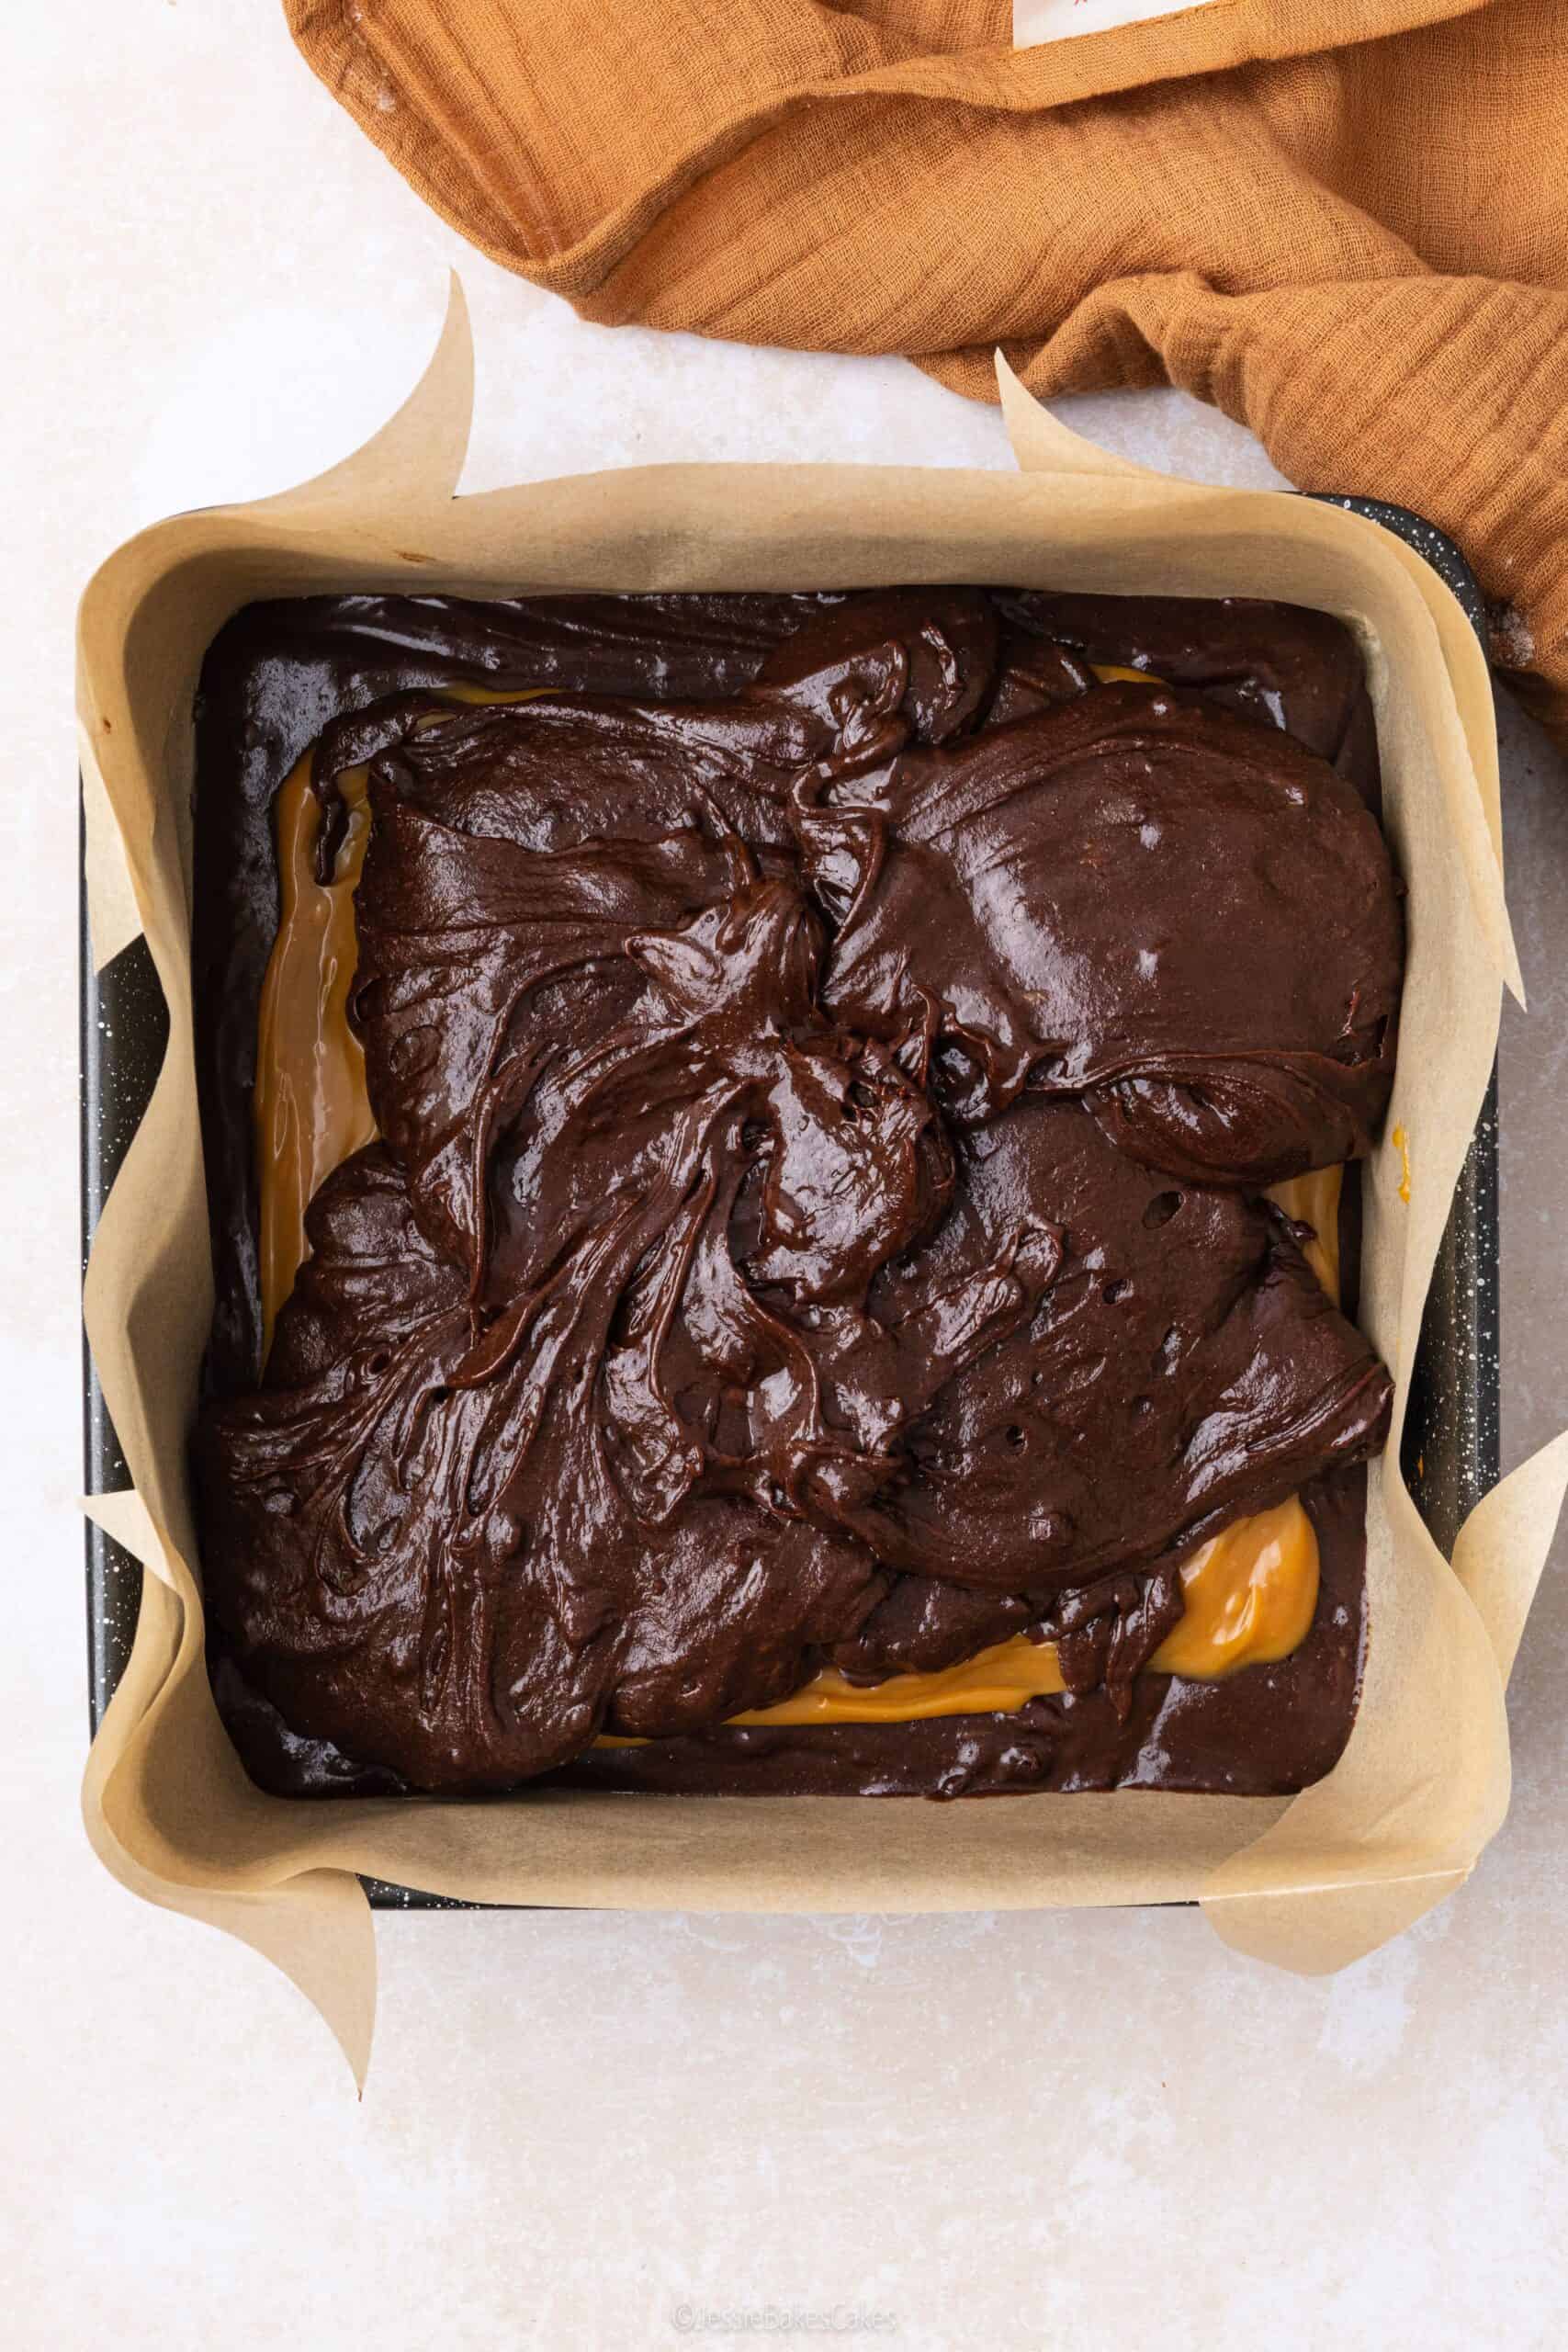
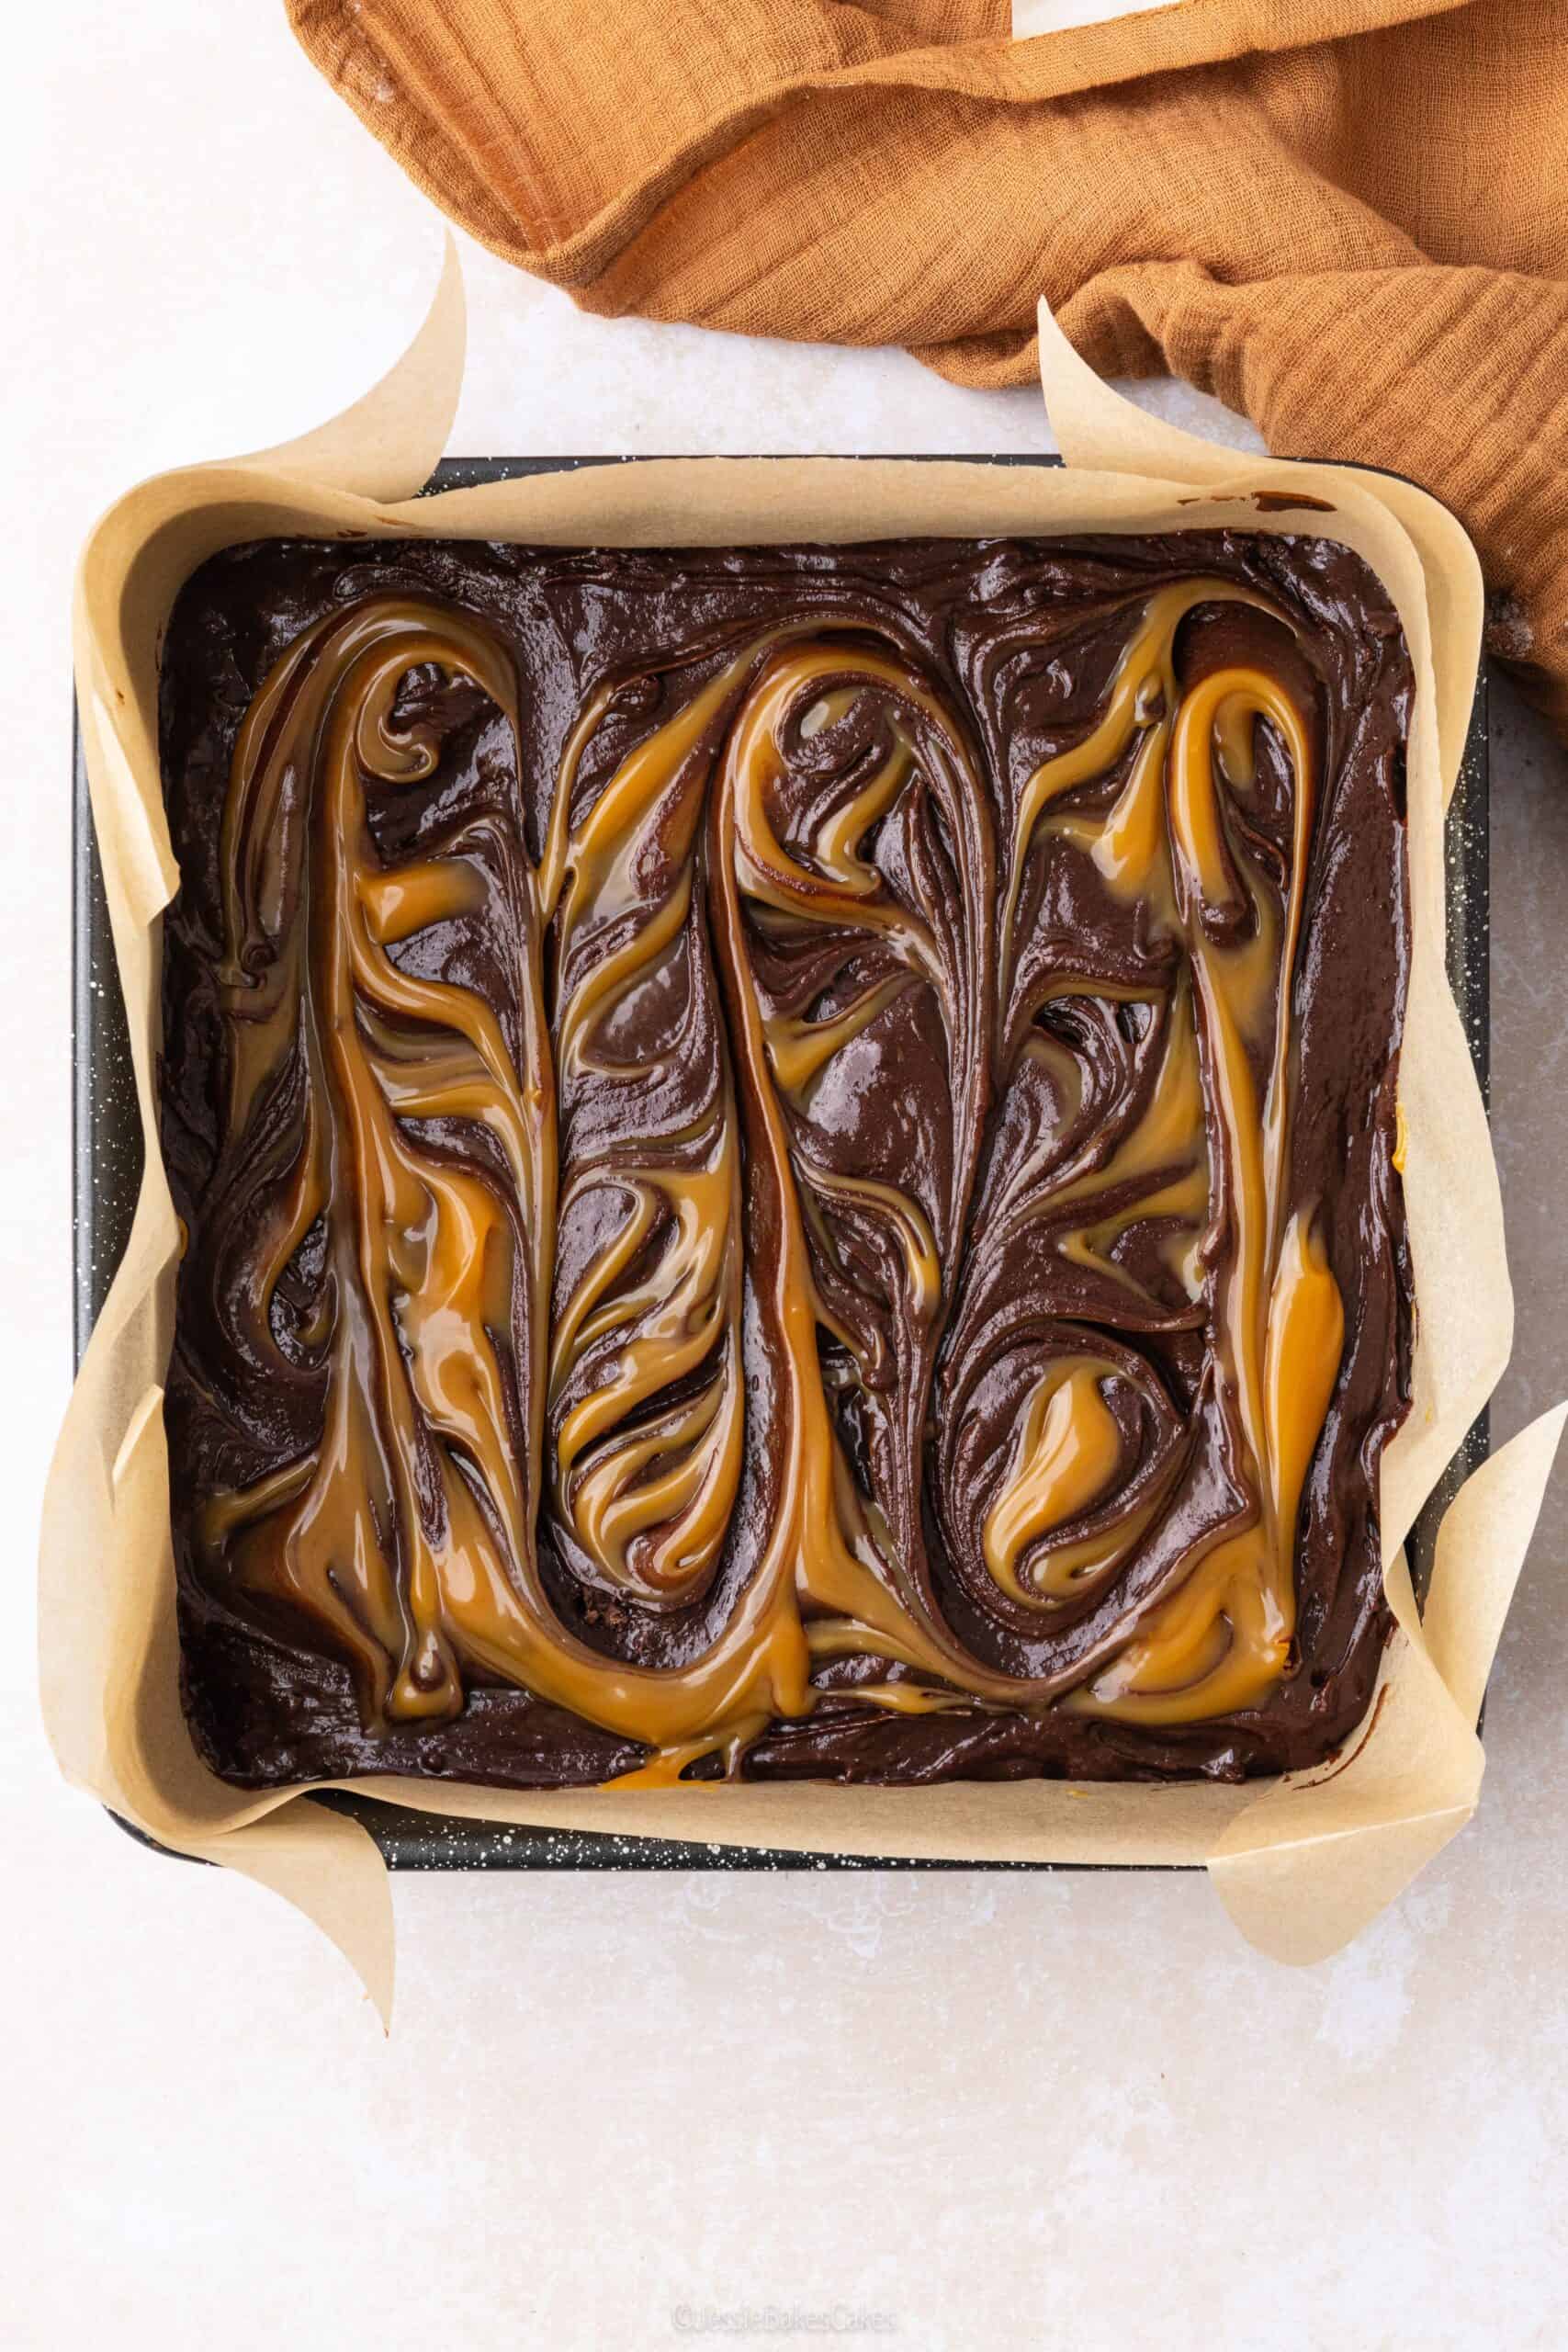
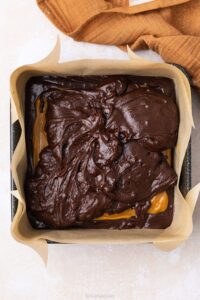
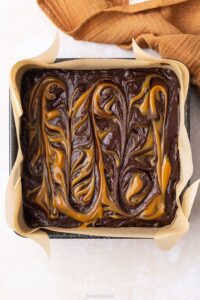
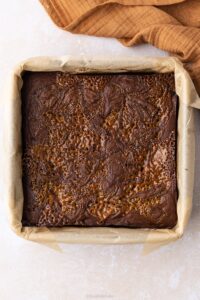
Start by spreading half your brownie mixture into the tin – this gives you a nice sturdy base to hold all that caramel. Next, spoon over half of your salted caramel sauce and smooth it out, but stop a little short of the edges so it doesn’t bubble over in the oven. Spread the rest of the brownie mix on top, dollop over the remaining caramel and swirl it through with a knife or skewer. Not only does this lock in hidden gooey pockets in the middle, but it also creates those gorgeous pumpkin-coloured swirls on top, which look spooky and taste ridiculously good.
Step 3: Bake the brownies
This step is the most important part! It’s the difference between fudgy, gooey perfection and sad, dry, cakey brownies. Pop the brownies in the oven at 180°C (fan) and bake for about 35–40 minutes. Keep an eye out for the tell-tale signs they’re done: the top should be set with no wet brownie mixture showing (gooey caramel pockets are totally fine), the edges should have little cracks forming, and if you give the tin a gentle shake the very centre should have a slight jiggle. That wobble means fudgy heaven, take them out before it overbakes and you’ll thank yourself later.
PRO TIP
You must leave these coffee Halloween brownies to cool completely before slicing. Why? They will continue to cook through and firm up as they cool down. Options: refrigerate for 3 hours, freeze for 1.5 hours, or leave overnight in the baking tin covered with foil.
Easy Halloween Decoration Ideas For Your Brownies
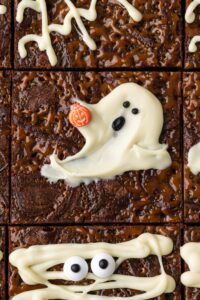
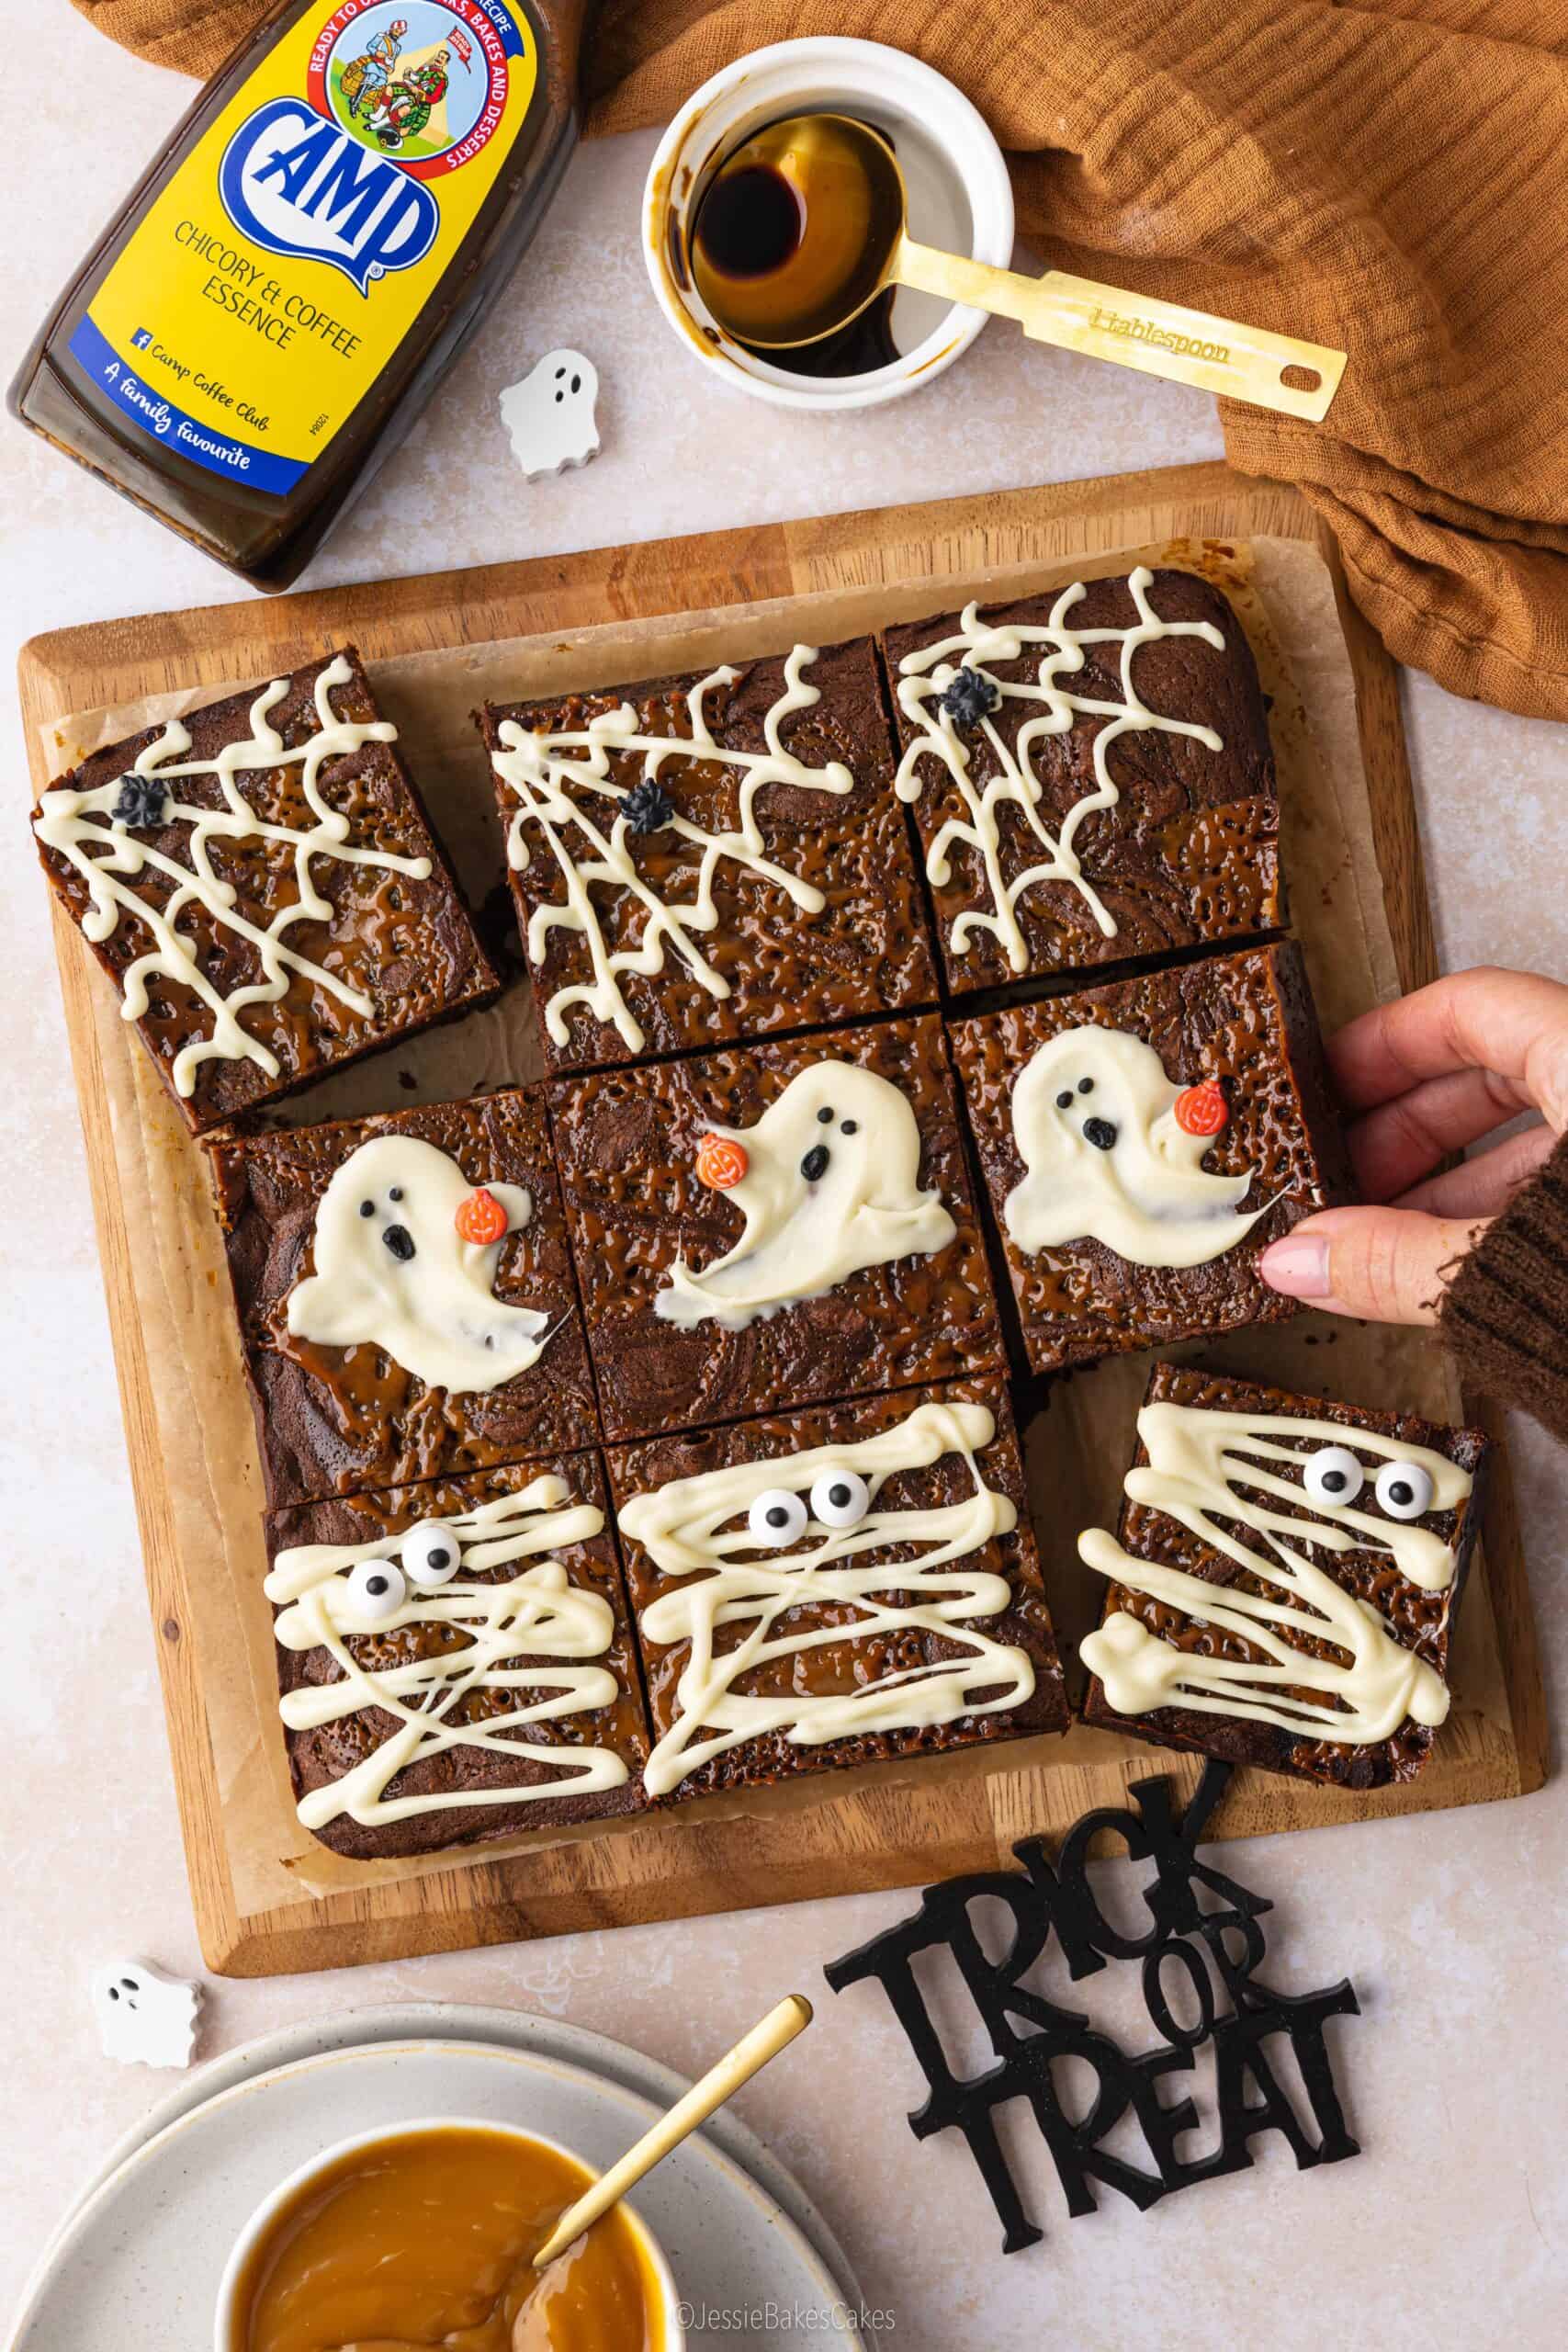
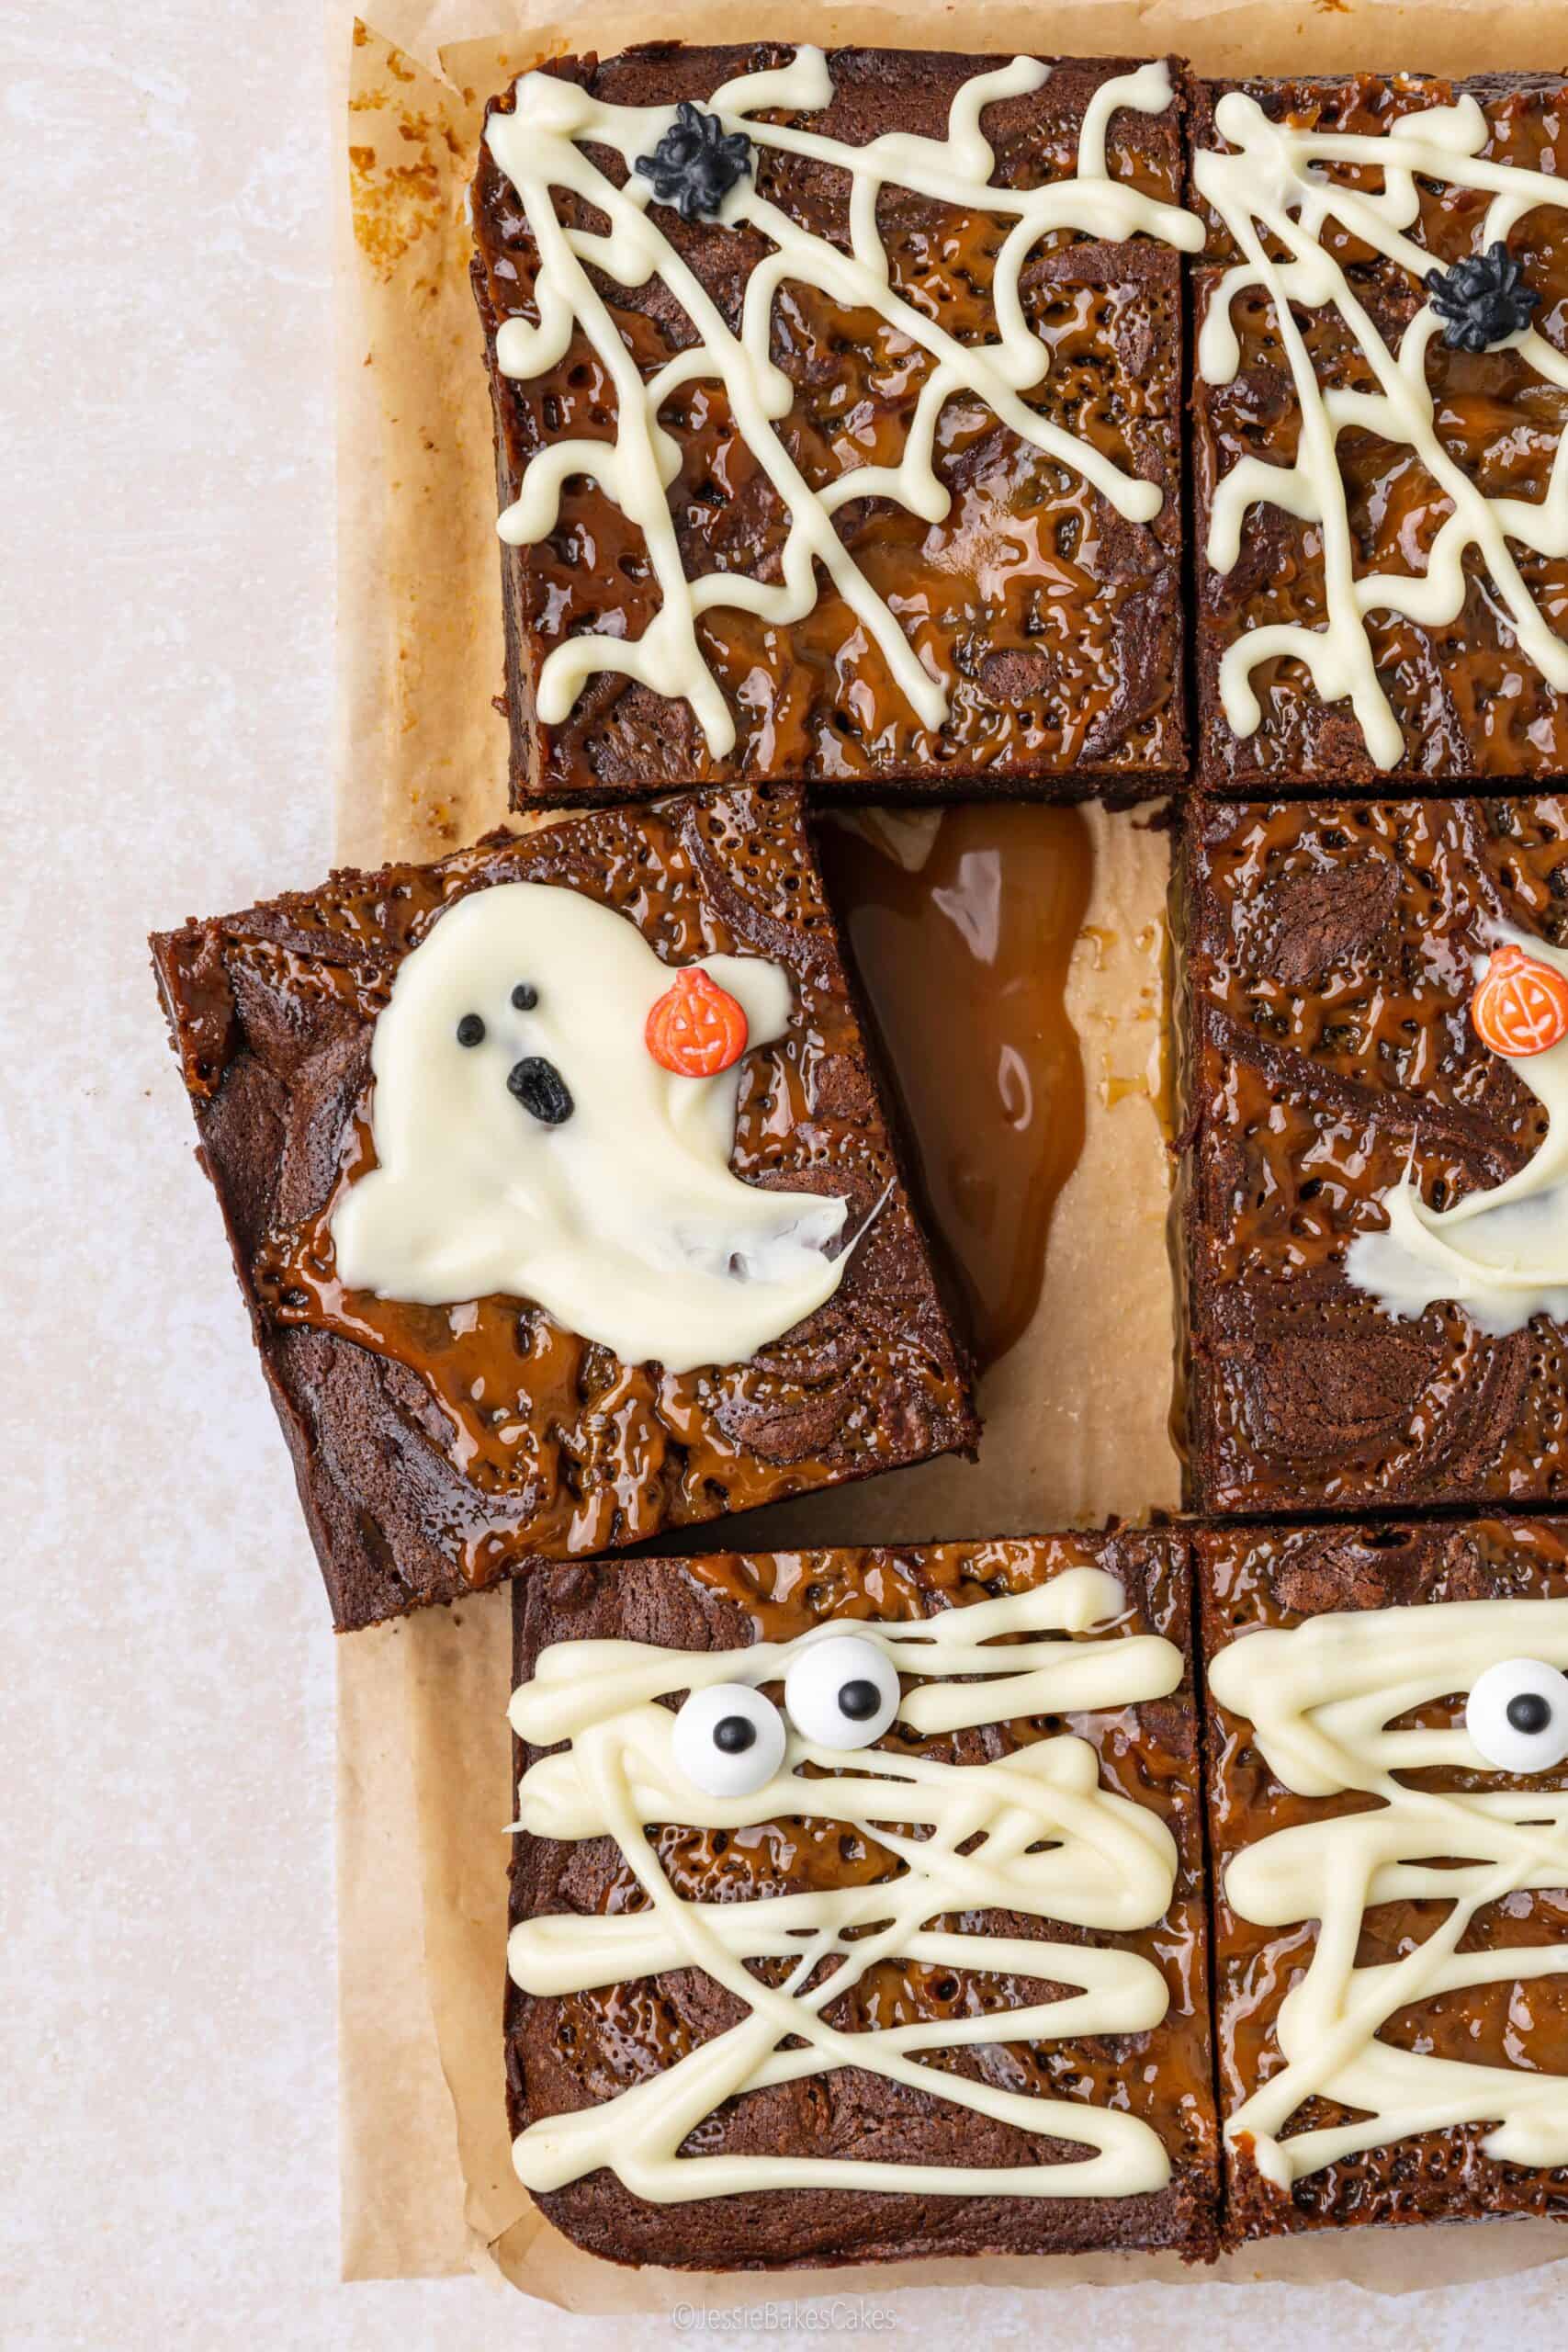
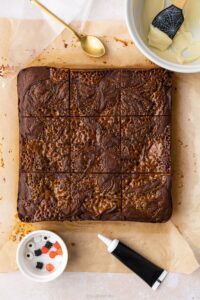
Decorating these Halloween brownies is so much fun and will really put you in the spooky spirit! There are three decorations to try: spiderwebs, ghosts and mummies. You’ll need white chocolate, edible eyes, black writing icing, piping bags and a teaspoon. First, cut your brownies into squares so they’re ready for decorating, then follow these instructions:
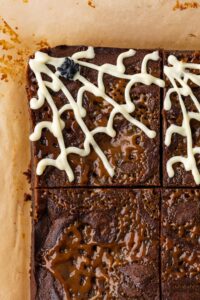
- Spiderwebs: Pipe three draped curved lines in a corner and overlapping lines for a creepy spiderweb.
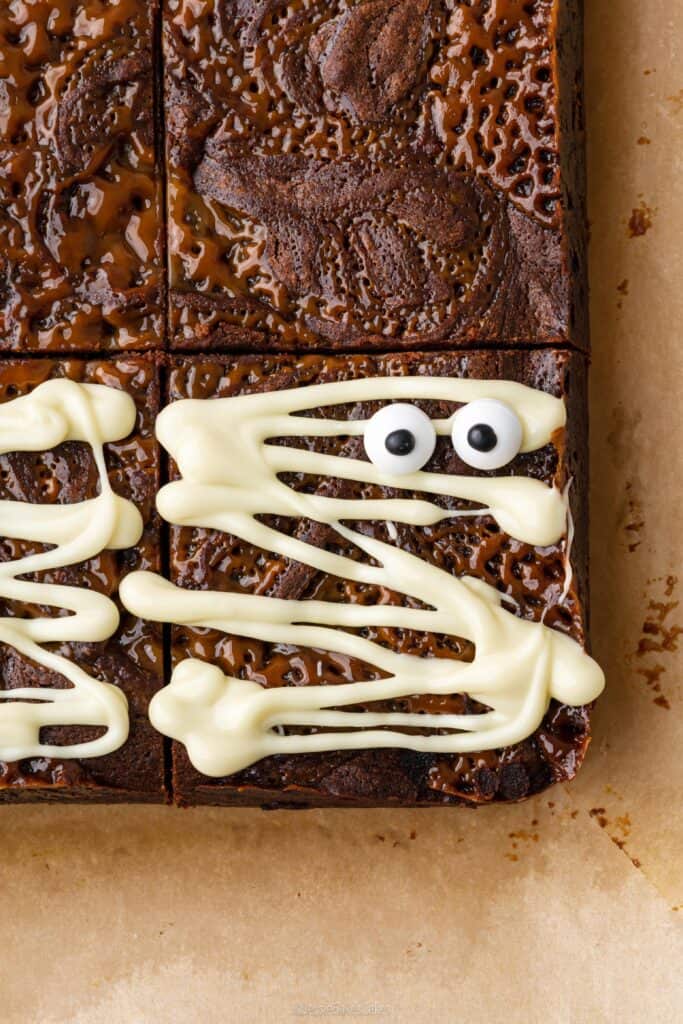
- Mummies: Pipe zigzag lines of white chocolate across the brownie and add two edible eyes.
- Ghosts: Spoon white chocolate onto the brownie and spread it into a ghost shape. Then add the face using black writing icing.
Simple, easy and quick! Now your coffee Halloween brownies have gone from delicious to delightfully spooky!


Recipe FAQ’s
You’ll need an 8-inch square baking tin lined with greaseproof paper so the brownies cook evenly and are easy to lift out once baked.
Camp Coffee is widely available in the UK, you can find it in most big supermarkets like Tesco, Sainsbury’s and Waitrose down the baking aisle, or online via Amazon here.
Yes, you can skip it if you prefer, but the miso adds a subtle salty umami twist that deepens the caramel and coffee flavours beautifully. Without it, the brownies will still be delicious, just slightly less complex and sweeter.
The key is to watch the texture: the top should be set with no wet brownie mixture , gooey caramel is fine! Cracks will appear around the edges, and the very centre should jiggle slightly when you gently shake the tin. That’s your sign they’re perfectly fudgy.
Store them in an airtight container at room temperature for up to 4 days, or in the fridge for up to a week.
Coffee Miso Caramel Halloween Brownies
Rate this Recipe
Print Pin Rate this RecipeIngredients
For the coffee miso caramel brownies:
- 200 grams 70% dark chocolate
- 200 grams Unsalted butter
- 3 medium Eggs room temperatue
- 250 grams Caster sugar
- 2 tablespoons White miso paste
- 4 tablespoons Camp Chicory & Coffee Essence
- 160 grams Plain flour
- 25 grams Cocoa powder
- 200 grams Salted caramel sauce Choose a good-quality jar of caramel sauce. It should be thick and gooey, not thin and runny.
For the Halloween chocolate decorations:
- 50 grams White chocolate
- Edible eyes I also used some spider and pumpkin sprinkles that I had lying around
- Black writing icing
Instructions
- Preheat the oven to 180°C (fan) / 200°C (conventional). Line an 8-inch square baking tin with greaseproof paper.
Start by making the brownie mixture:
- Break the dark chocolate up into a bowl and add the butter. Microwave in 30-second increments, stirring after each, until completely smooth and melted. Set aside to cool.200 grams 70% dark chocolate, 200 grams Unsalted butter
- Measure the eggs, sugar, Camp Coffee and miso paste in a bowl. Whisk vigorously for 5 minutes, until the mixture is thick and foamy.3 medium Eggs, 250 grams Caster sugar, 4 tablespoons Camp Chicory & Coffee Essence, 2 tablespoons White miso paste
- Stir the flour and cocoa powder together in a separate bowl to combine.160 grams Plain flour, 25 grams Cocoa powder
- Add the dry ingredients and the melted chocolate mixture to the whisked eggs. Fold until the brownie mixture is smooth and combined.
Layer the caramel brownies:
- Spoon half of the brownie mixture into the baking tin and spread to the edges. Top with half the caramel sauce, spreading it out into an even layer but leaving a 2cm border around the edge.200 grams Salted caramel sauce

- Spread the remaining brownie mixture on top.
- Drop spoonfuls of the remaining caramel sauce on top and swirl into the brownie mixture.
Bake the brownies:
- Bake for 35-40 minutes. The brownies should be set on top (no wet mixture), with small cracks showing around the outside edges. If you gently shake the tin, the very centre should jiggle slightly.
- Leave to cool at room temperature for 30 minutes, then pop in the fridge for 3 hours to fully cool and set (or in the freezer for 1.5 hours).
Decorate your halloween brownies:
- Use a large, sharp knife to slice your brownies into 9 portions. It’s best to press the knife straight down through the brownies in one clean motion, rather than sawing or dragging it. Wipe the knife clean between cuts for neat edges.
- Break up the white chocolate into a bowl and melt it in the microwave in short 20-second bursts. Transfer half to a piping bag and snip off the end to make a small hole.50 grams White chocolate
- Spiderweb decoration: Pipe 3 draped curves in the corner of the brownie and then overlapping lines on top.
- Mummy decoration: Pipe zigzag lines across the brownie and add two edible eyes.Edible eyes

- Ghost decoration: Drop a teaspoon of white chocolate on top of the brownie and use the back of the spoon to spread it into a ghost shape. Use black writing icing to draw on the ghost faces.Black writing icing