Apple Pie Truffles
By Jessie
Updated: September 2, 2025
Rate This Recipe
By: Jessie
Updated: September 2, 2025
Rate This Recipe:
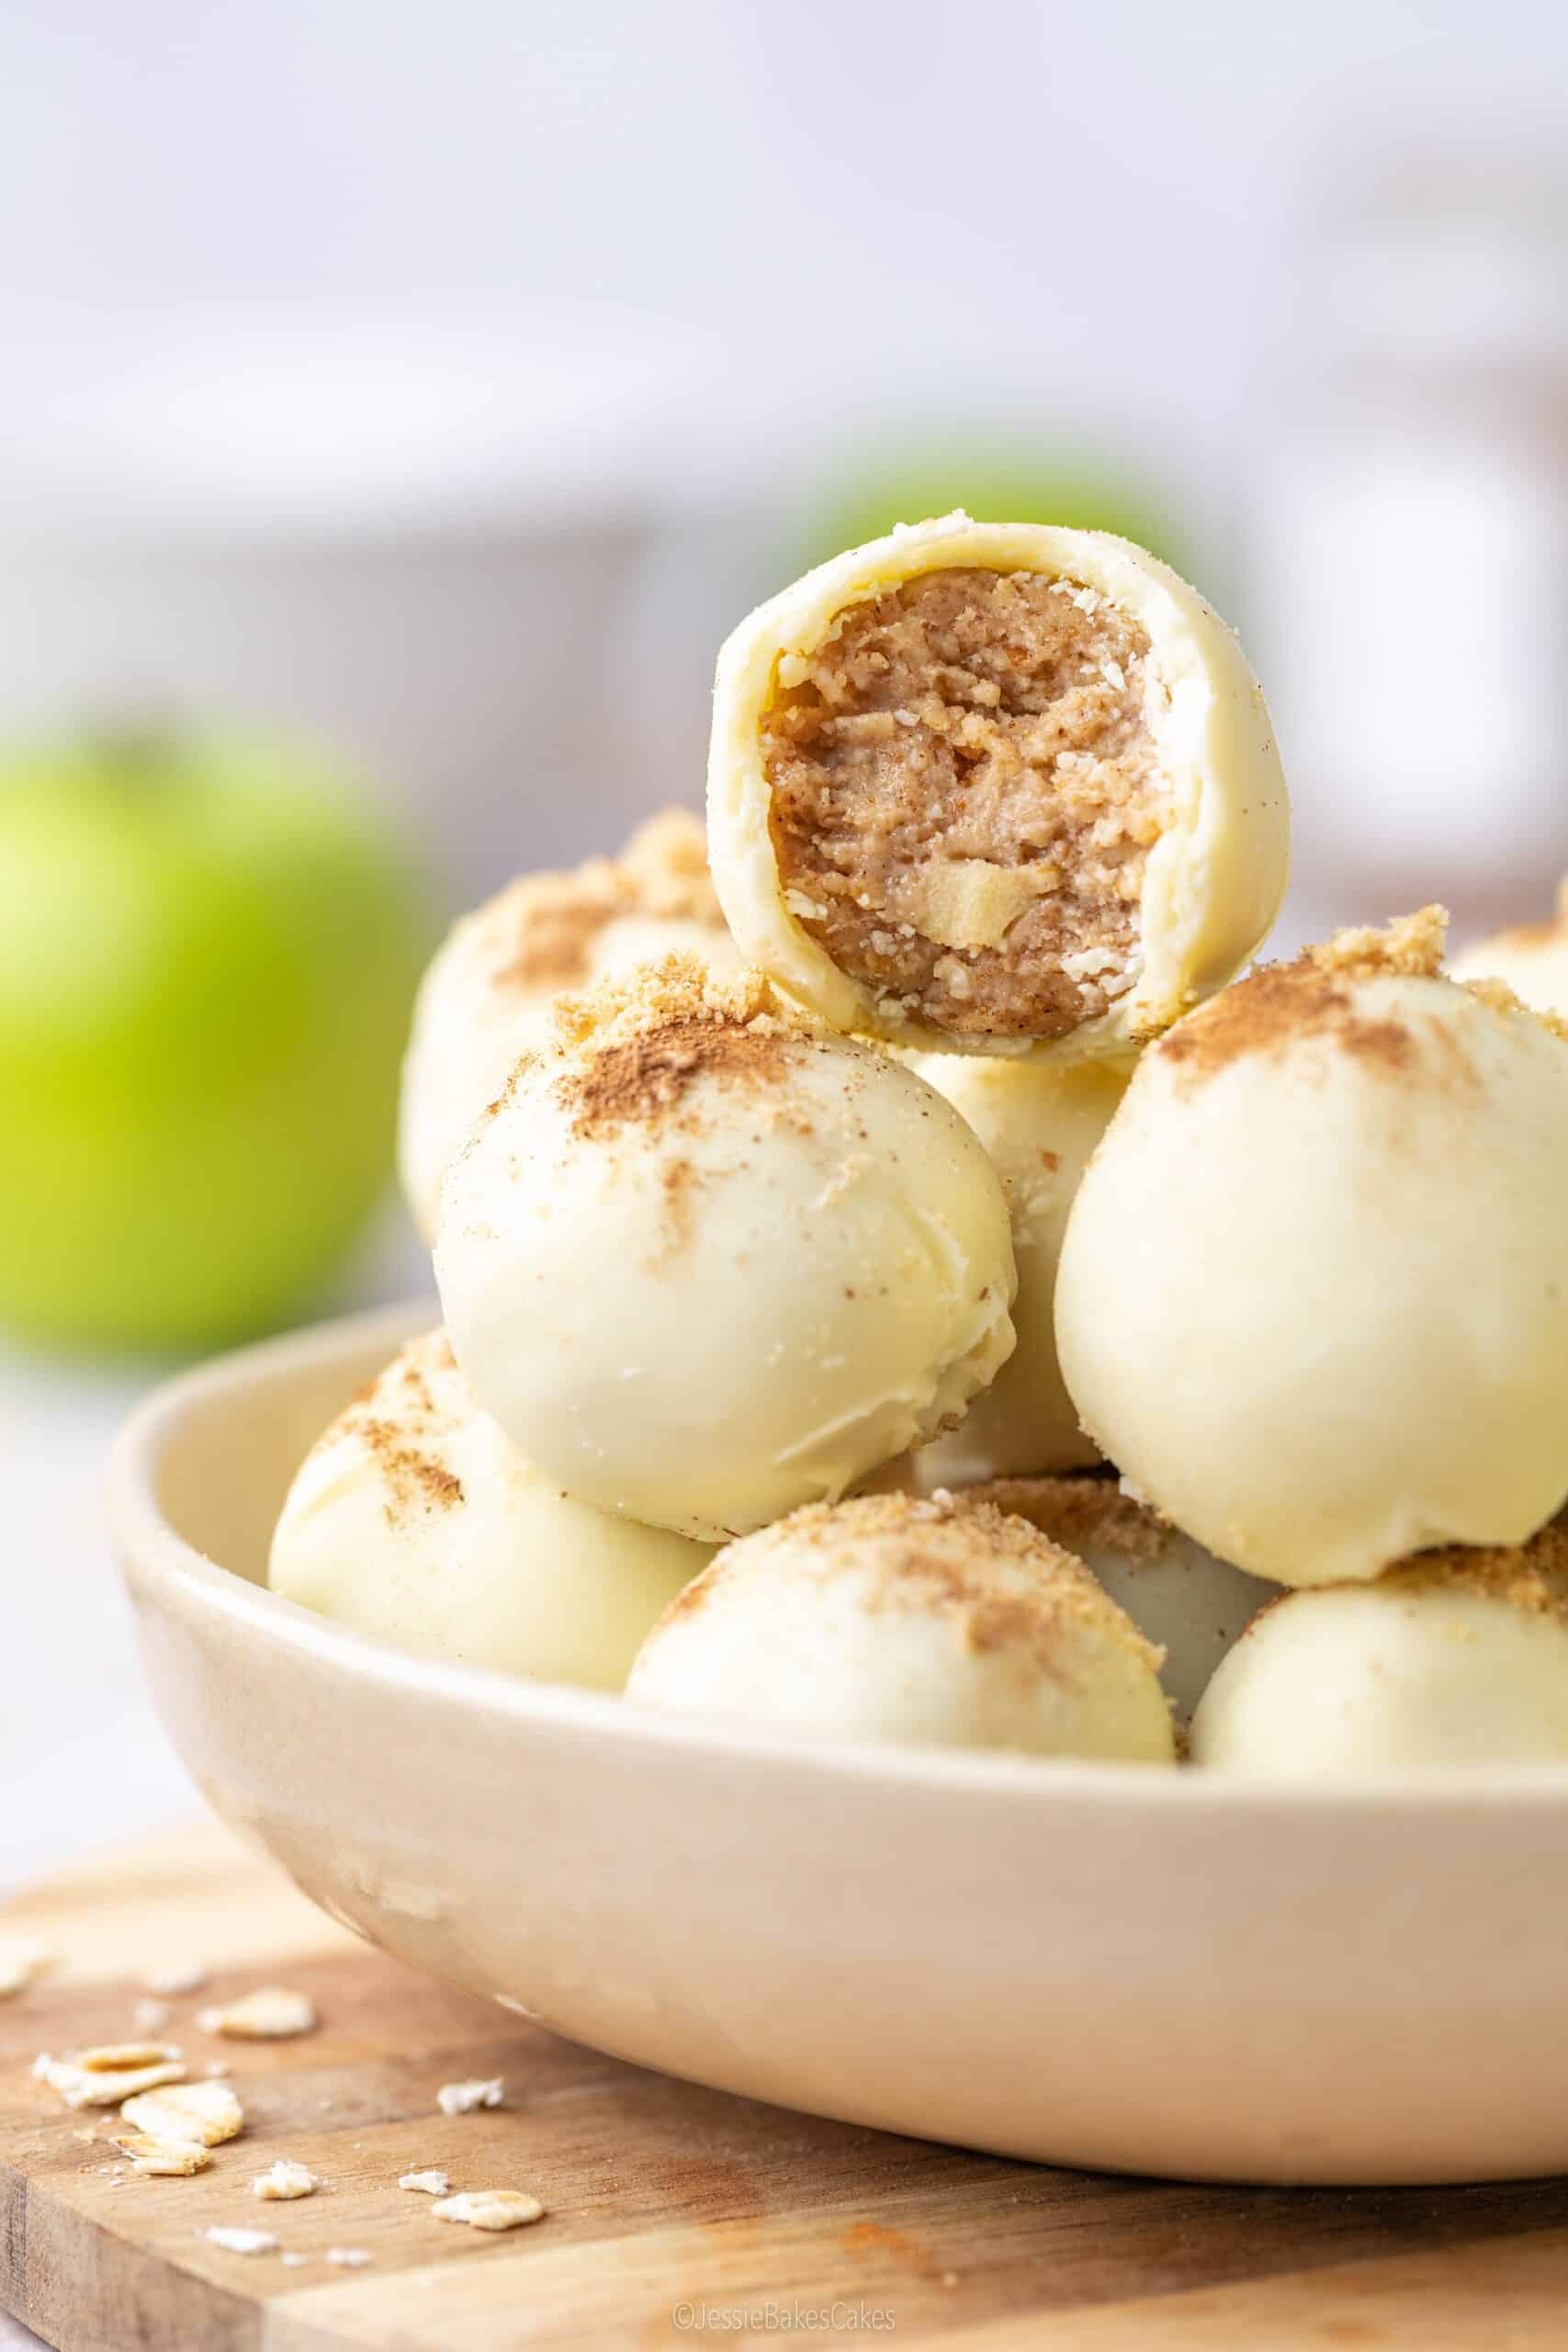
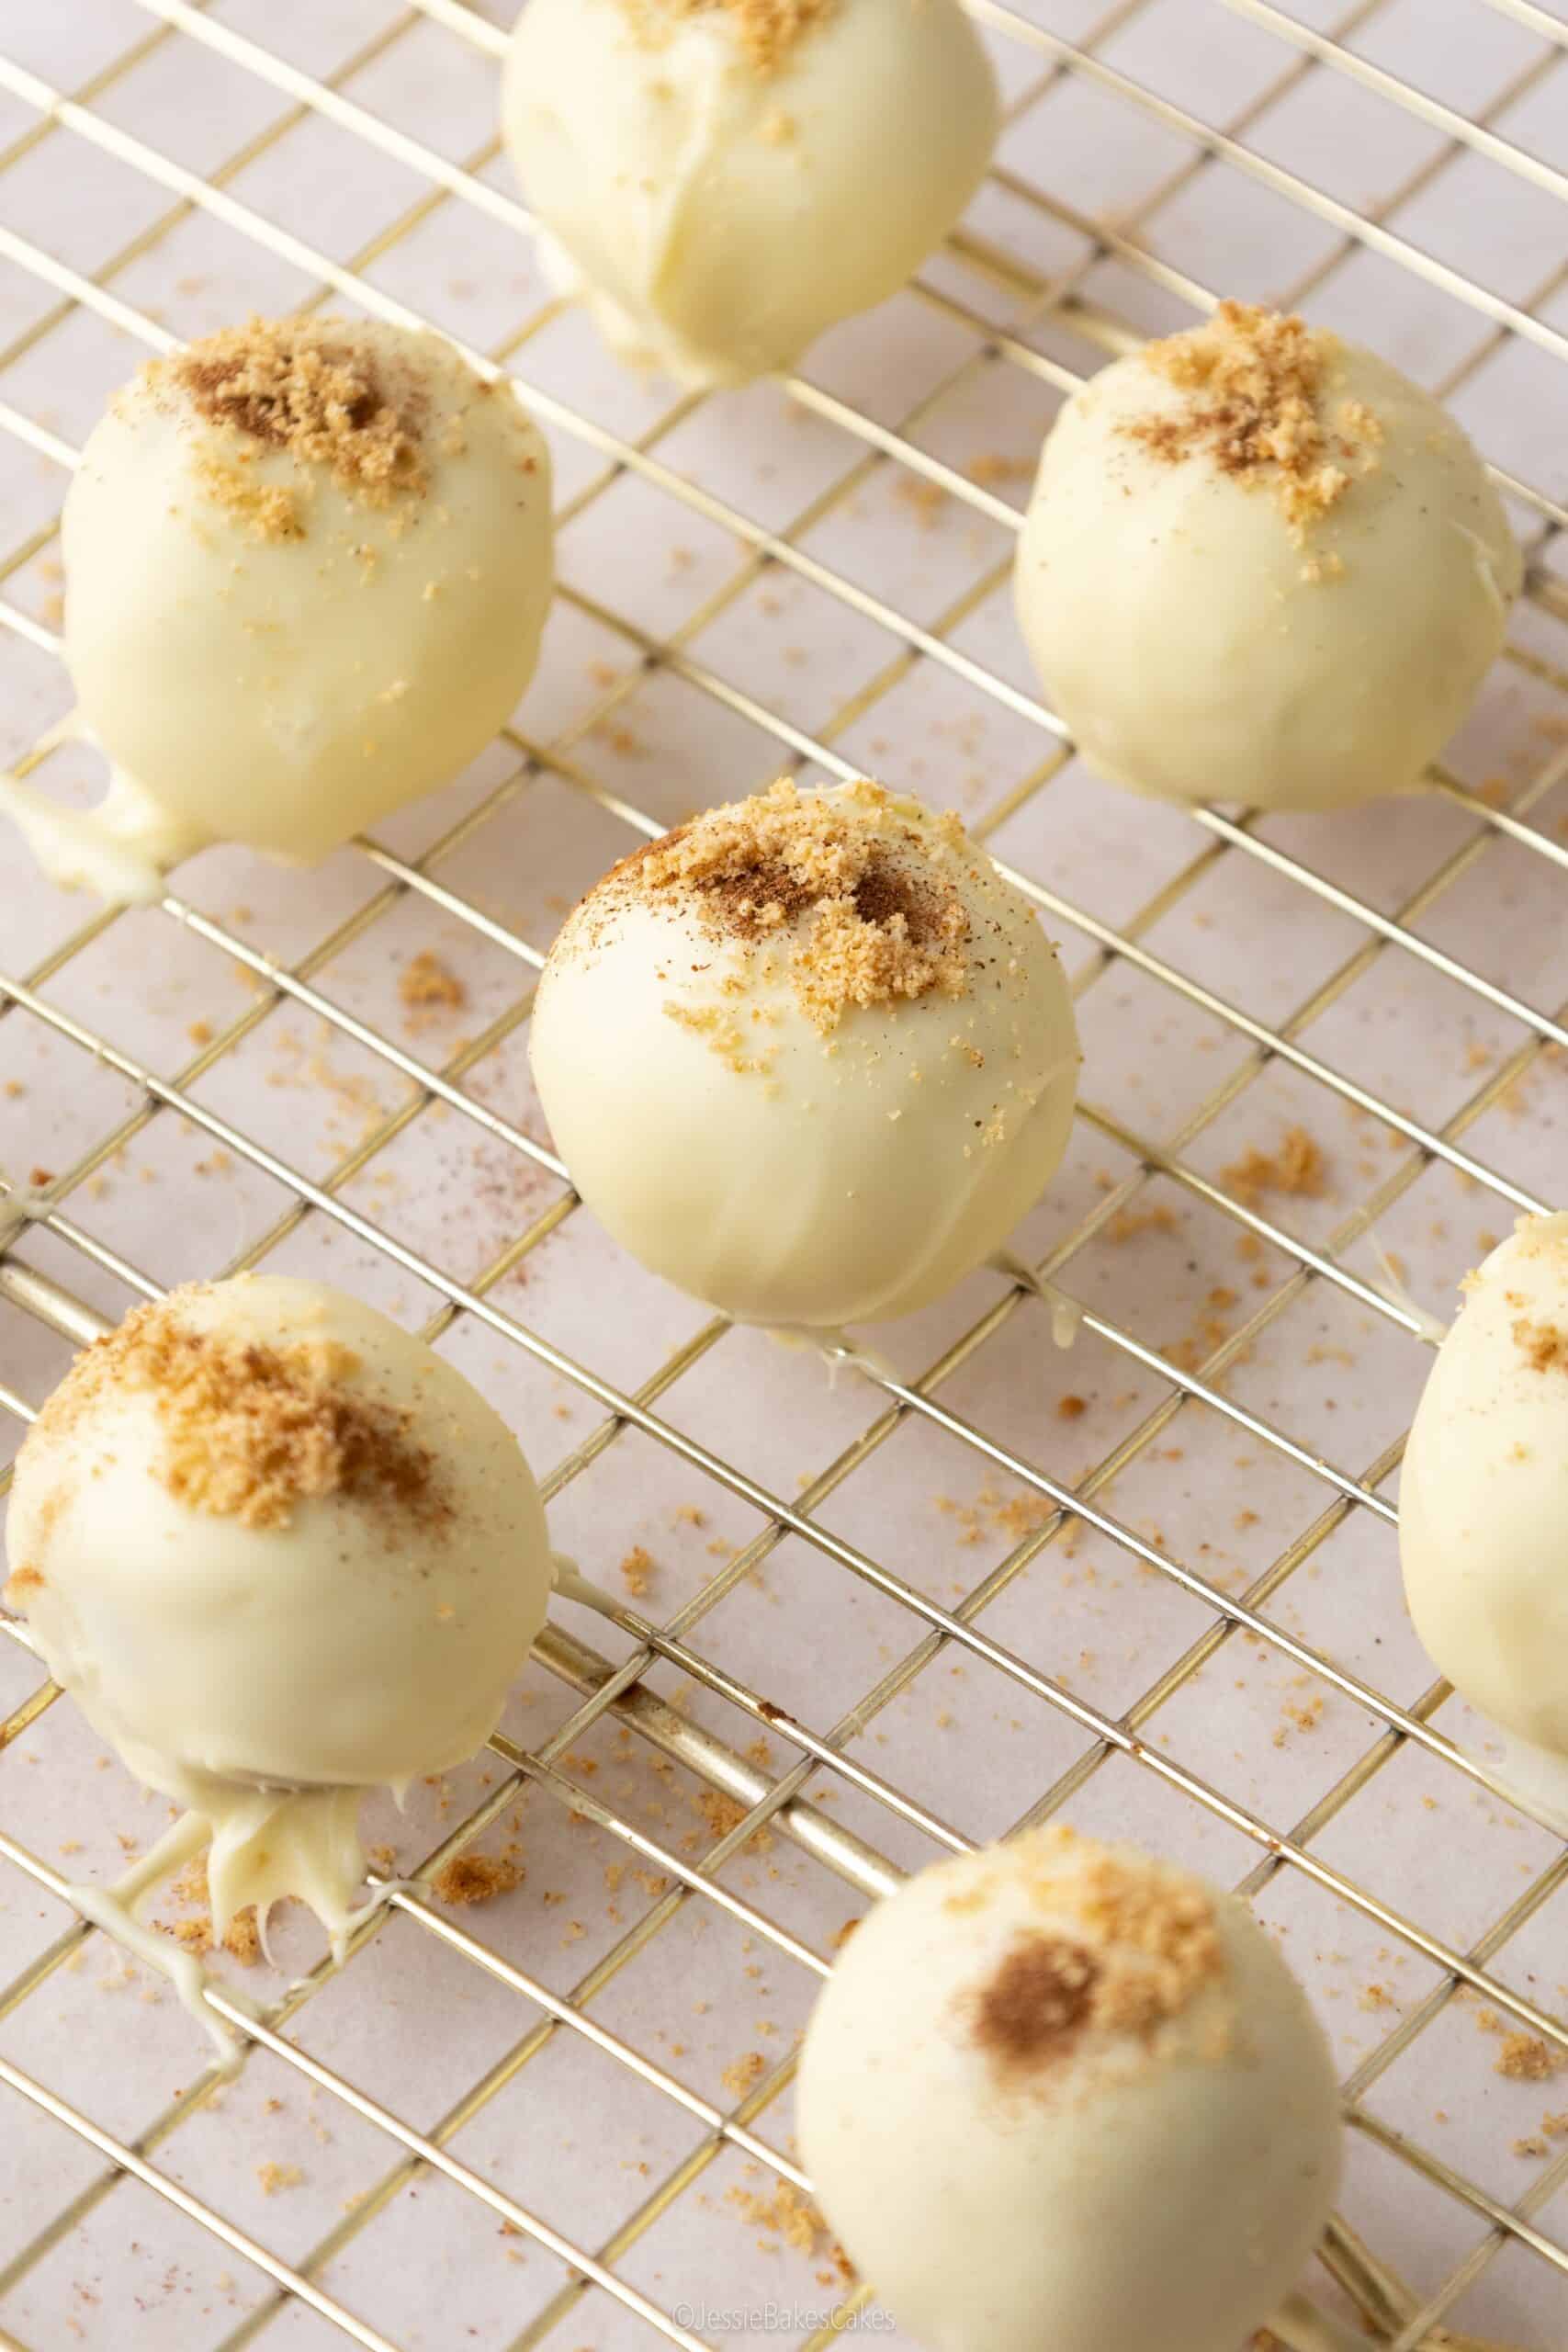
These Apple Pie Truffles are like a little bite of autumn! You get the cosy warmth of cinnamon and nutmeg, the sweetness of apple, and the pastry-like flavour of buttery biscuits. They’re encased in Milkybar white chocolate for a smooth, creamy and sweet finish. No oven needed, no fancy equipment, and you’ll only need a handful of ingredients!
This recipe is kindly sponsored by Milkybar. I only recommend products I personally use, love and trust!
RECIPE AT A GLANCE

TASTE
All the cosy flavours of a classic apple pie but in bite-sized form, plus sweet white chocolate for a little indulgence.

TEXTURE
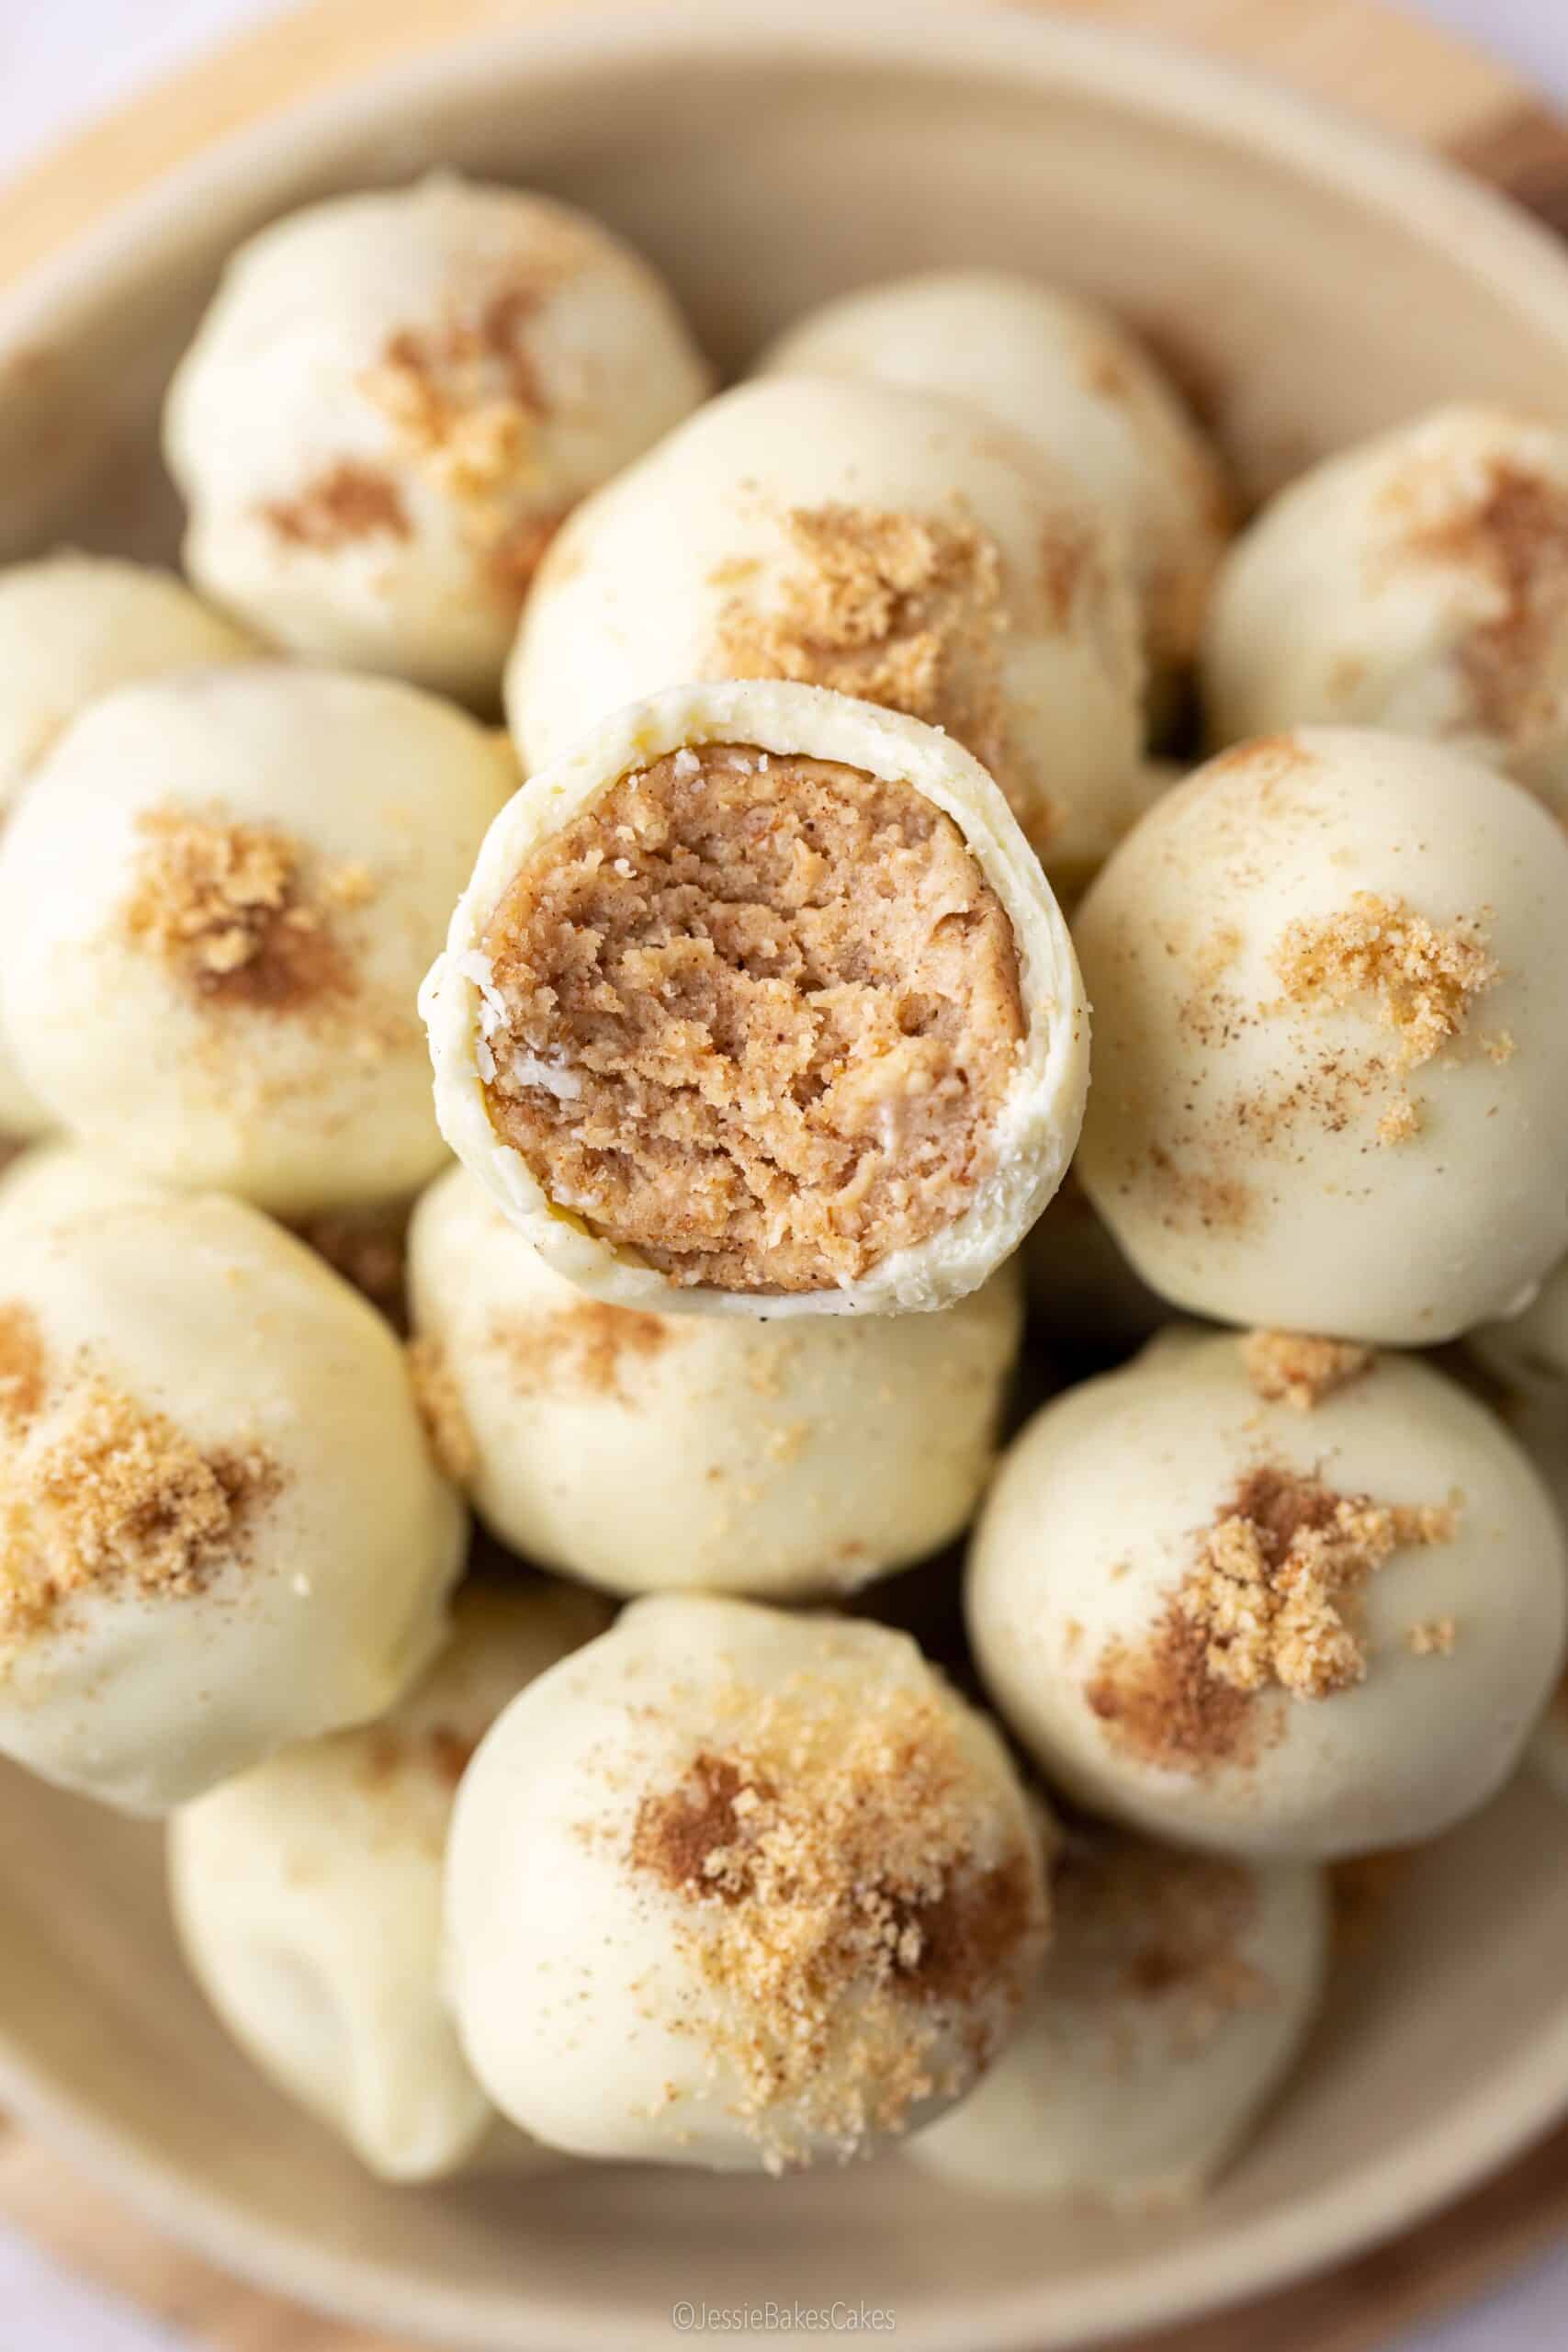
The centre is soft and slightly chewy, while the outside has that satisfying snap from the white chocolate coating.

SKILL
The only challenging part is coating the truffles in chocolate – but I’ve got an easy technique to share.

SERVES
This recipe makes around 24 truffles, ideal for gifting, sharing at parties, or keeping in the fridge for whenever you fancy a little sweet treat.
Your Ingredients List
- Granny Smith apples: These tart, crisp apples balance the sweetness of the truffles perfectly and soften beautifully when cooked. You can swap them for another firm apple like Braeburn or Pink Lady if you prefer.
- Ground cinnamon & nutmeg: The warming spices that give these truffles their cosy, apple pie flavour.
- Light cream cheese: This binds the truffle mixture together and adds a slight tanginess. Similar to what pouring cream brings to apple pie!
- Light digestive biscuits: Blitz to fine crumbs to bind the truffle filling together. The biscuits bring a buttery pastry-like flavour to the truffles.
- Oats: Blitz to fine crumbs to add texture and chewiness.
- Icing sugar: Sweetens the truffle mixture.
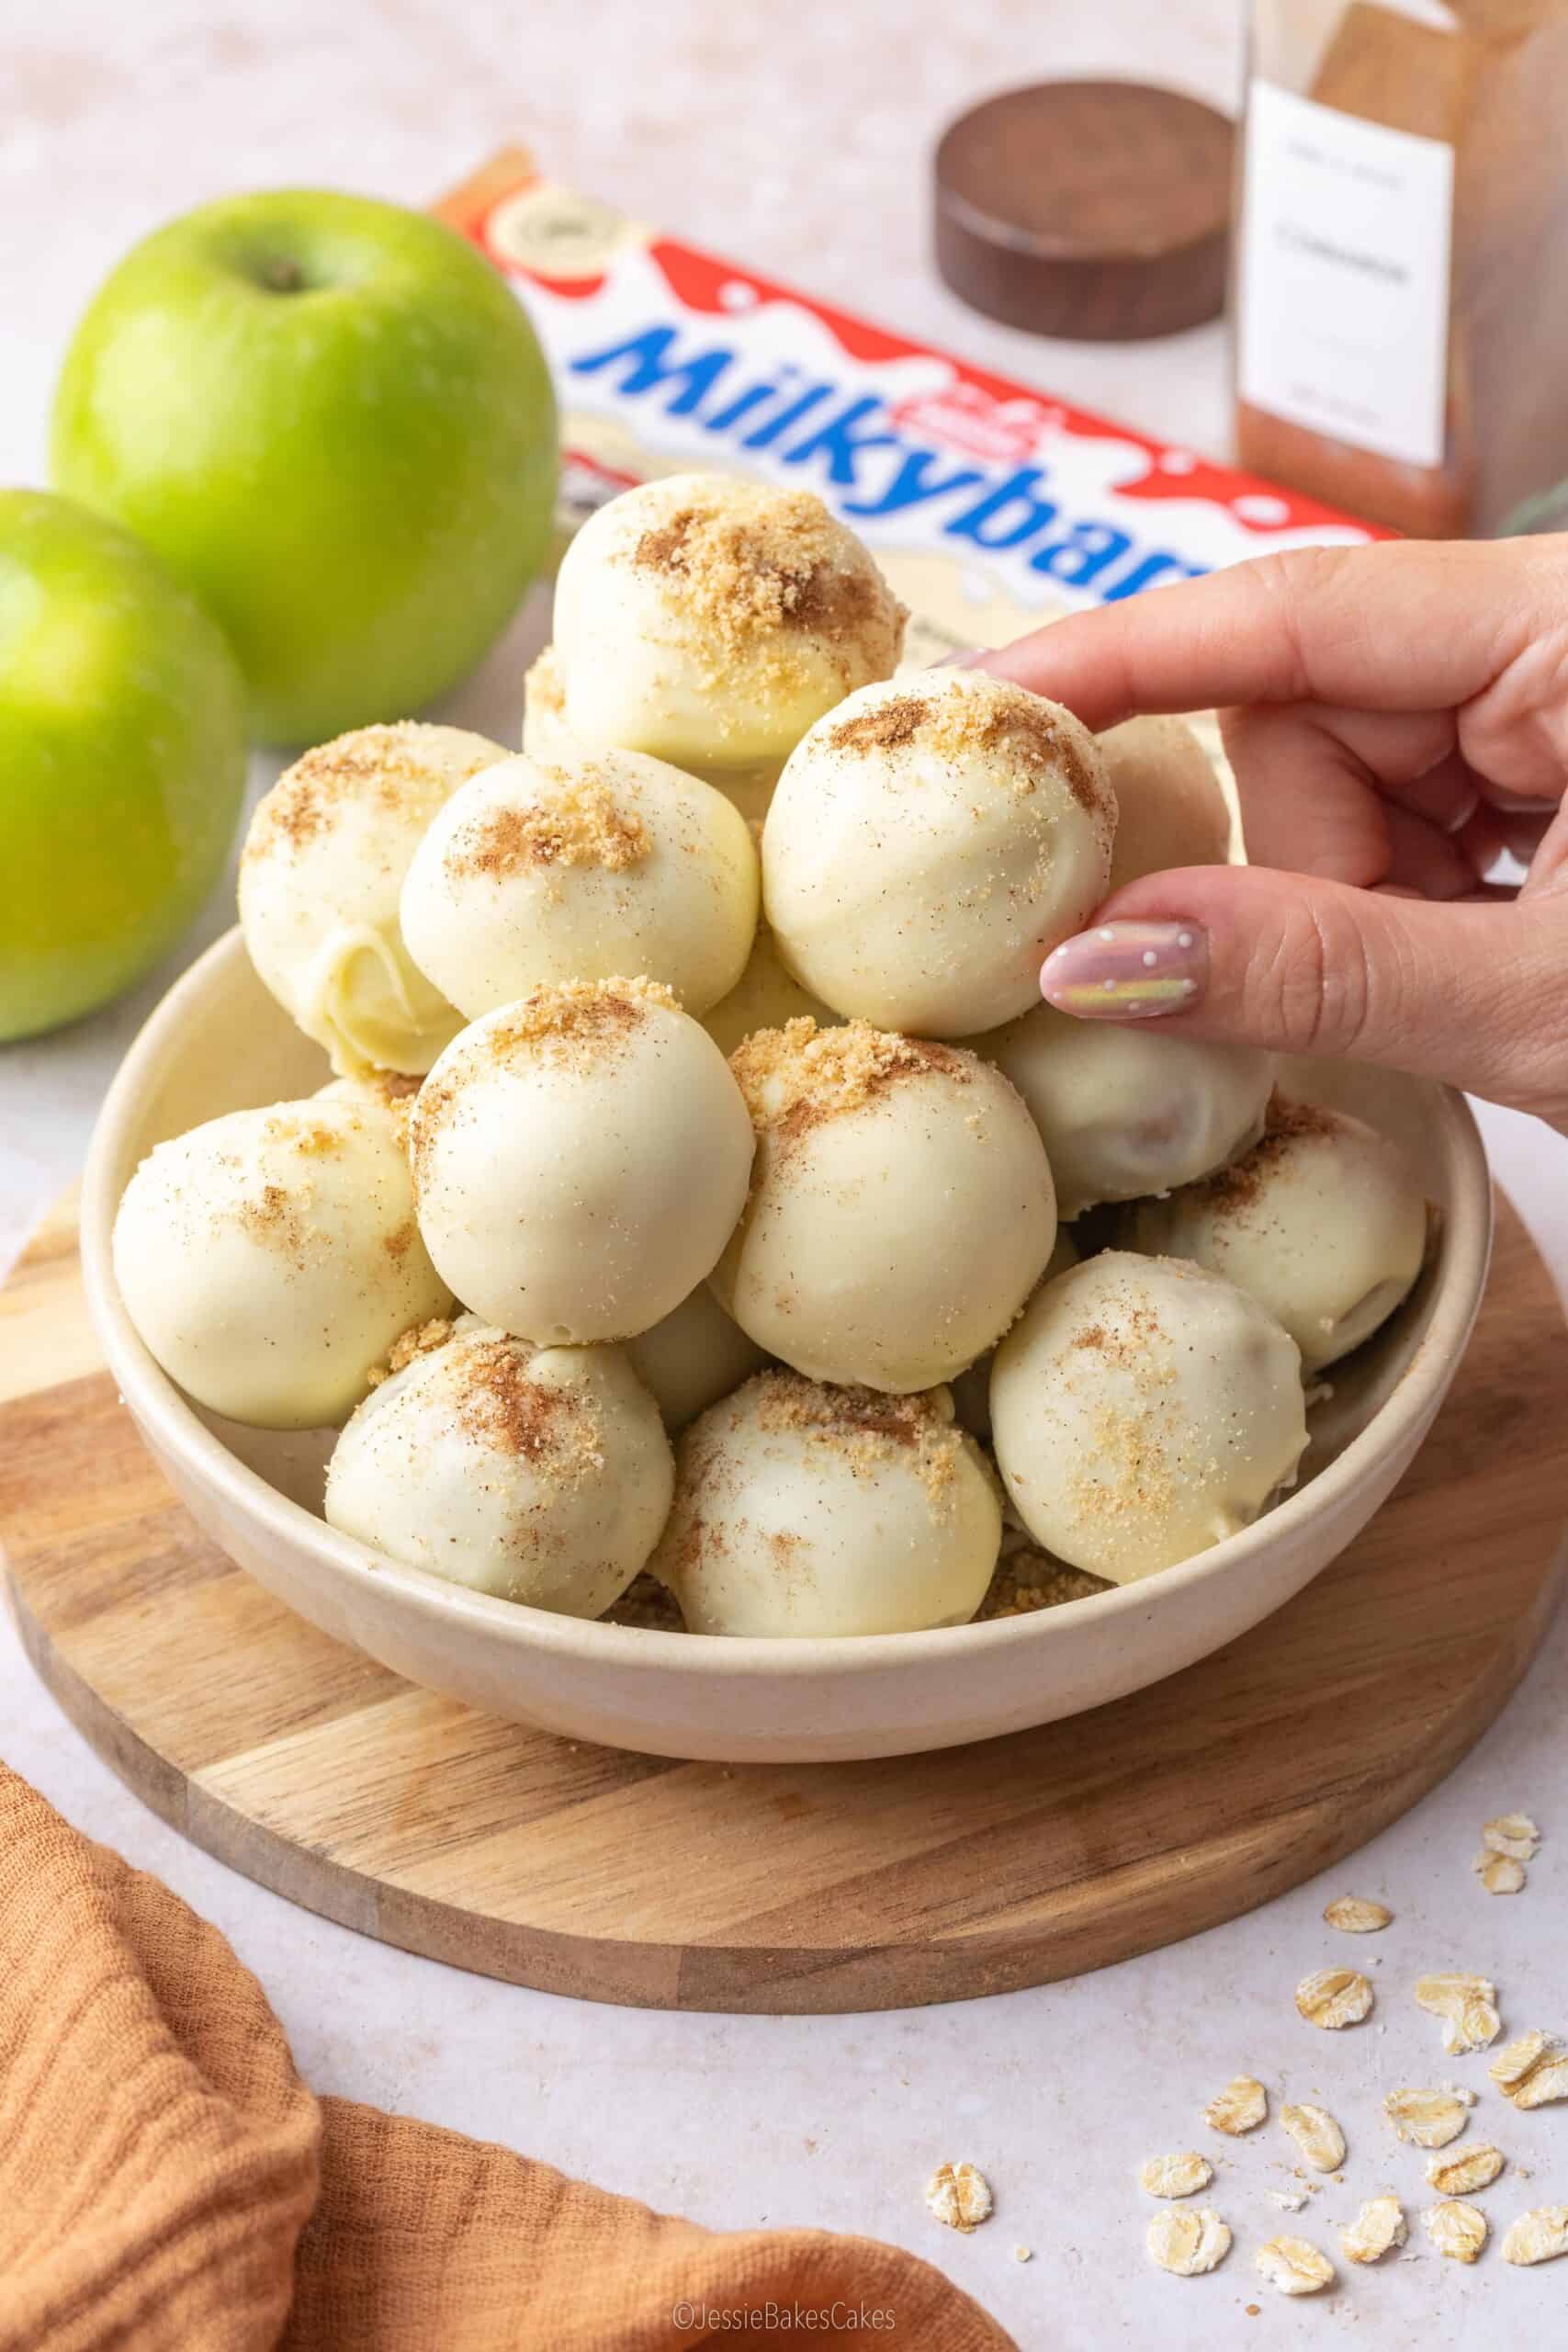
- Milkybar White Chocolate: The creamy chocolatey coating for these truffles! It pairs beautifully with the spiced apple filling and gives that perfect snap when you bite in.
- Extra biscuit crumbs & cinnamon: For decoration purposes. A quick sprinkle on top adds crunch, extra flavour, and makes the truffles look even prettier.
How To Make Apple Pie Truffles
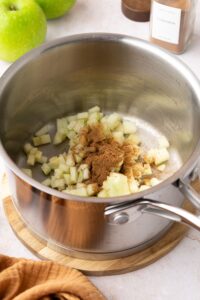
Step 1: Soften the apples
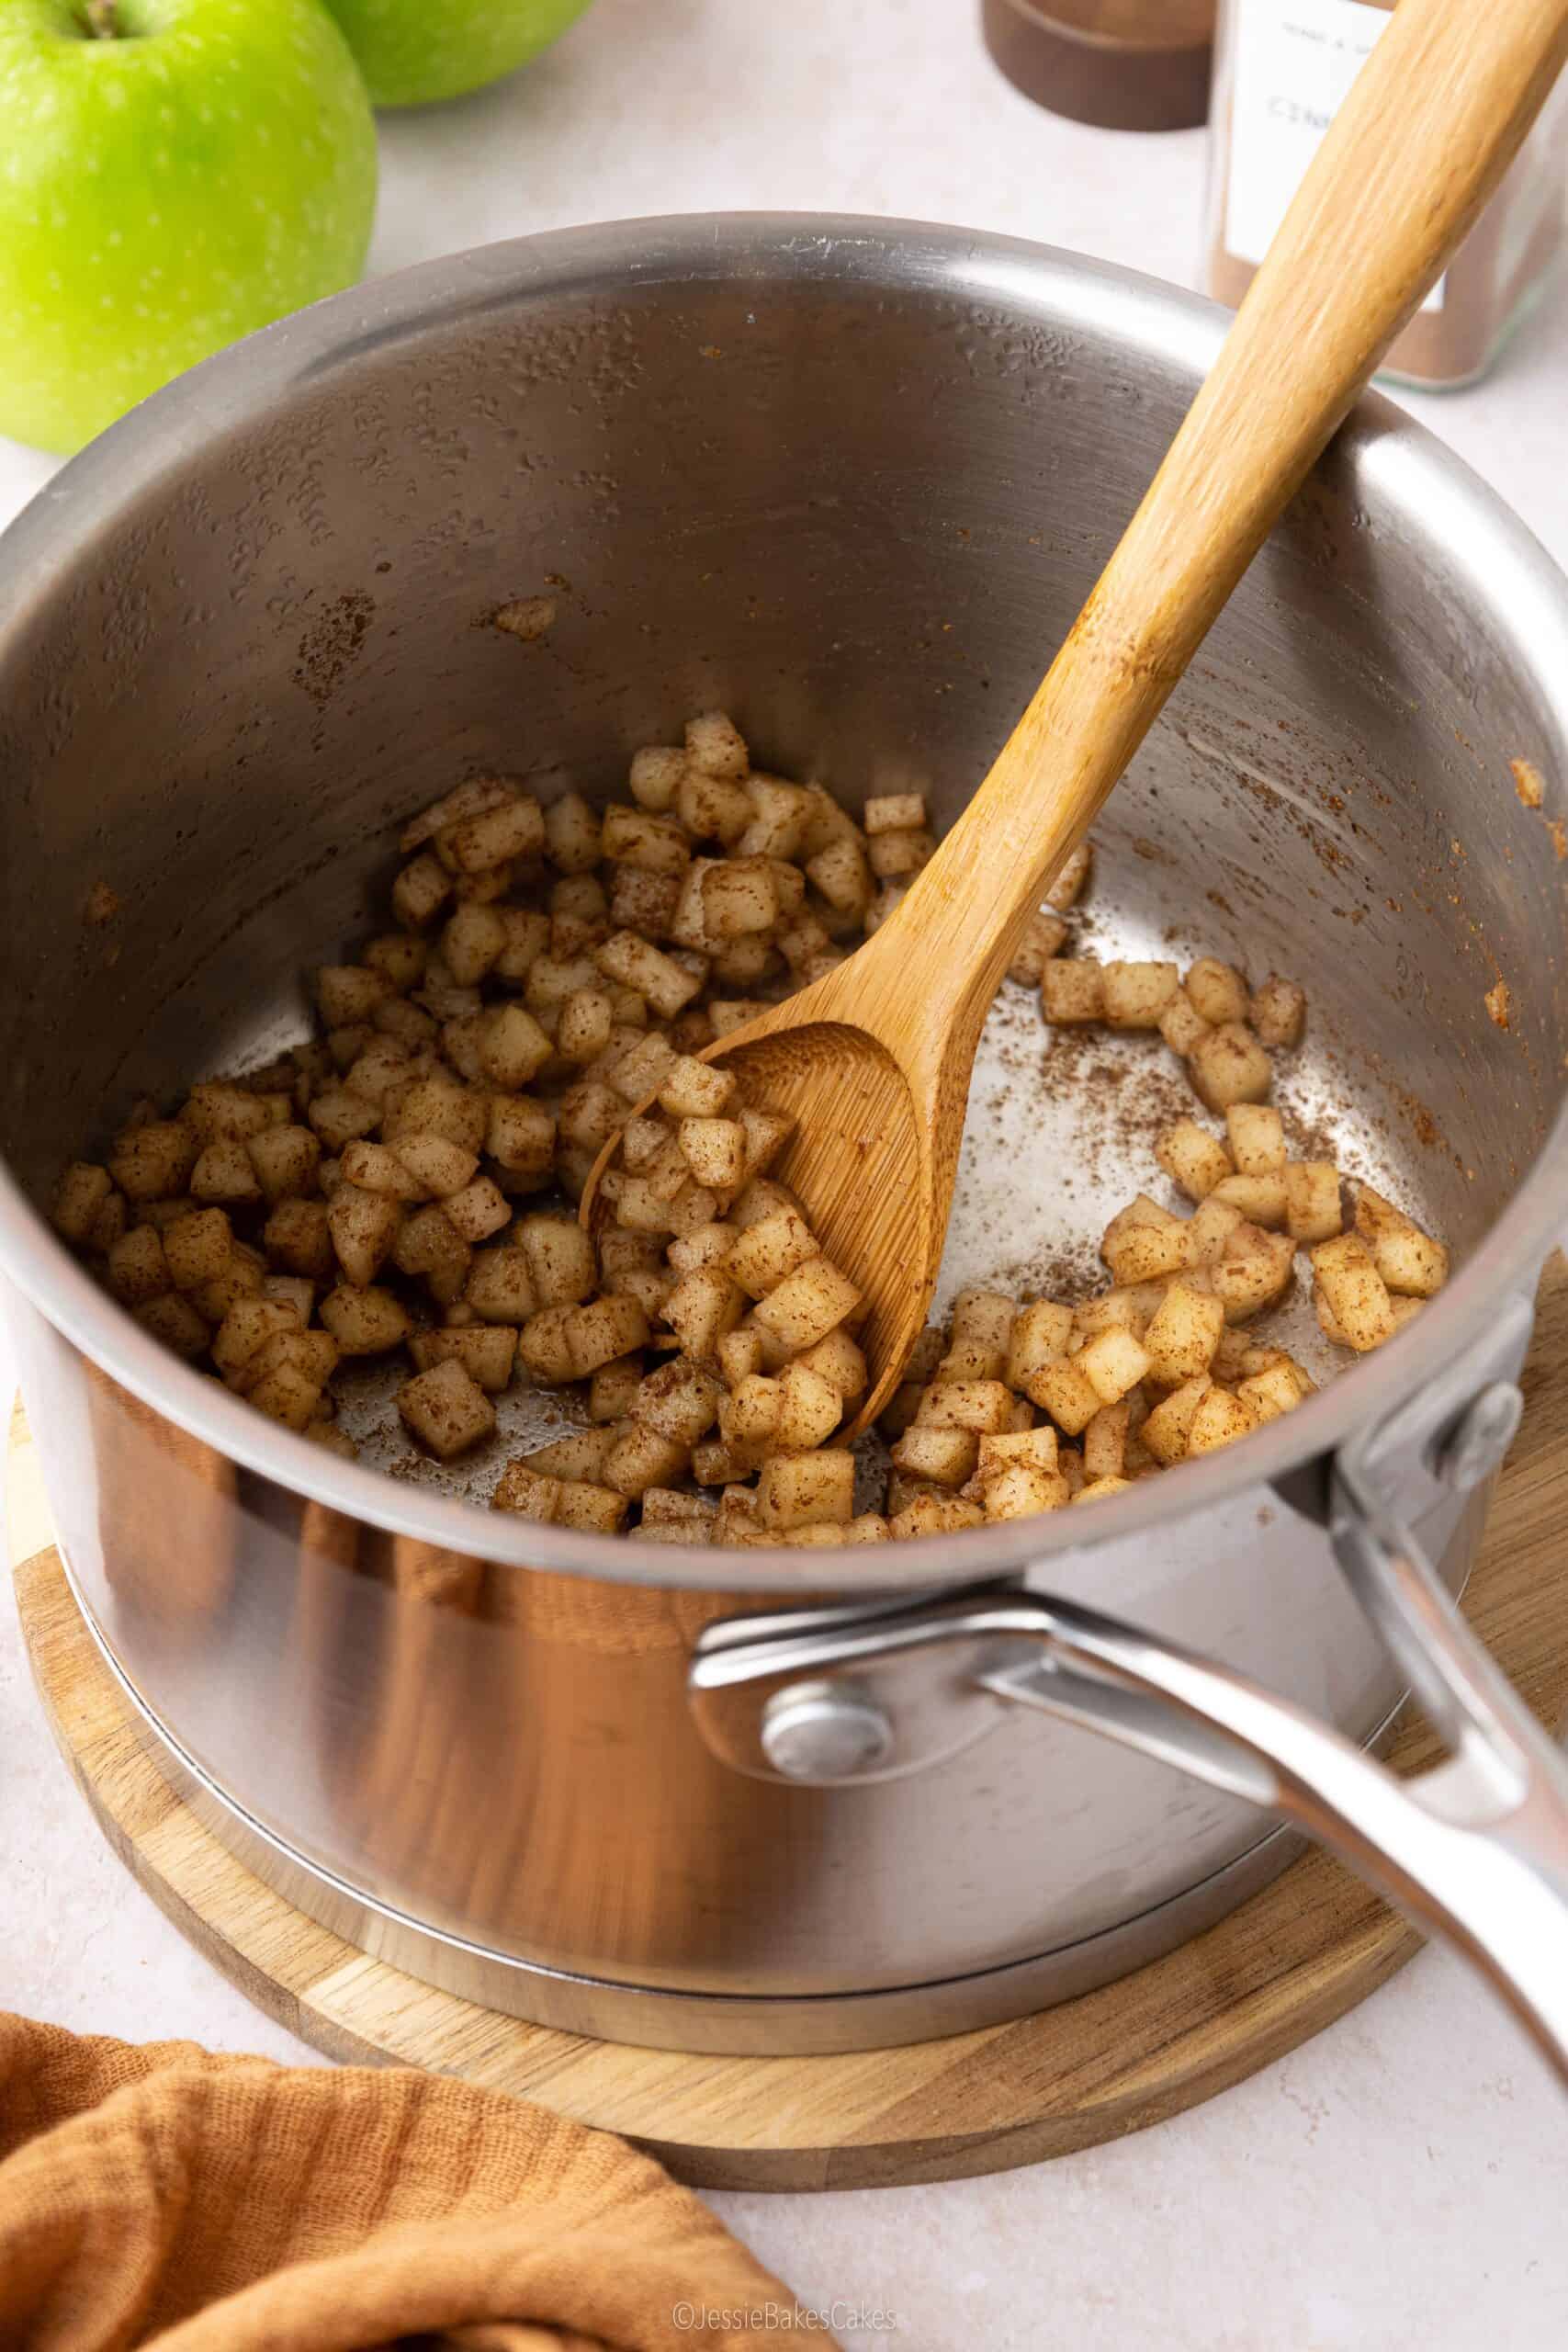
First things first – let’s get those apples soft and full of cosy spice. Peel, core and chop the apple into teeny-tiny chunks (about 5mm if you’re feeling precise, but honestly, the smaller the better so they soften quickly).
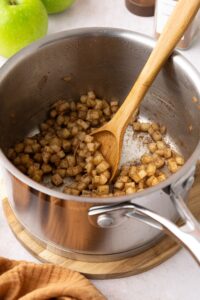
Pop them into a small saucepan with a splash of water and the spices. Gently heat for around 5 minutes, giving the mixture a stir every now and then, until the apple chunks have softened (I tested the texture using my fingertips). If at any point the mixture is looking a bit dry, just add another splash of water. Once the apple chunks are lovely and tender, set them aside to cool completely before you carry on.

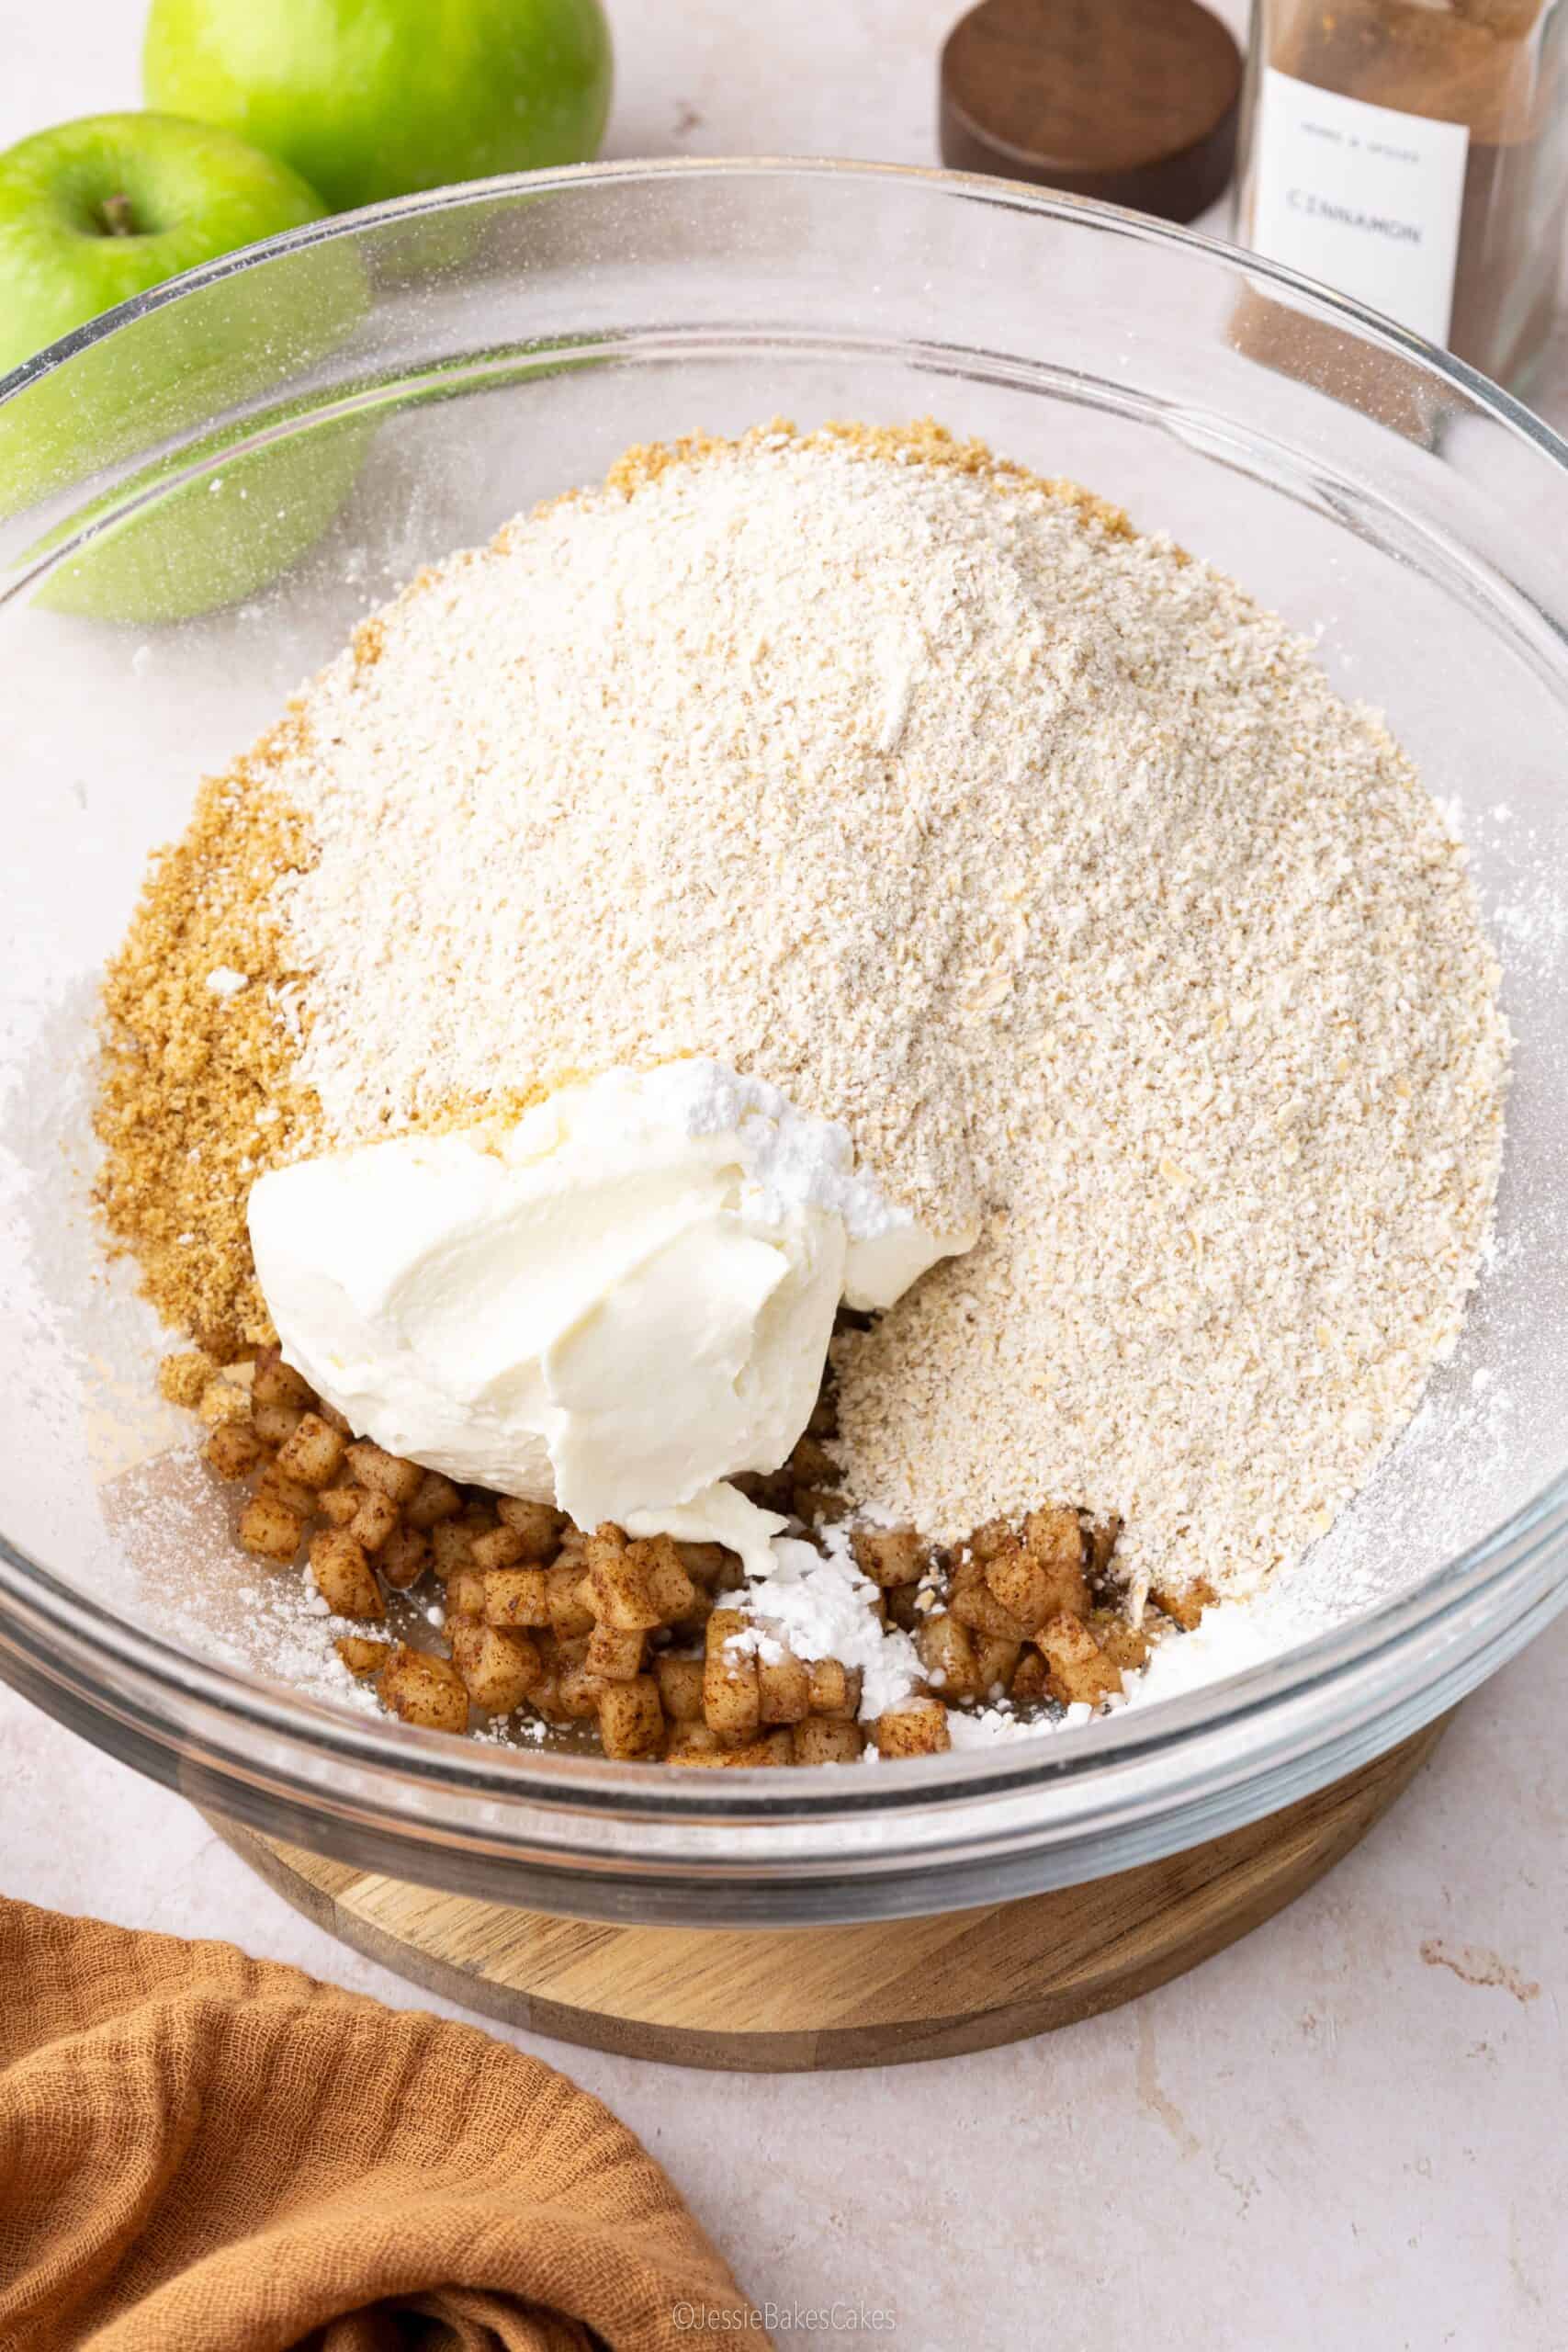
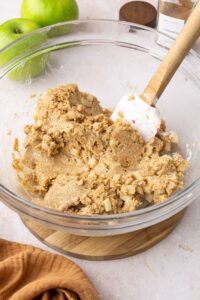
Step 2: Combine with the rest of the ingredients
While the apples are cooling, blitz your digestive biscuits and oats in a food processor (or blender – I used my Ninja) until you’ve got fine, sandy crumbs. Once the apple mixture has cooled right down, tip in the crumbs, cream cheese, and icing sugar. Give everything a good mix until it all comes together. The mixture should feel slightly sticky but still firm enough to hold its shape when you roll it. If it’s feeling a bit too soft, just pop it in the fridge for 15–20 minutes to firm up nicely.

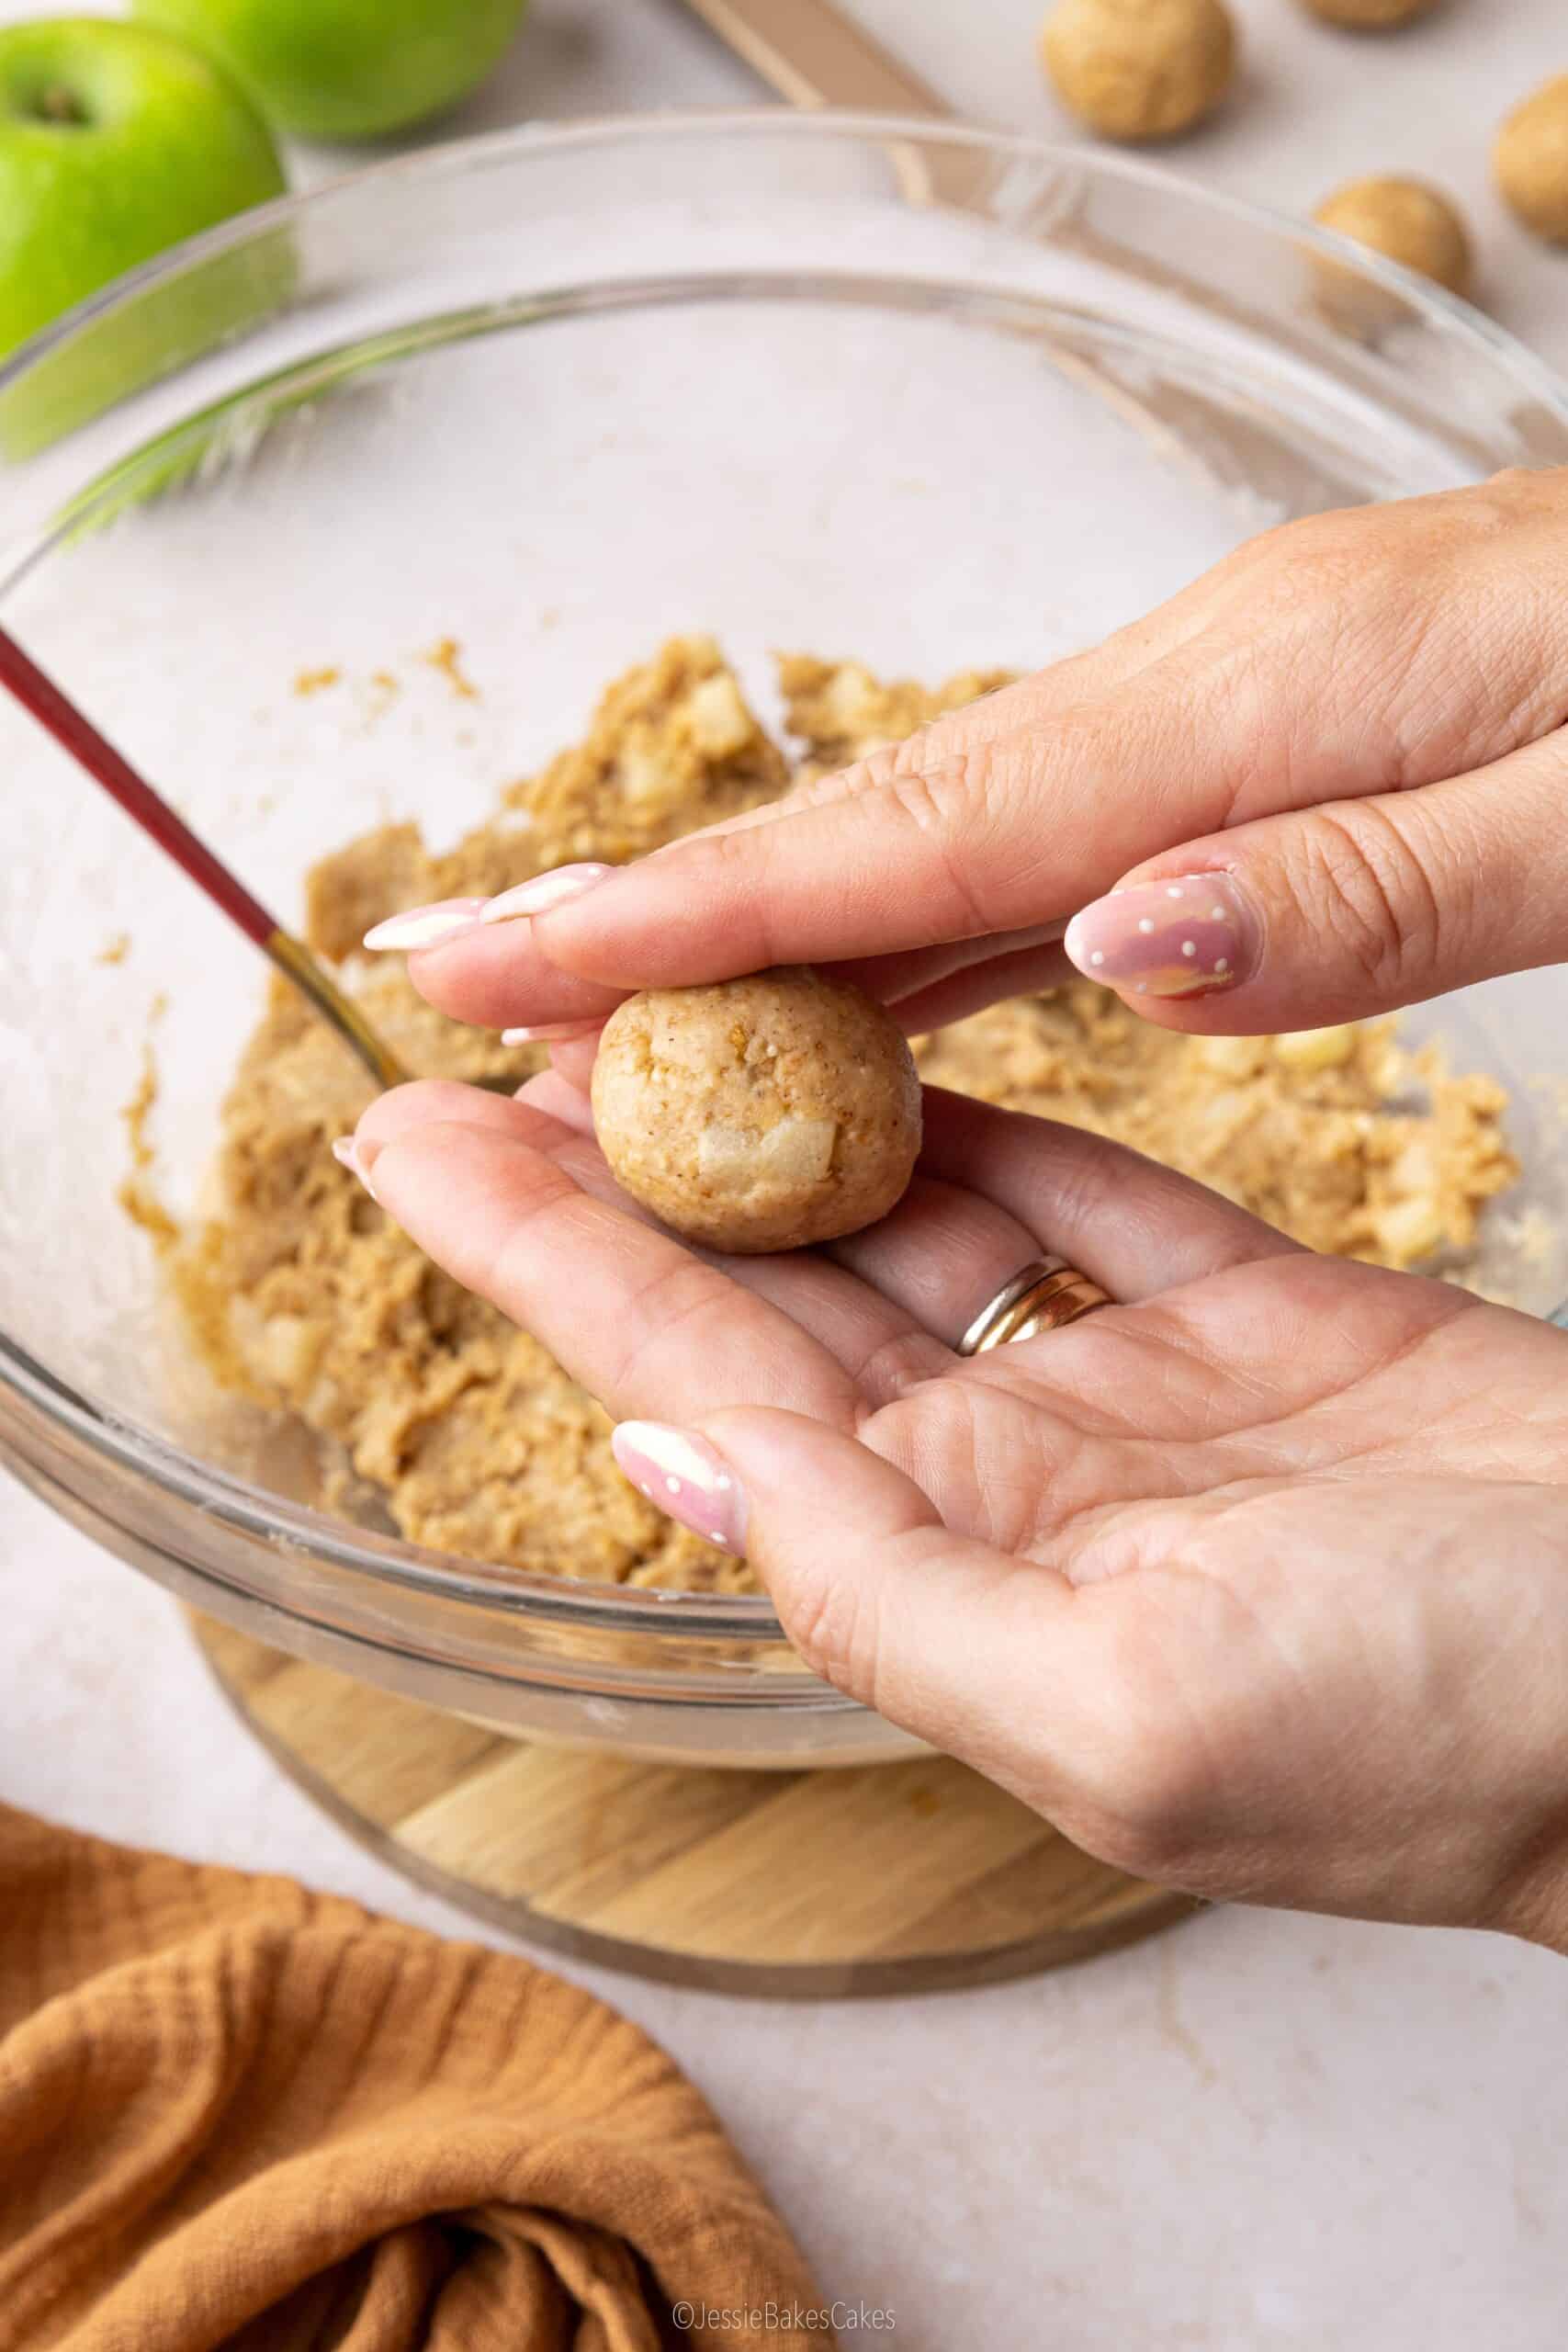
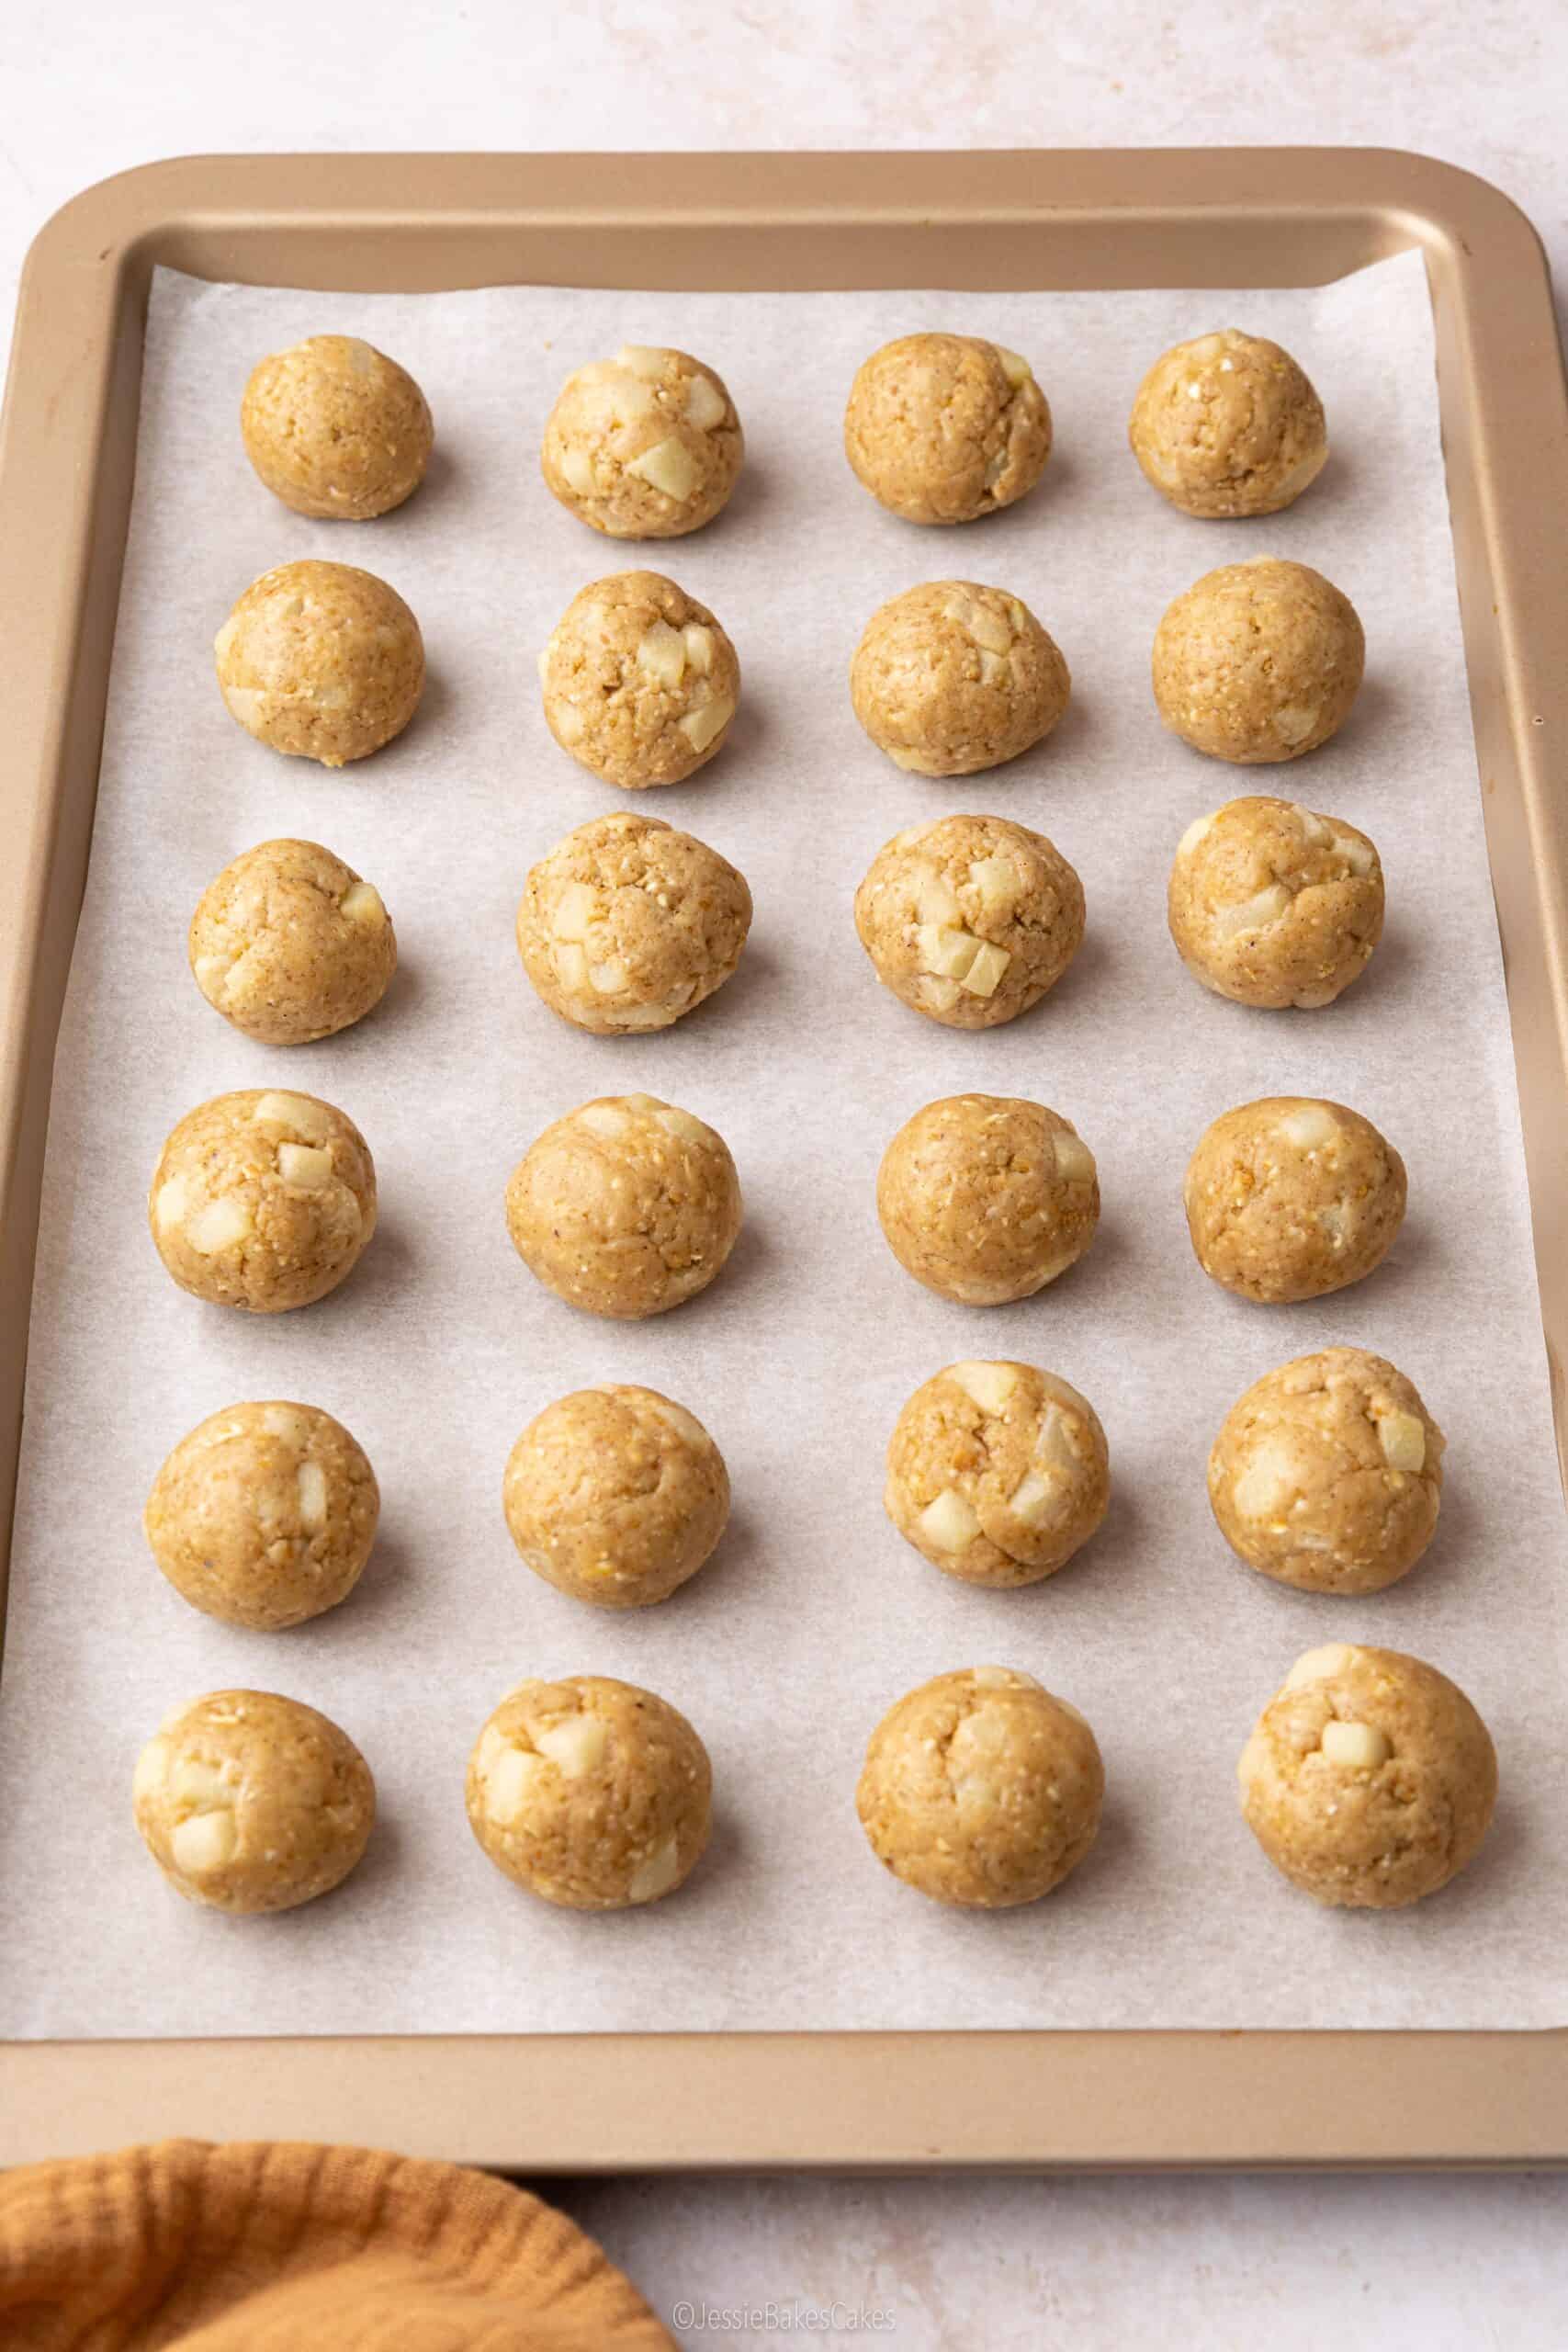
Step 3: Roll the apple pie truffle filling into balls
Line a large baking tray with greaseproof paper and grab a teaspoon. Scoop out heaped spoonfuls of the truffle mixture and roll them gently between your palms until you’ve got smooth, even little balls. You should end up with roughly 24, depending on how generous you are with each scoop. Pop them onto the tray, then slide it into the freezer for about 40 minutes. This gives the filling time to firm up, which makes dipping them in chocolate so much easier later on.
Step 4: Dunk in melted Milkybar white chocolate
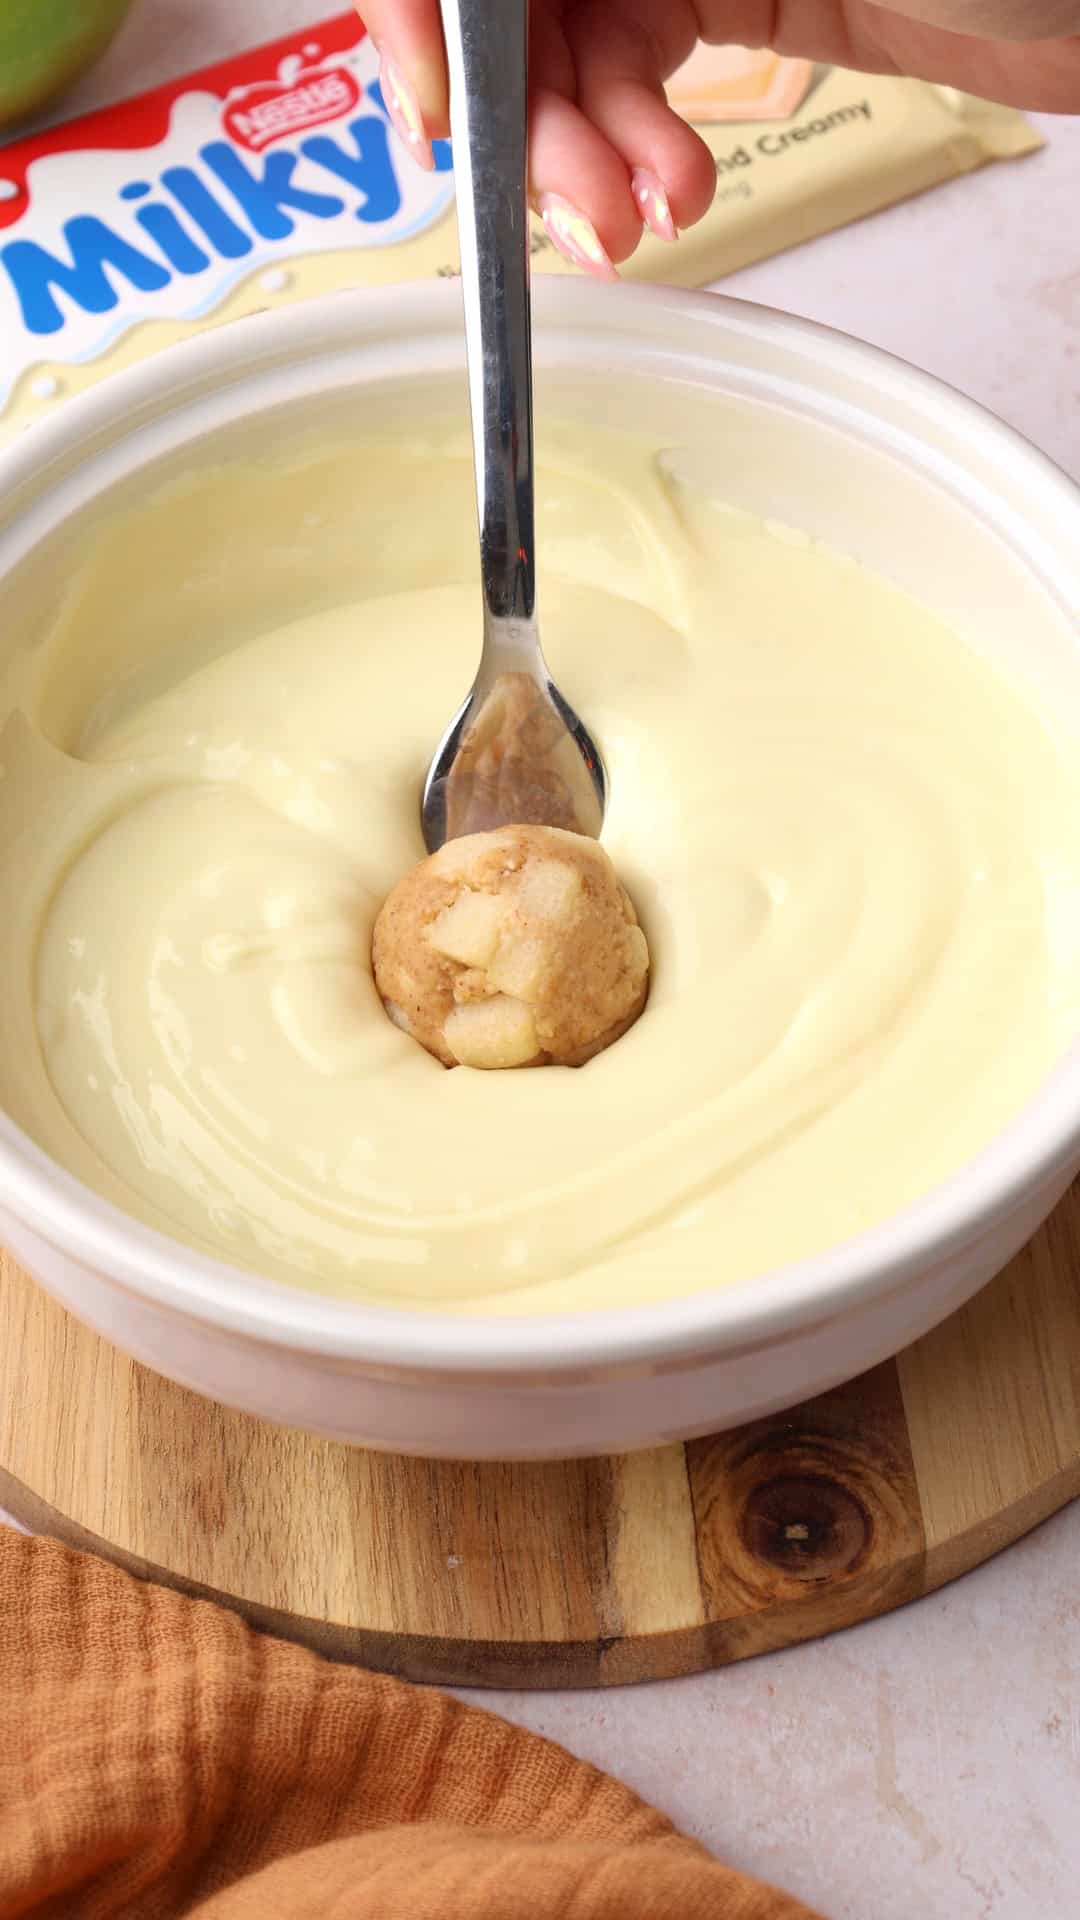
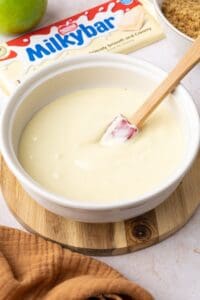
Start by finely chopping the Milkybar white chocolate — the smaller the pieces, the quicker and more evenly it’ll melt. Pop it into a shallow, heatproof bowl and melt it in short 10–20 second bursts in the microwave, giving it a good stir after each one. White chocolate can be a bit of a diva compared to milk or dark, so slow and steady is the way to go to avoid any grainy disasters.
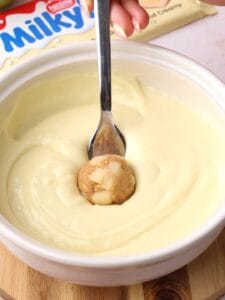
Once you’ve got smooth, glossy chocolate, grab a chilled truffle and drop it straight in. Use two forks to gently roll it around until it’s completely coated. Lift it out, give it a little shake over the bowl to get rid of any excess, and then carefully slide it onto a wire rack set over baking paper to catch the drips. It might be helpful to watch the video tutorial at the bottom of this page.
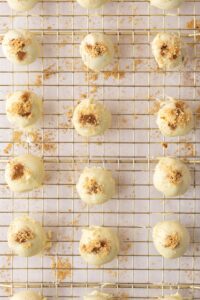
Step 5: Decorate your apple pie truffles
The chocolate sets pretty quickly, so it’s best to dunk and decorate each truffle one at a time. As soon as you’ve dipped a truffle and popped it onto the wire rack, sprinkle over a little ground cinnamon and a pinch of crushed biscuit straight away. Doing it while the chocolate’s still wet means everything sticks perfectly — no rogue toppings falling off later! It adds a lovely apple pie vibe too, with a bit of crunch and extra flavour in every bite.
FAQ’s for making Apple Pie Truffles
It’s all in the spiced apple filling! The combination of soft, cooked apple, cosy cinnamon and nutmeg, plus the buttery digestive biscuit crumbs gives these truffles that gorgeous apple pie vibe. Dunking them in creamy Milkybar white chocolate takes it to the next level.
Absolutely! If apples aren’t your thing, you can swap them for pears, peaches, plums or any stone fruit. Just make sure to cook the fruit down until soft, just like you would with the apple, so the filling isn’t watery. Avoid using berries as they contain too much liquid and the truffles will turn mushy.
Yes, super easy! Just swap the digestive biscuits, oats and Milkybar chocolate for your favourite gluten-free alternatives. Everything else in the recipe is naturally gluten-free, so it’s a straight swap without affecting the taste or texture.
Freezing firms up the filling, making it much easier to dunk into the melted chocolate without falling apart. It also helps the chocolate coating set faster, so you get that perfect smooth shell.
Keep your apple pie truffles in an airtight container in the fridge. They’ll stay fresh for up to 5 days – though they rarely last that long!
Apple Pie Truffles
Rate this Recipe
Print Pin Rate this RecipeIngredients
- 1 medium Granny Smith Apple or similar
- 0.5 teaspoon Ground cinnamon
- 0.25 teaspoon Ground nutmeg
- 120 grams Light cream cheese
- 150 grams Light digestive biscuits
- 50 grams Oats
- 50 grams Icing sugar
- 360 grams Milkybar White Chocolate equal to 4 sharing bars
Instructions
- Peel the apple, remove the core, and chop it into tiny chunks. Pop the apple into a small saucepan along with 4 tablespoons of water, the cinnamon, and nutmeg.1 medium Granny Smith Apple, 0.5 teaspoon Ground cinnamon, 0.25 teaspoon Ground nutmeg
- Place over a medium heat and stir occasionally for about 5 minutes, or until the apple is completely soft and starting to break down slightly. Tip: If the pan starts to look dry before the apple is soft, add an extra splash of water. Once cooked, scrape the apple mixture into a medium mixing bowl and leave it to cool completely.
- Blitz the digestive biscuits and oats into a food processor or blender into fine crumbs.150 grams Light digestive biscuits, 50 grams Oats
- Once the apple is cool, add the crumbs to the bowl, with the cream cheese and icing sugar. Use a spatula or wooden spoon to mix everything together. The mixture should be slightly sticky but firm enough to roll. Tip: If it feels too soft, pop the bowl into the fridge for 15–20 minutes to firm up slightly.120 grams Light cream cheese, 50 grams Icing sugar
- Line a large baking tray with baking paper. Scoop up heaped teaspoons of the mixture and roll them between your palms into smooth balls. Place each ball on the prepared tray, aiming to make about 24 truffles in total. Transfer the tray to the freezer for 30-40 minutes, or until the truffles feel nice and firm.

- Finely chop the Milkybar white chocolate and place into a shallow heatproof bowl. Melt it in the microwave in 10–20 second bursts, stirring well between each blast, until smooth and glossy. Tip: White chocolate burns easily, so don’t rush this step. It helps to use the heat of the bowl to melt the last few chunks of chocolate.360 grams Milkybar White Chocolate
- Remove the truffles from the freezer. Working one at a time, drop a truffle into the melted chocolate and gently submerge it using a fork. Lift the truffle out, wiggling the fork gently to let the excess chocolate drip off. Use another fork to slide the coated truffle onto a wire rack set over a sheet of baking paper (to catch any drips).
- While the chocolate is still wet, lightly sprinkle with a pinch of ground cinnamon and extra biscuit for a little extra flavour. Repeat with the remaining truffles.
- Leave to set and enjoy! Keep the truffles in an airtight container in the fridge for up to 5 days.