Cake Troubleshooting: Common Problems & How to Fix Them
By Jessie
Updated: January 22, 2026
Rate This Recipe
By: Jessie
Updated: January 22, 2026
Rate This Recipe:
Even the most experienced bakers have had that moment when baking a cake… you open the oven door full of excitement, only to find a sunken middle, a dry sponge, or a cake that’s stuck to the tin. The good news? Most cake problems have very simple causes, and once you know what to look for, they’re easy to avoid next time.
This cake troubleshooting guide walks you through the most common cake baking problems, explains why they happen, gives some quick fixes, and most importantly, how to prevent them from happening again. I’ll also point you towards some delicious cakes on my website if you’re looking for recipe inspiration.

The Most Common Cake Baking Problems
If you’ve ever typed one of these questions into Google mid-bake, you’re not alone! These are the most common questions I’m asked when it comes to baking cakes:
Below, I’ll break down each cake problem, what causes it and how to fix it. Let’s dive in!

Why did my cake sink in the middle?
Why it happens:
- Too much raising agent
- Oven door opened too early
- Cake underbaked in the centre
- Baking tin is too deep or too small for the amount of cake mixture
- Incorrect oven temperature resulting in an incorrect baking time
How to fix it (this time):
- If underbaked, return the cake to the oven for a 5-10 minutes. This won’t fix a sunken middle, but it will make sure the cake is fully baked.
- Once fully cool, use a knife to level the cake and create an even flat sponge.
- Turn your sponge into a bundt or piñata cake by cutting out the sunken middle. Fill with sprinkles, chocolates or sweets, then stack and coat the cake in buttercream for a fun surprise!
How to prevent it next time:
- Use level measuring spoons for baking powder or bicarbonate of soda.
- Avoid opening the oven door during the first three-quarters of the baking time.
- Try the spring test – lightly press the middle of the sponge with your finger. If the cake springs back, it’s ready; if your finger leaves an indent, bake it for a little longer.
- Try the skewer test – insert a skewer or toothpick into the centre of the cake. If it comes out clean and crumb-free, the cake is fully baked.
- Match the tin size exactly to the recipe.
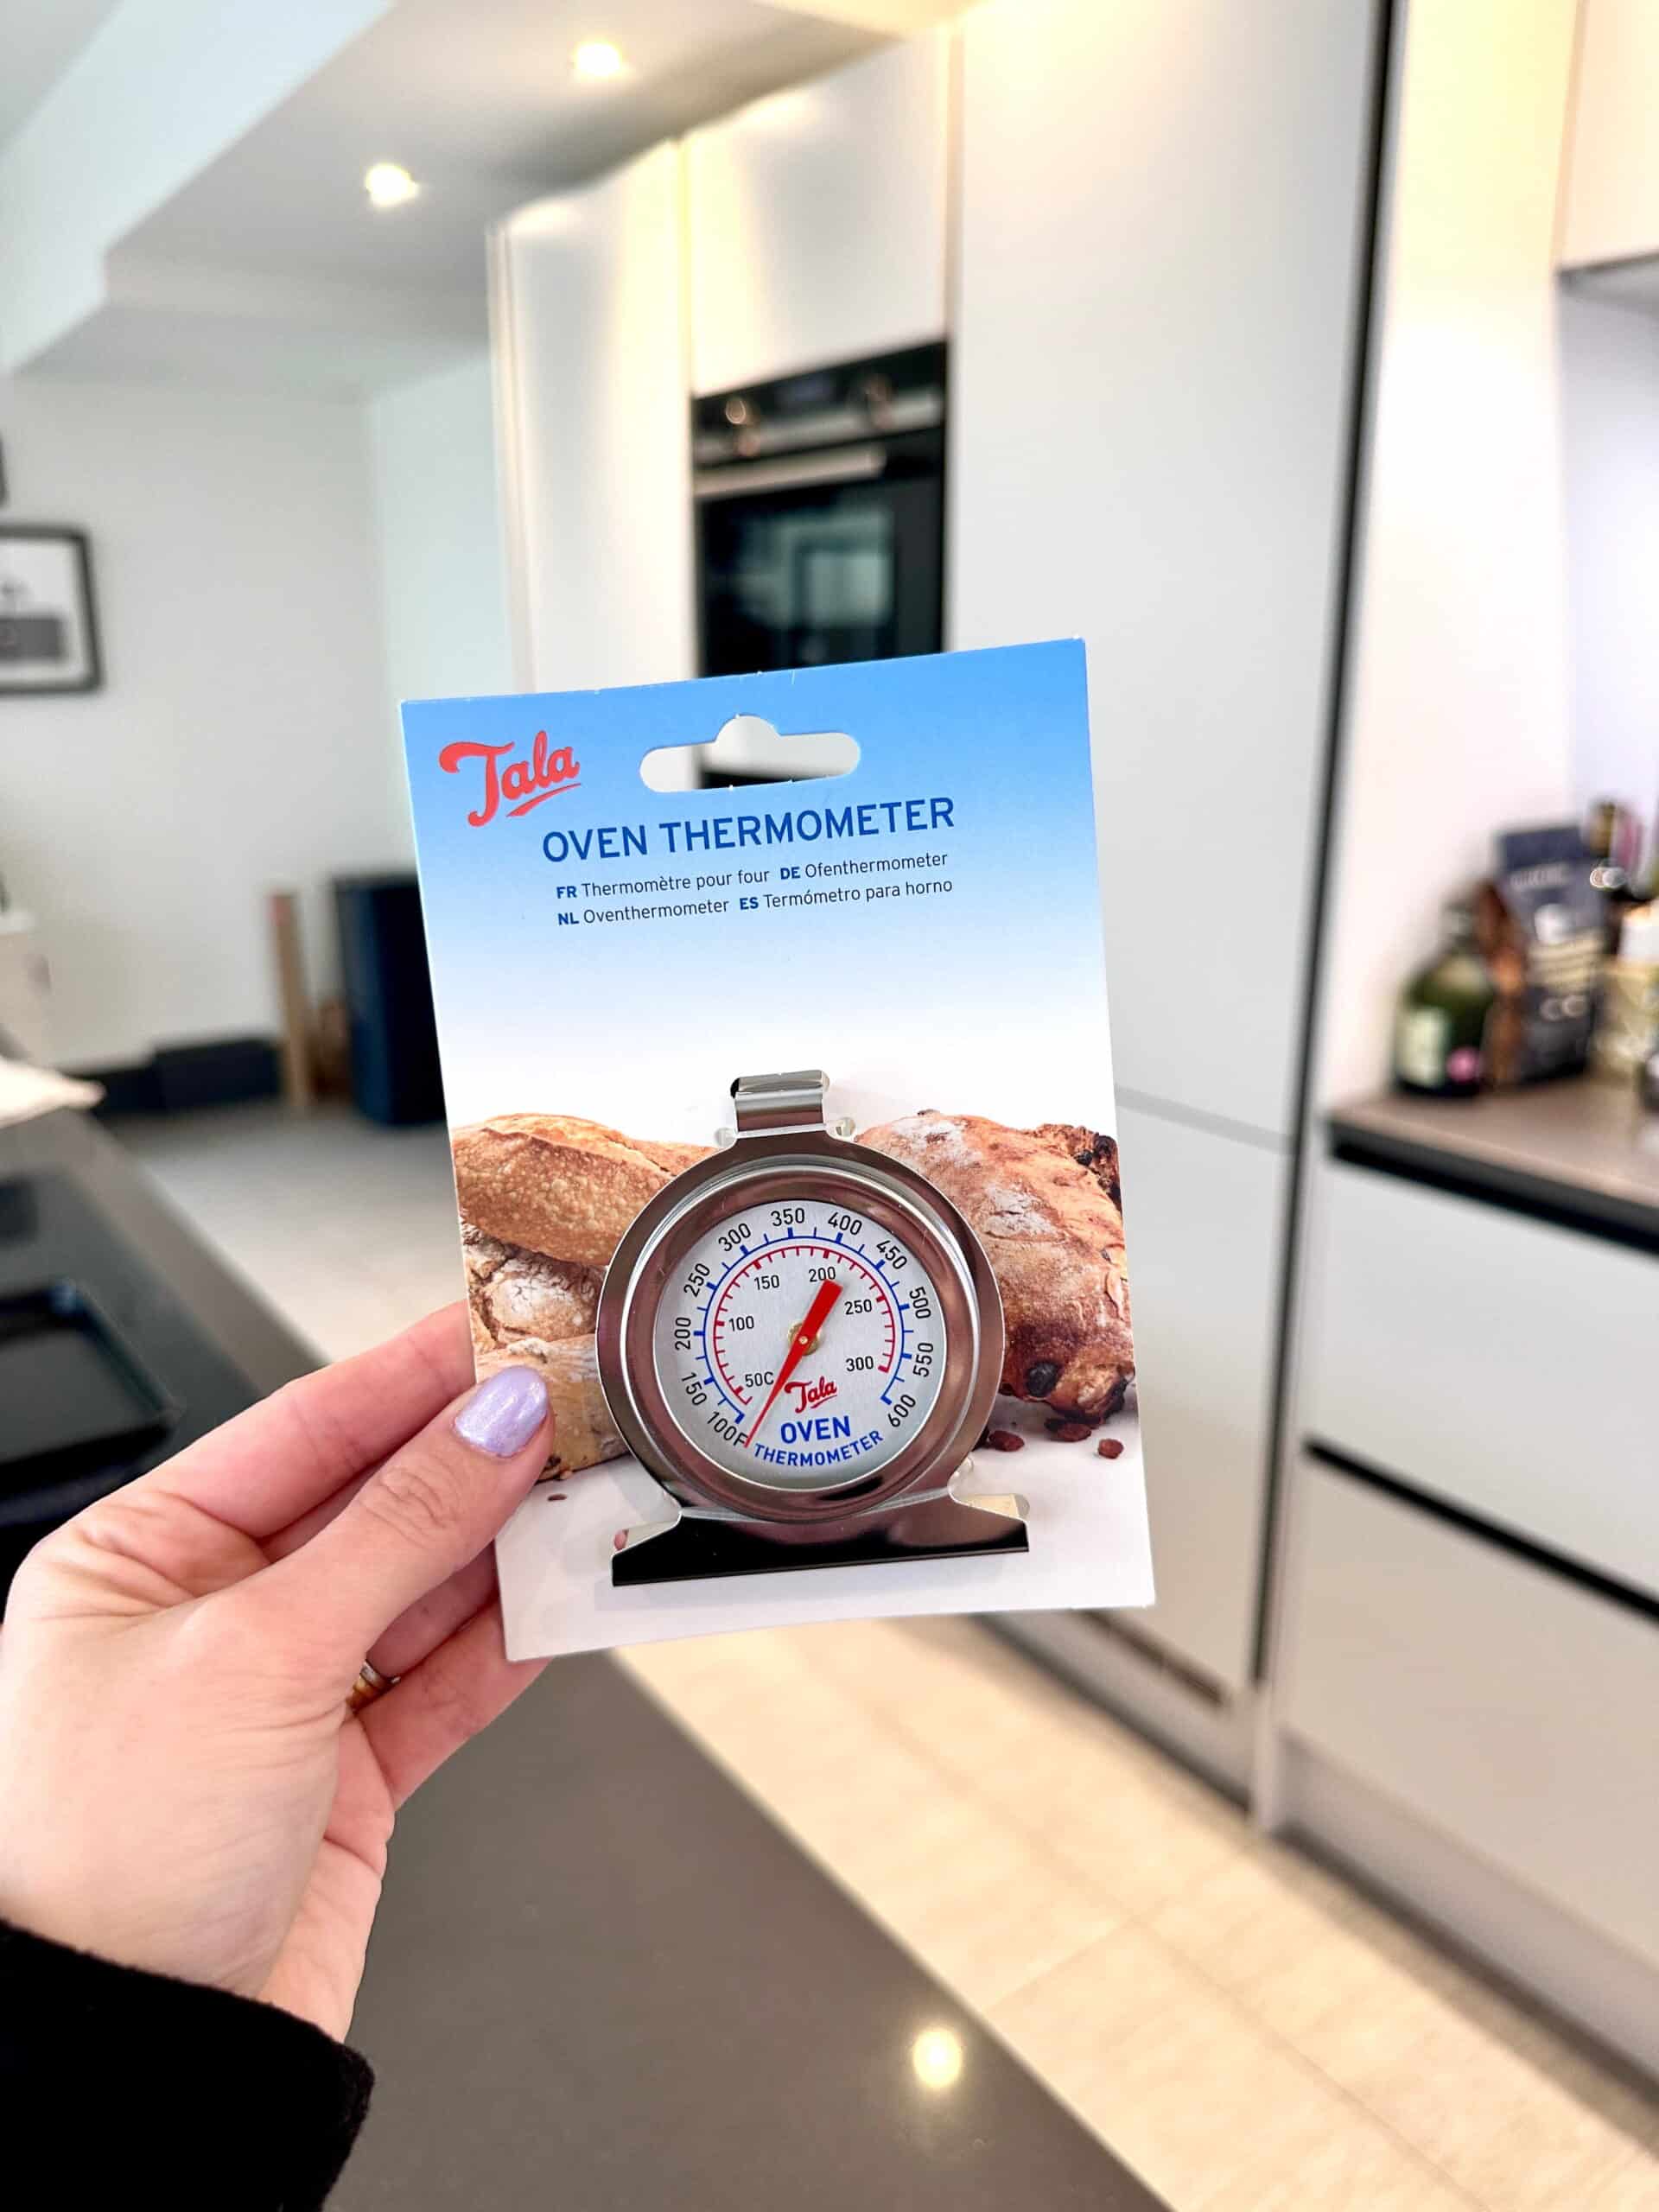
- Use an oven thermometer for an accurate temperature reading.

Why did my cake not rise?
Why it happens:
- The self-raising flour, baking powder or bicarbonate of soda may have expired.
- The batter was overmixed, knocking air out of the mixture.
- The oven wasn’t hot enough when the cake went in.
- A larger tin than specified caused the batter to spread instead of rising.
- Opening the oven door too early.
How to fix it (this time):
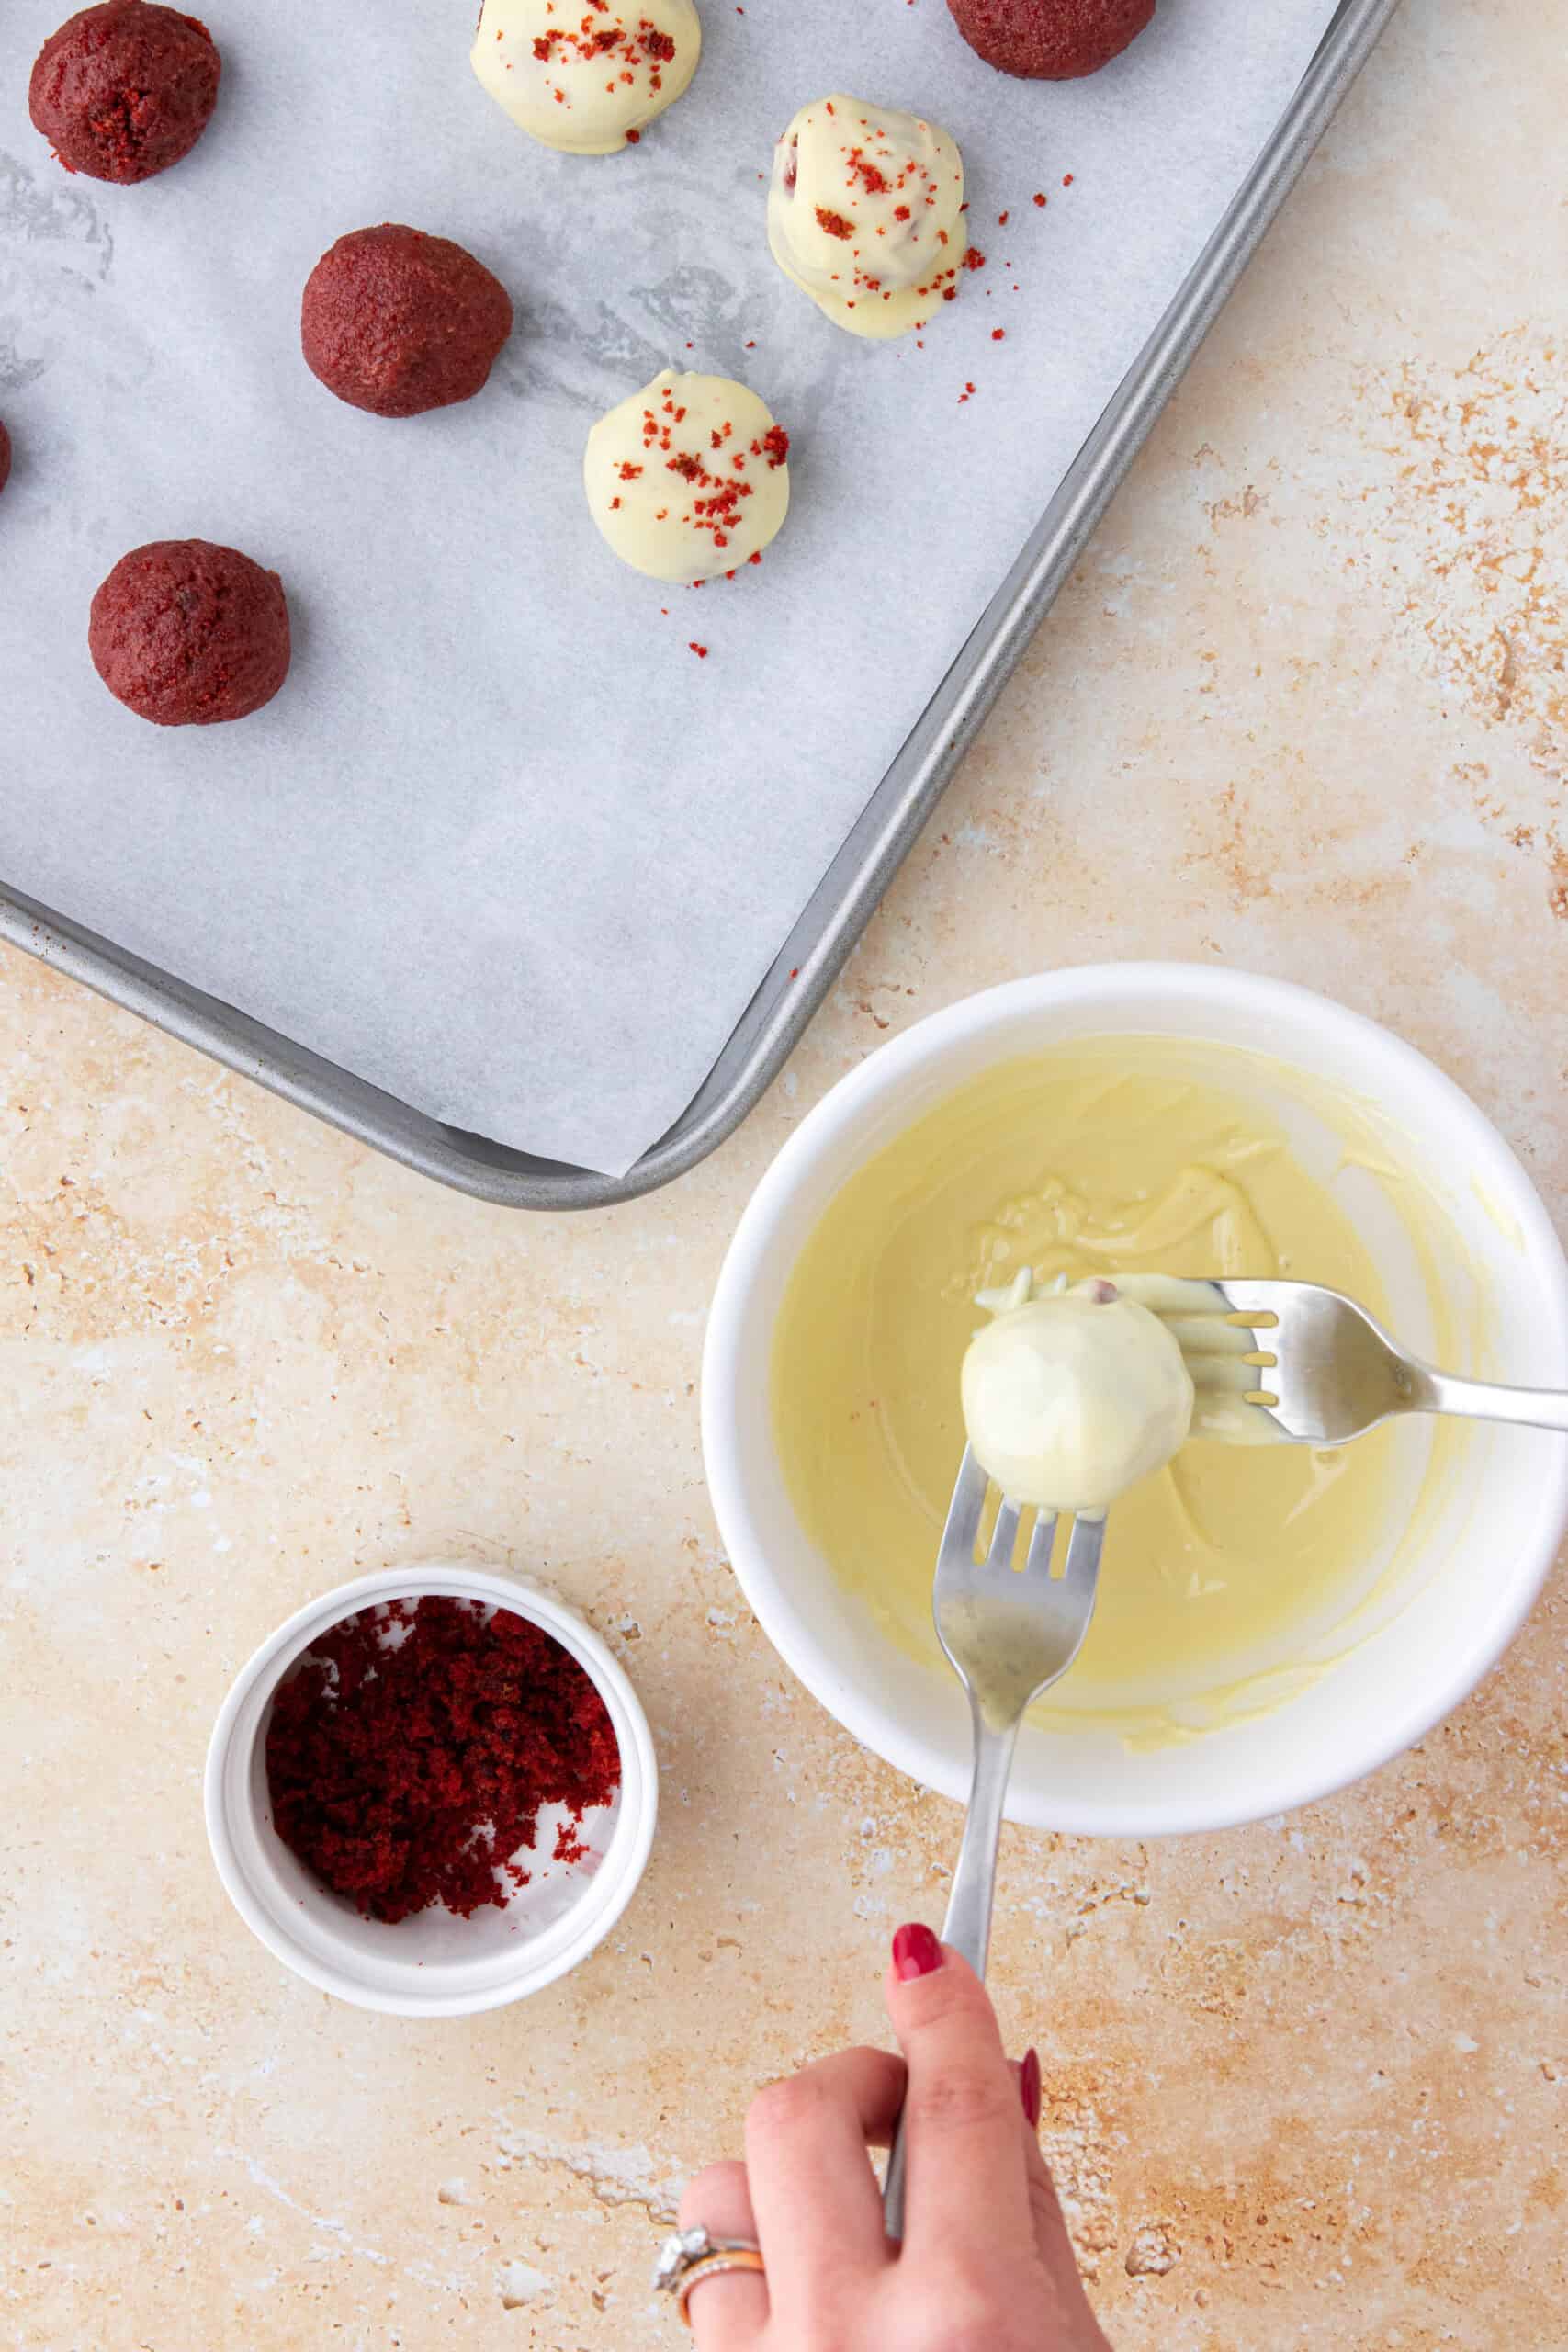
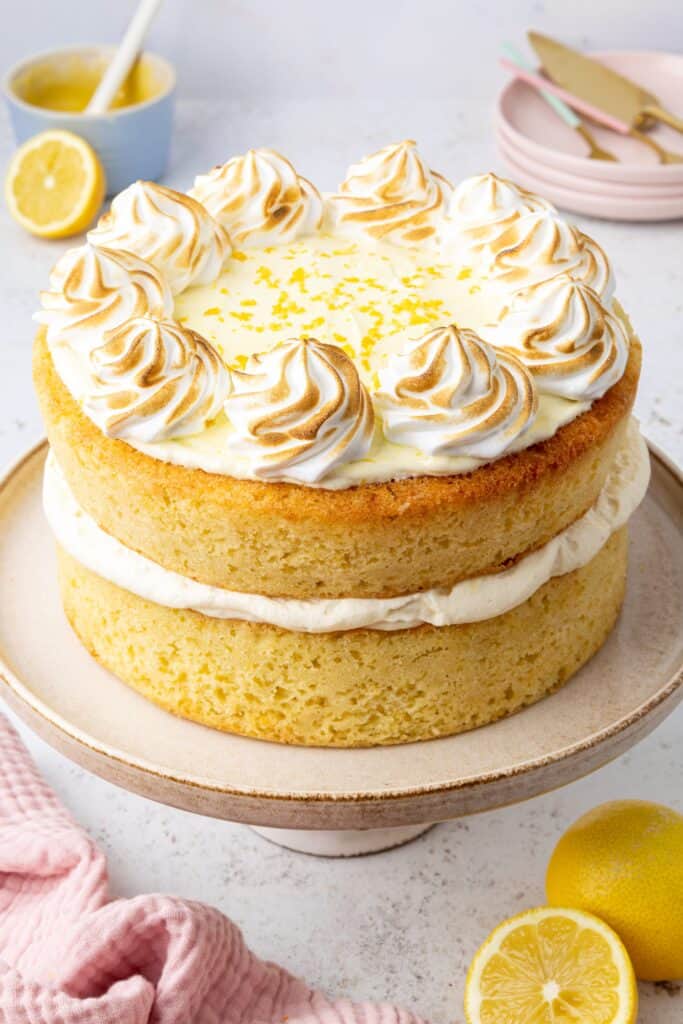
- If the cake is only a little flat, slice the sponge into layers and fill generously with buttercream to add height.
- For very flat cakes, consider crumbling them up to make cake truffles (photo below) or turning them into a layered trifle-style dessert.
How to prevent it next time:
- Check your dry ingredients/raising agents are in date and still active.
- Fold the cake mixture gently once the flour is added and stop as soon as combined.
- Fully preheat the oven before the cake goes in – use an oven thermometer for an accurate temperature reading.
- Use the exact tin size stated in the recipe.
- Avoid opening the oven door during the first three-quarters of the baking time.
Why is my cake crumbly and dry?
Why it happens:
- The cake was overbaked and lost too much moisture.
- Too much flour was added to the batter.
- There wasn’t enough fat or liquid in the recipe.
- The oven temperature was too high.
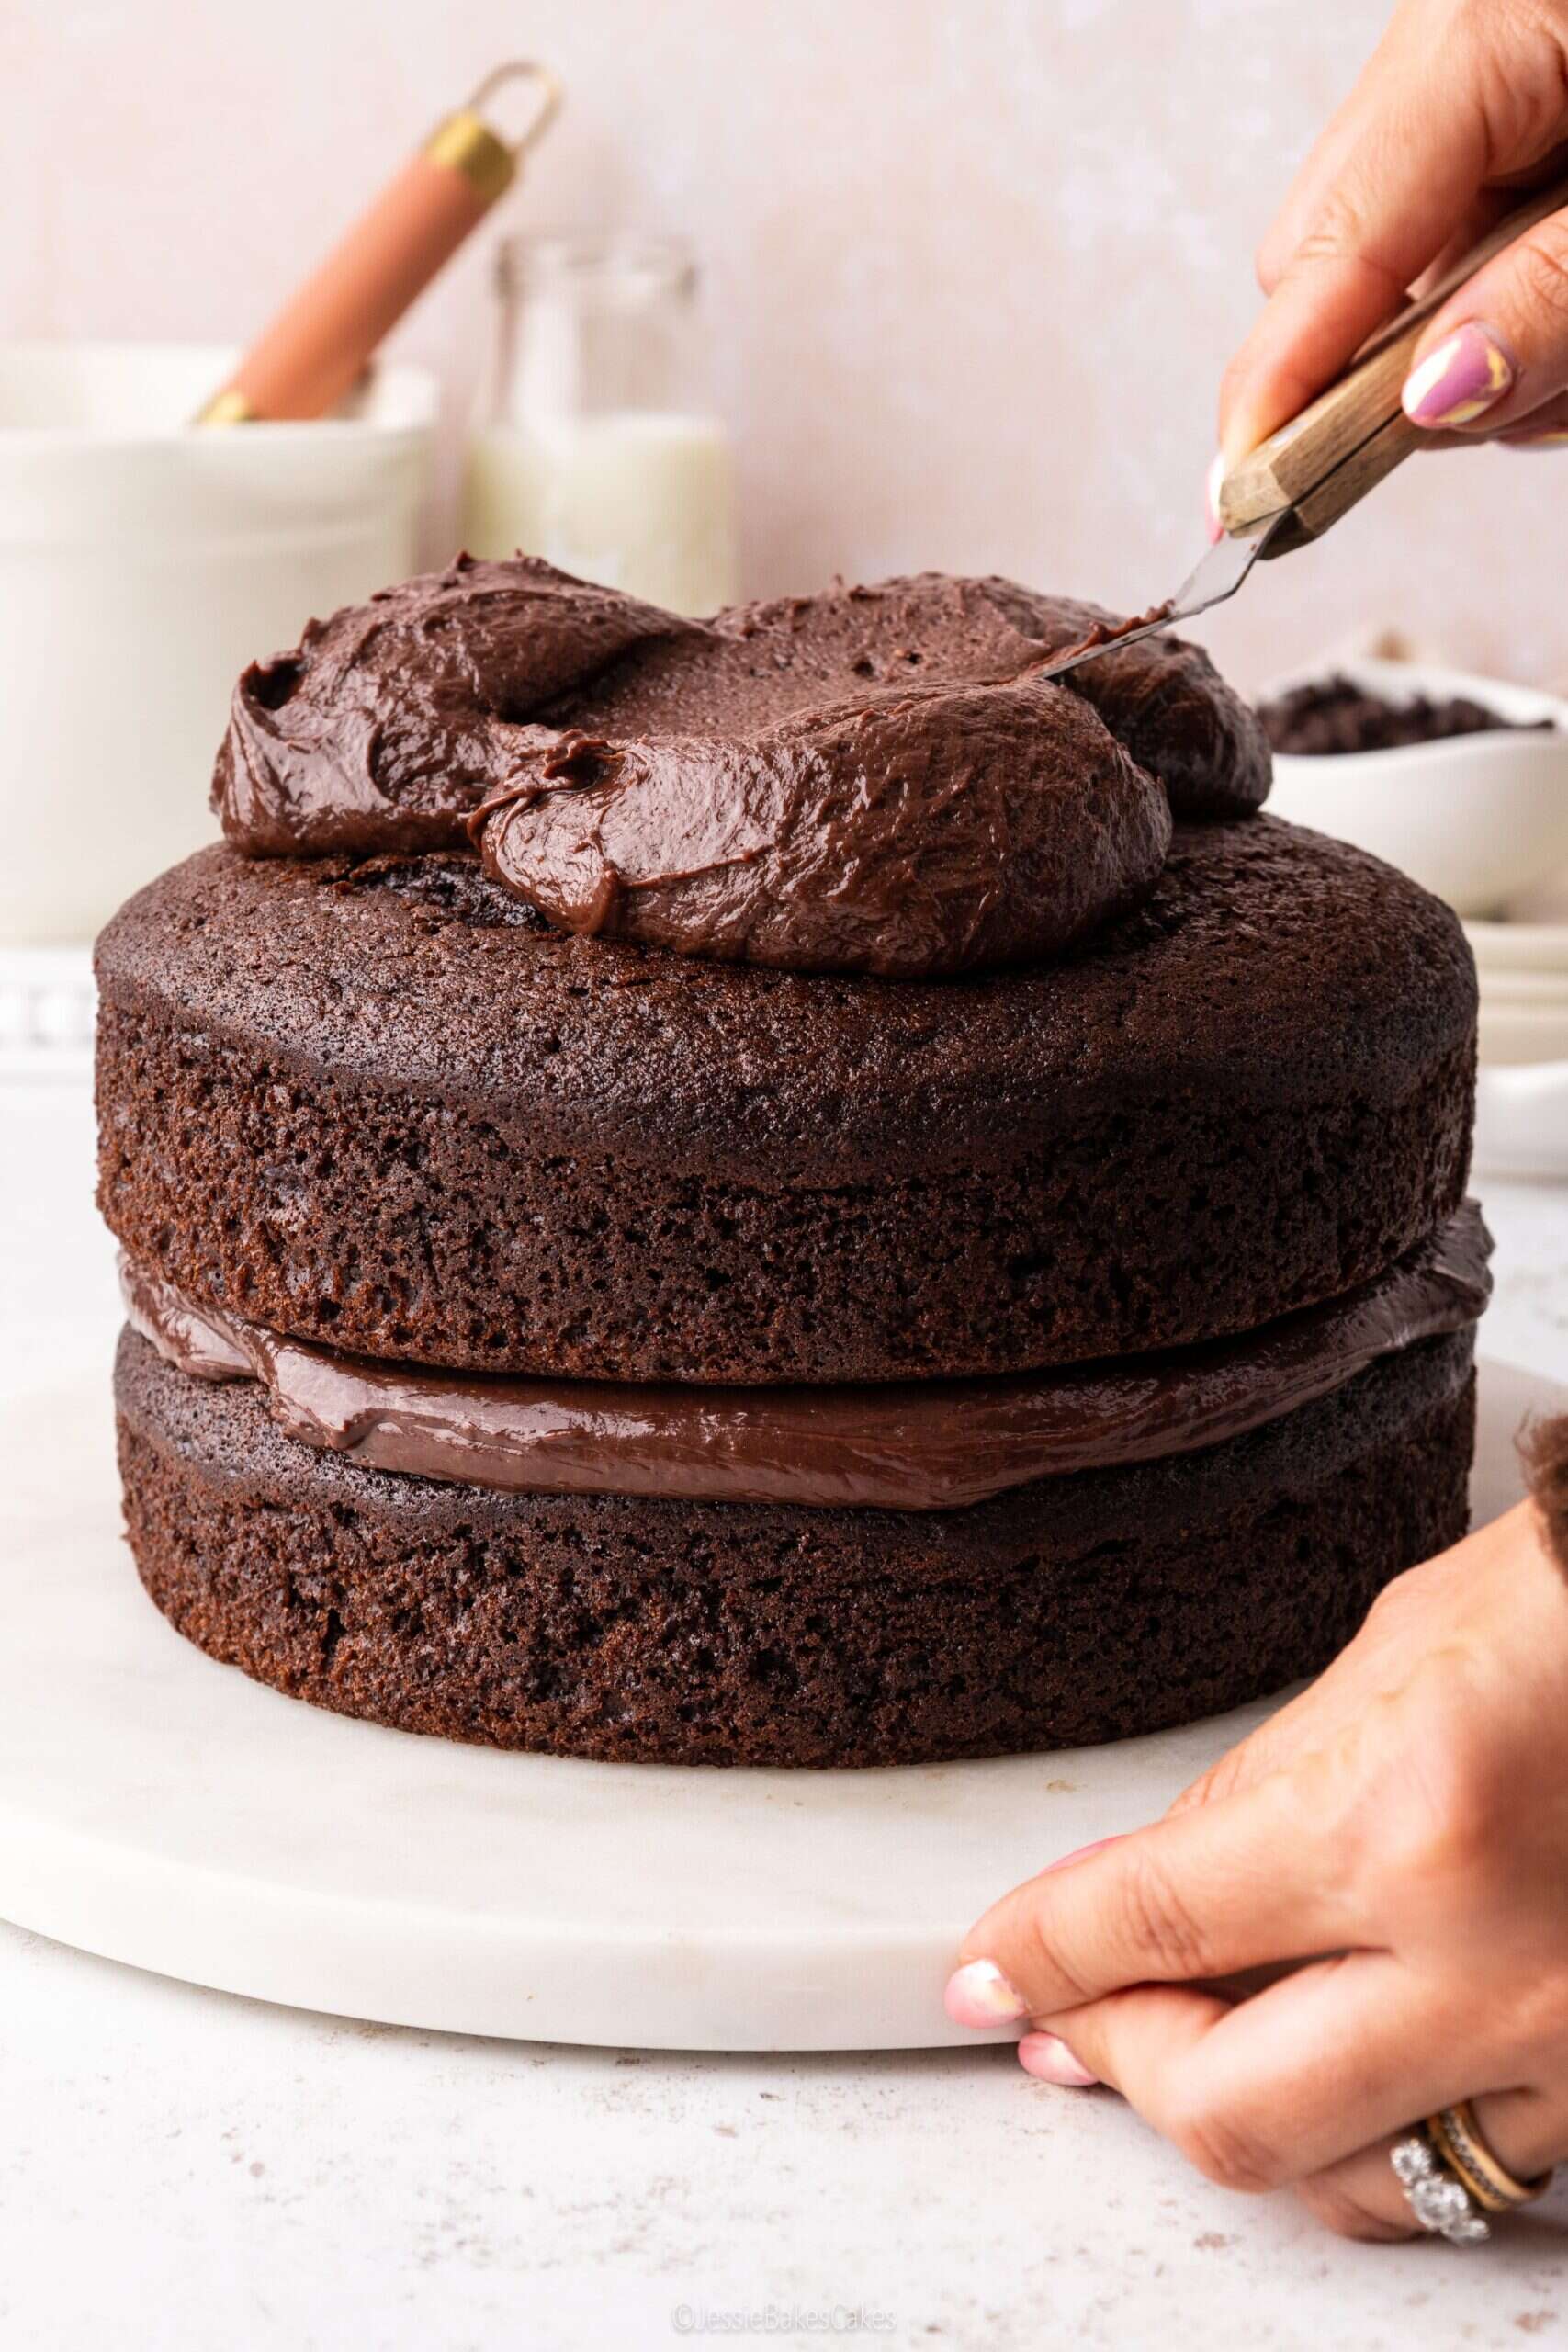
How to fix it (this time):
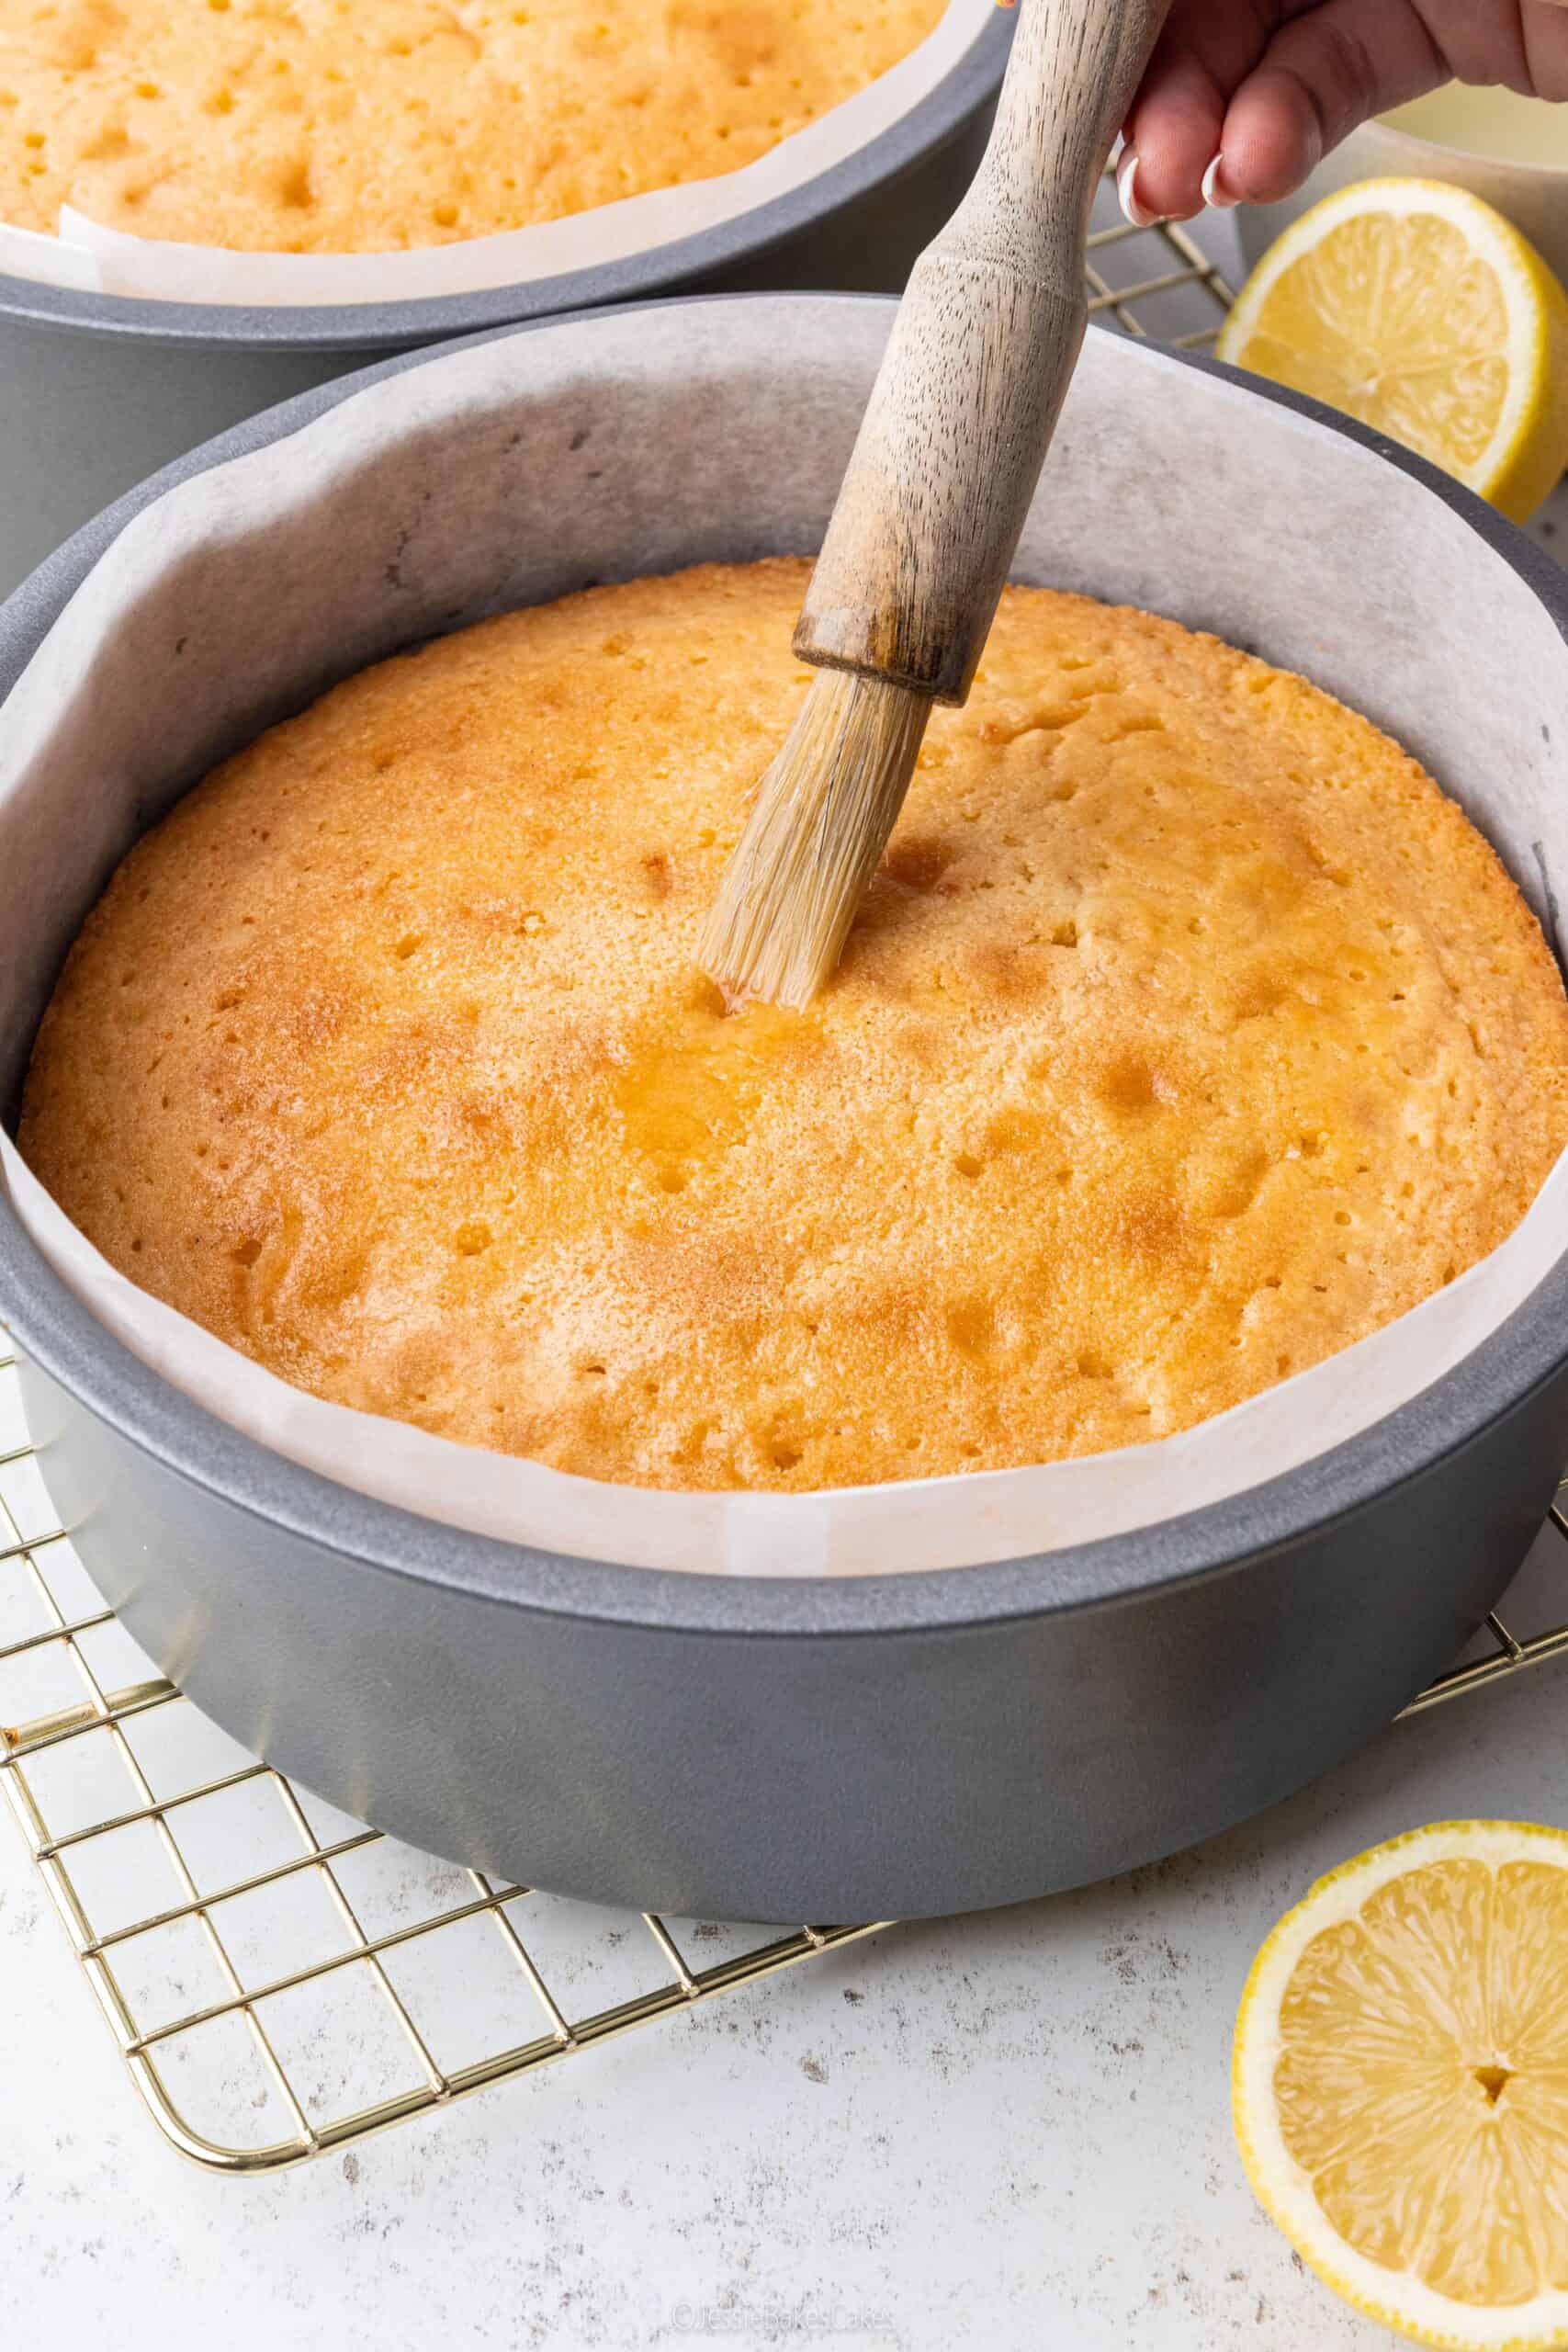
- Brush the cake layers with a simple syrup (water and sugar) to add moisture.
- Fill and cover the cake generously with buttercream to soften the layers and seal the crumbs together.
- Serve the cake with cream or custard to improve the texture.
How to prevent it next time:
- Weigh flour using digital kitchen scales rather than scooping or using cup measurements.
- Use an oven thermometer for an accurate temperature reading.
- Follow the recipe quantities exactly, especially for fats and liquids.
- Bake the cake on the middle shelf of the oven.
Why is my cake dense and heavy?
Why it happens:
- Overmixing the batter after the flour was added.
- Ingredients were too cold to trap air properly.
- Too much liquid was added to the batter.
- The raising agent had expired.
How to fix it (this time):
- Slice the cake thinly and use generous fillings to add lightness.
- Serve with whipped cream or fresh fruit to balance the texture.
How to prevent it next time:
- Bring butter, eggs and milk to room temperature before baking.
- Mix gently and stop as soon as the batter is combined.
- Measure liquids accurately and avoid adding extra.
- Use a fresh, unopened pack of self-raising flour, baking powder or bicarbonate of soda.
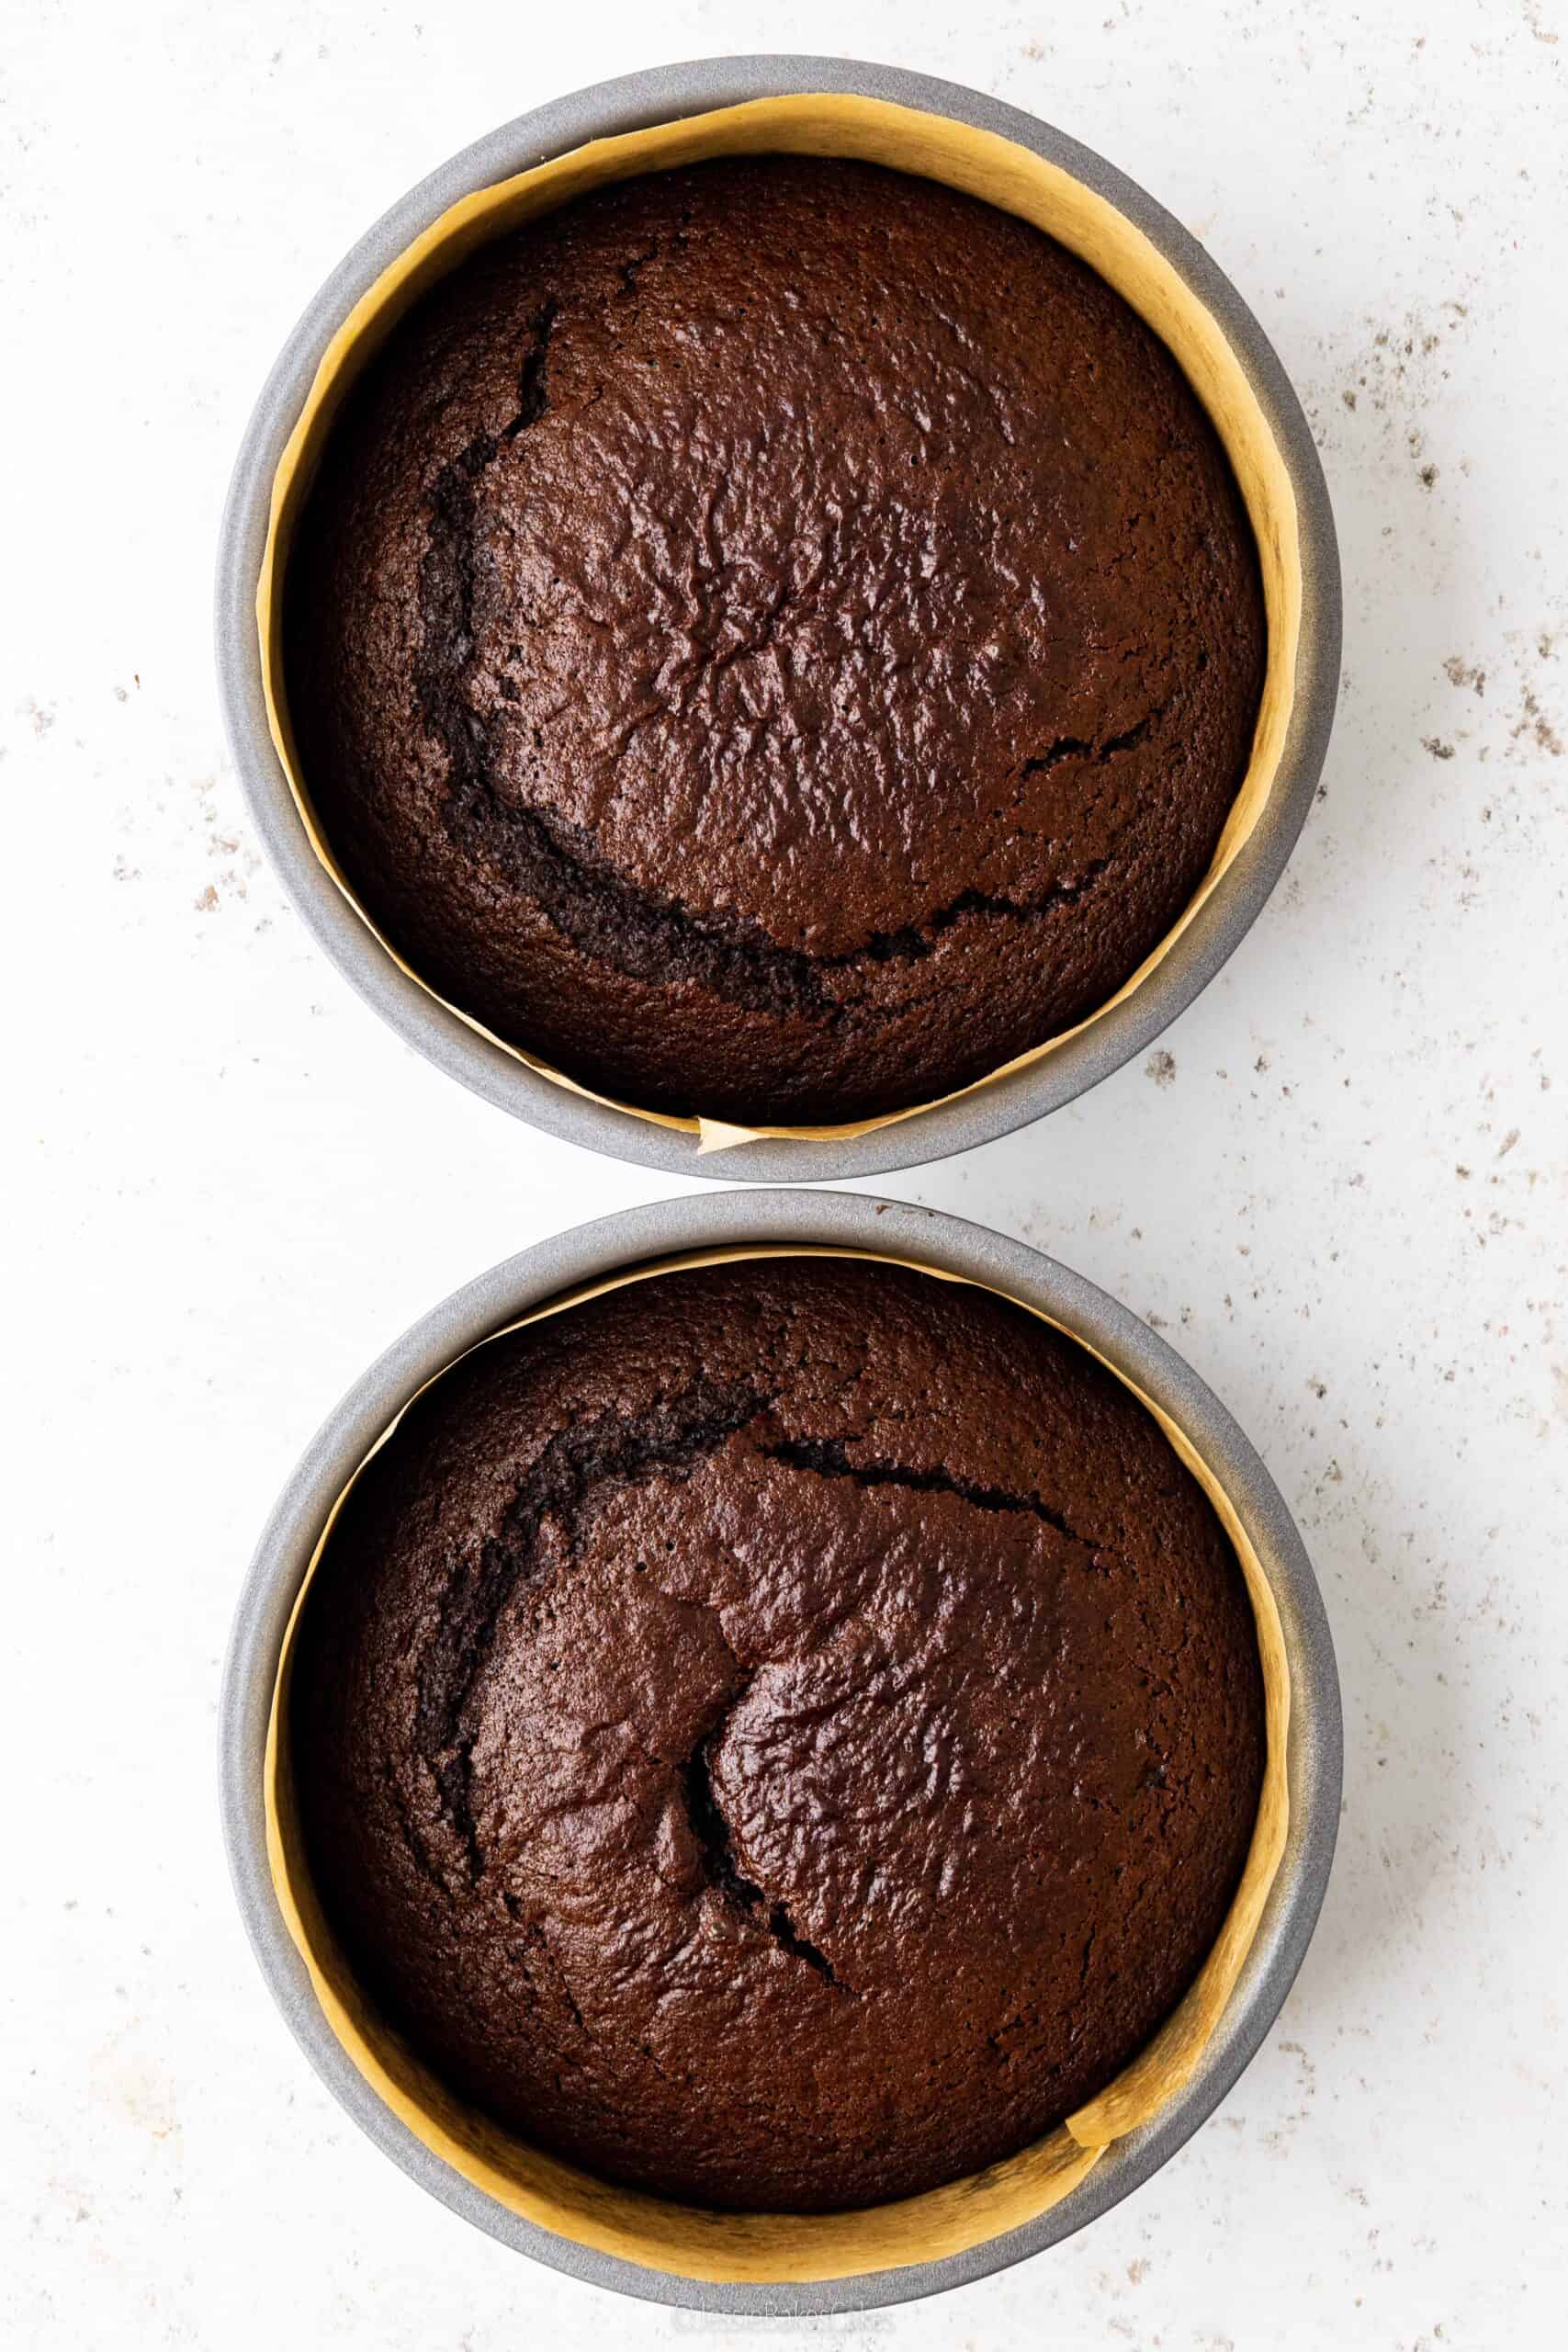
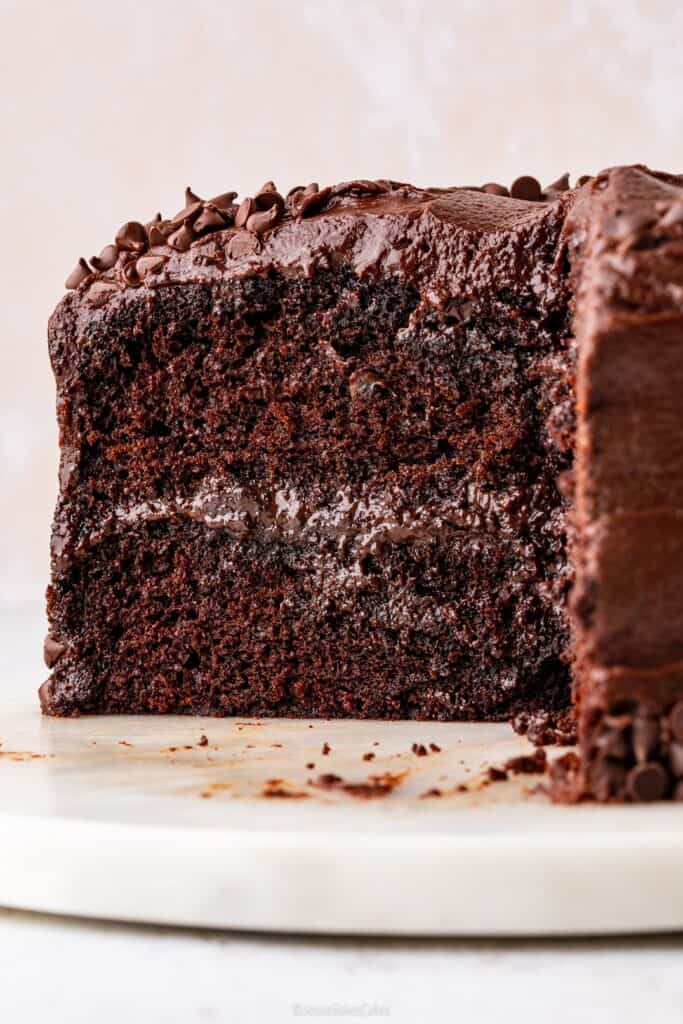
Why do cakes crack on top?
Why it happens:
- The oven temperature was too high.
- The cake tin was too small for the amount of batter.
- The cake rose too quickly before setting.
How to fix it (this time):
- Don’t worry about it, just coat the cake in buttercream and no-one will know – problem solved! My Chocolate Matilda Cake cracked on top (photo below) and it still tasted amazing.
- Turn the top cake layer upside down for a crack-free surface.
How to prevent it next time:
- Reduce the oven temperature slightly by 10-20° and bake the cakes for a few minutes longer.
- Use the correct tin size stated in the recipe.
- Bake the cake on the middle shelf of the oven for the most consistent heat.
Why do my cakes stick to the pan?
Why it happens:
- The pan wasn’t greased, prepped or lined properly.
- The cake was turned out while still too warm.
- The tin has worn over time and no longer has reliable non-stick properties.
How to fix it (this time):
- Run a warm palette knife around the edge to loosen the cake from the tin.
- Patch any damage with buttercream before decorating.
How to prevent it next time:
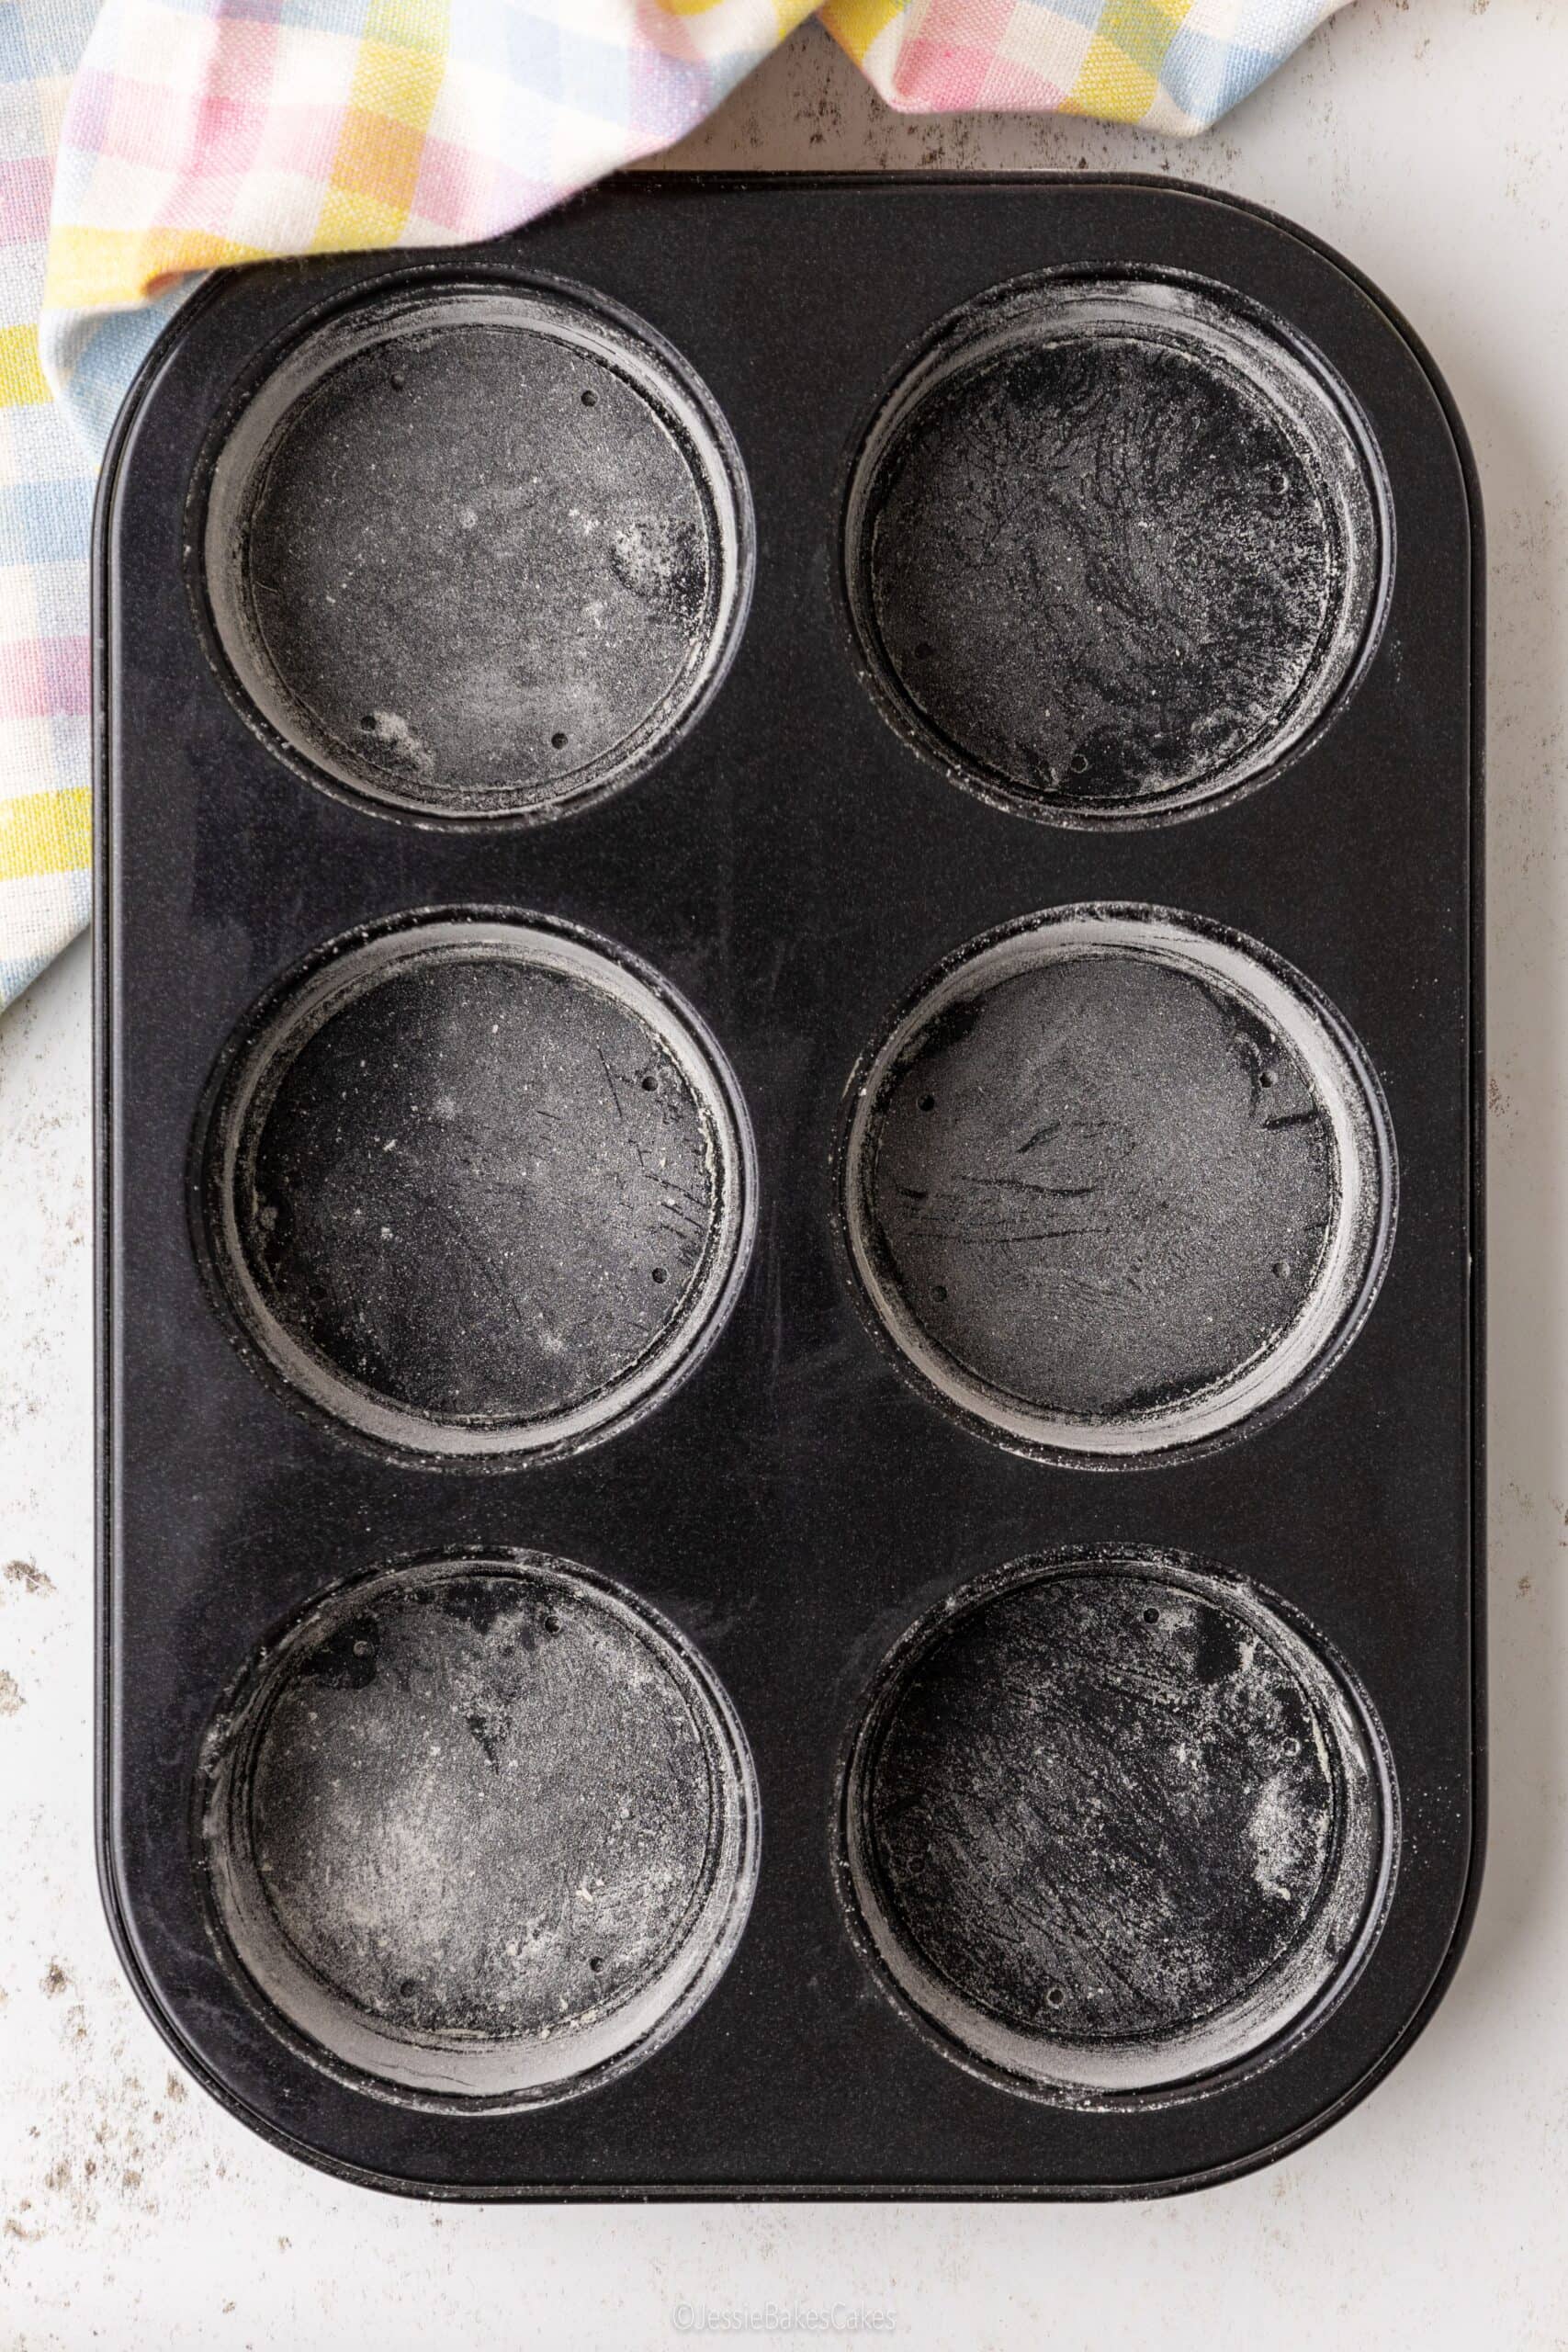
- Grease the pan thoroughly with melted butter and lightly dust with flour for a double non-stick layer. This is my go-to method for all of my mini cake recipes.
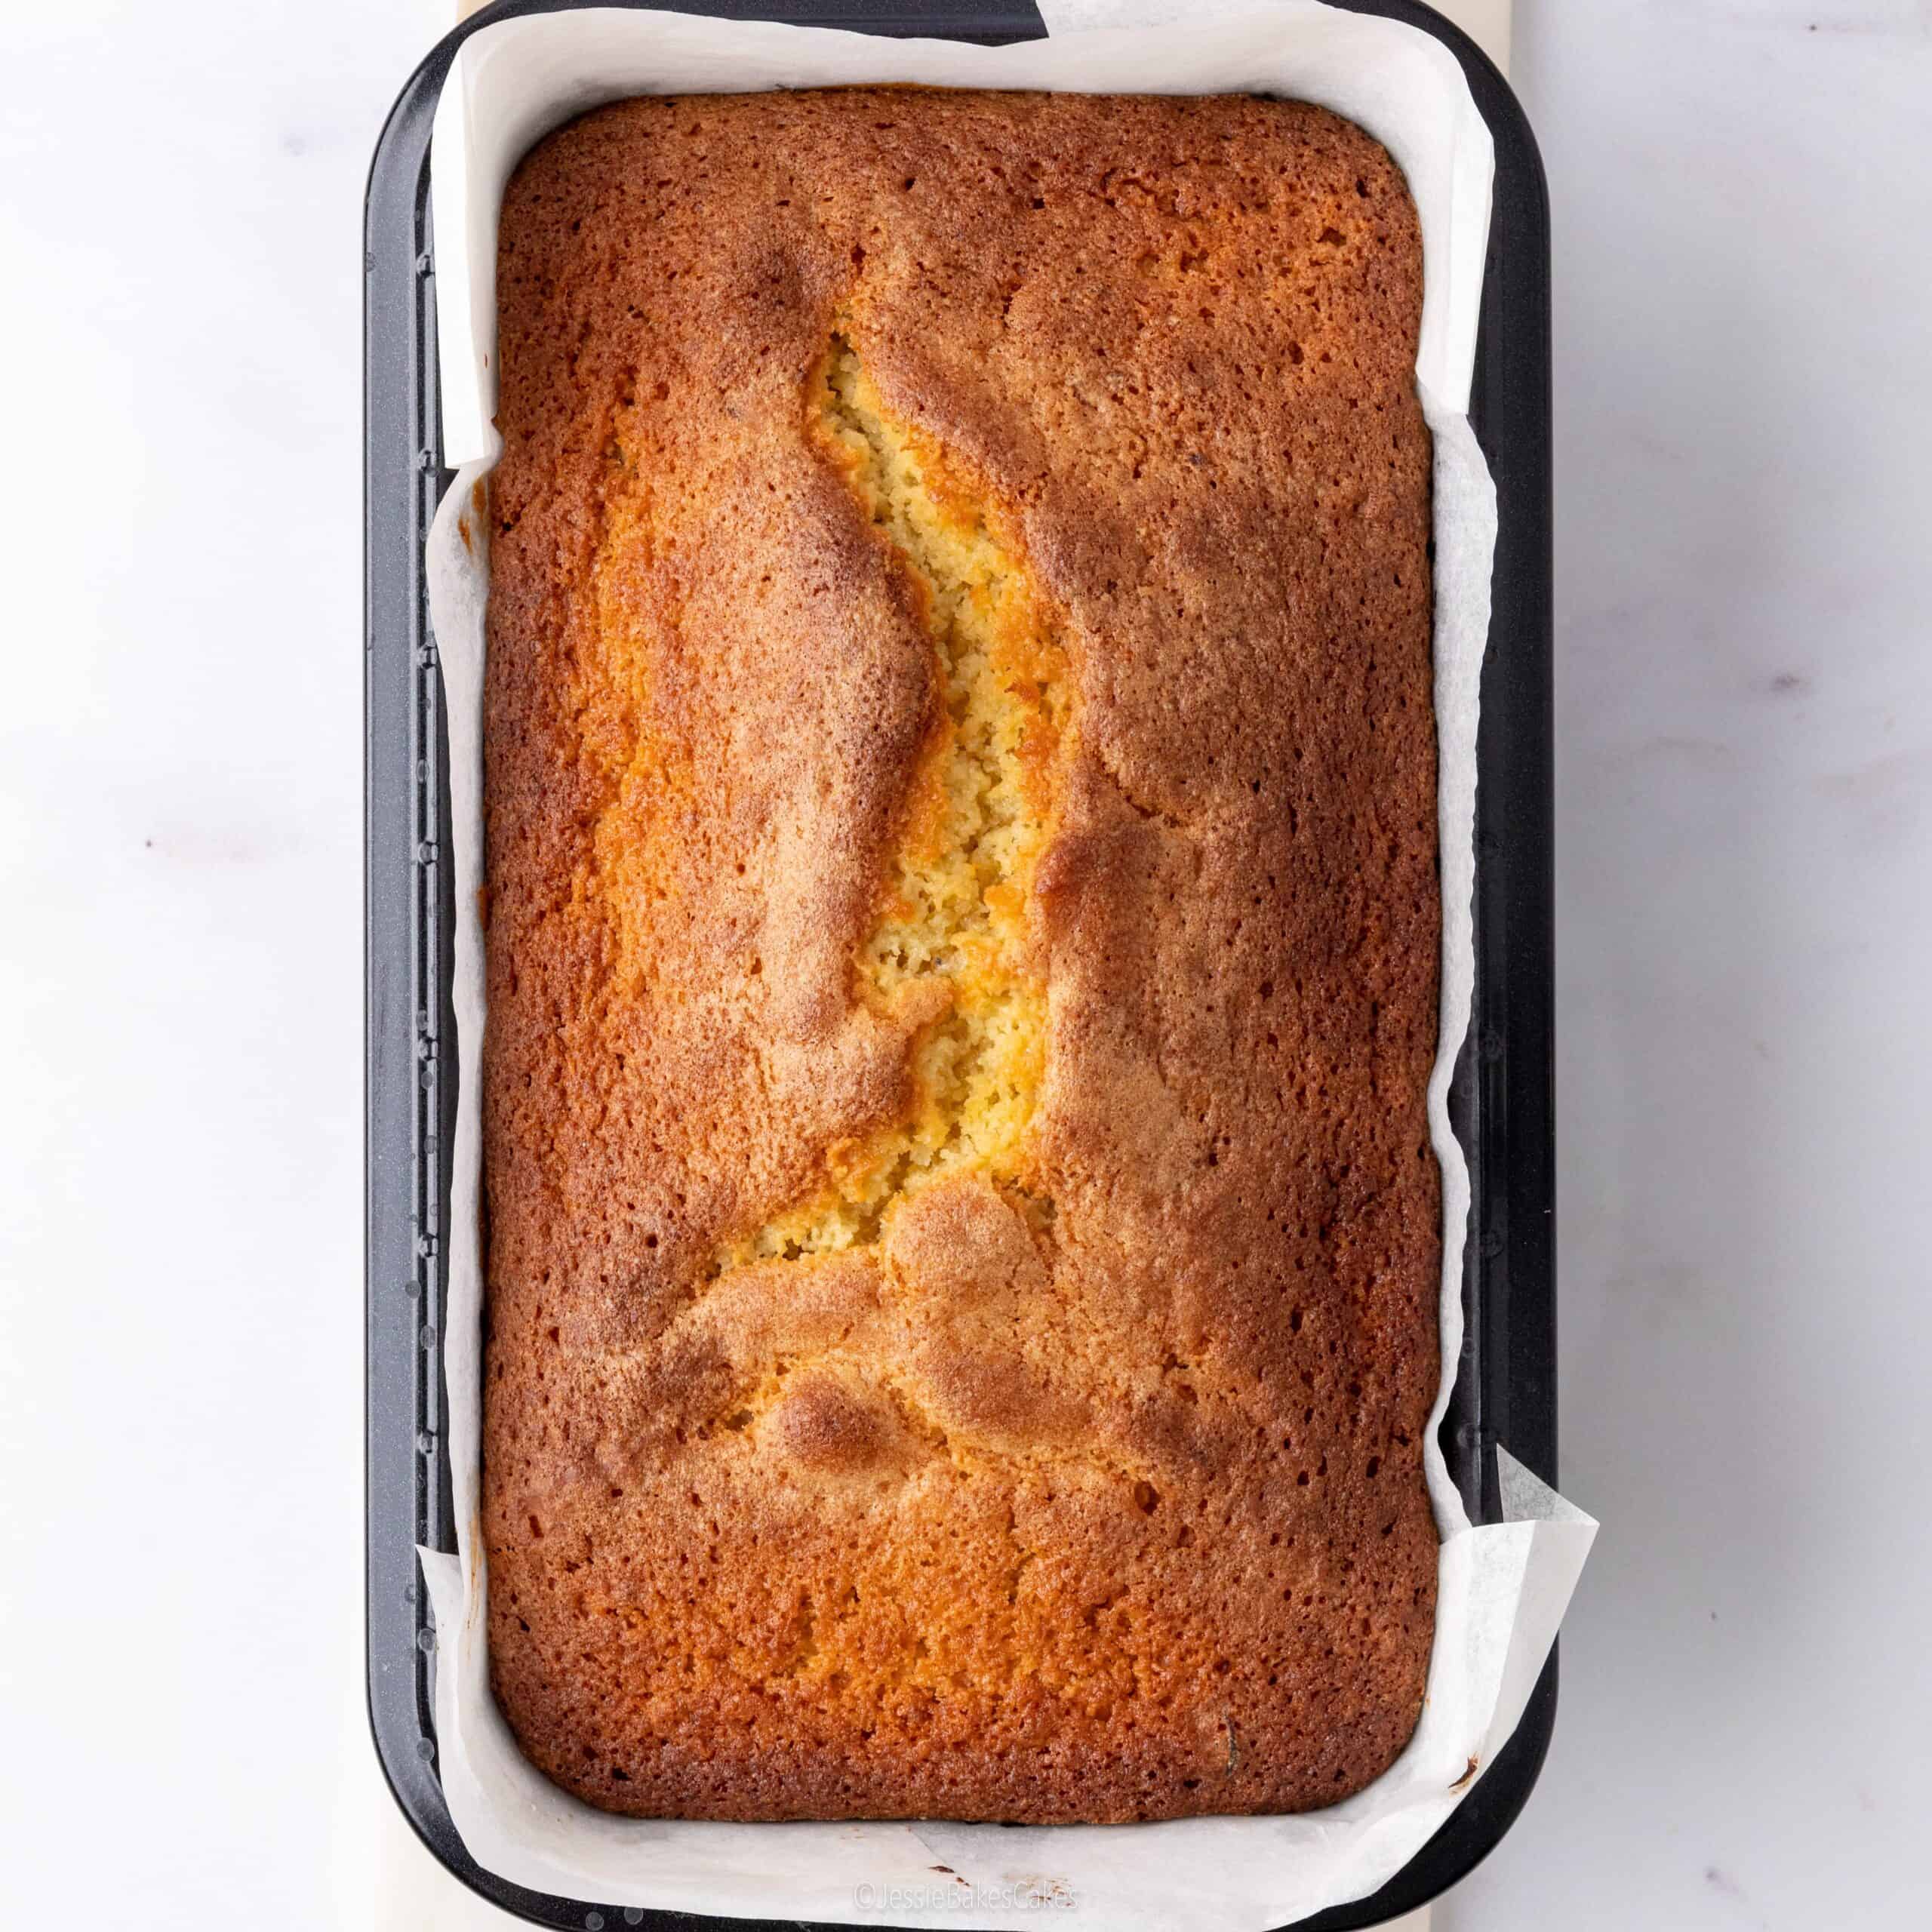
- Line the base and sides of the tin with greaseproof baking paper. Leave an overhang so you can easily lift the cake out of the tin.
- Allow the cake to cool for 15-20 minutes in the tin before turning it out.
- Use a loose-based baking tin to easily push the cake out from underneath.
Why is my cake domed on top?
Why it happens:
- The oven temperature was too high.
- Heat reached the edges of the cake faster than the centre.
- The batter wasn’t spread evenly in the pan before baking.
How to fix it (this time):
- Level the cake with a knife or cake leveller.
- Use the trimmed cake as a snack or cake crumbs for decoration.
How to prevent it next time:
- Lower the oven temperature slightly by 10-20° and bake for a few minutes longer.
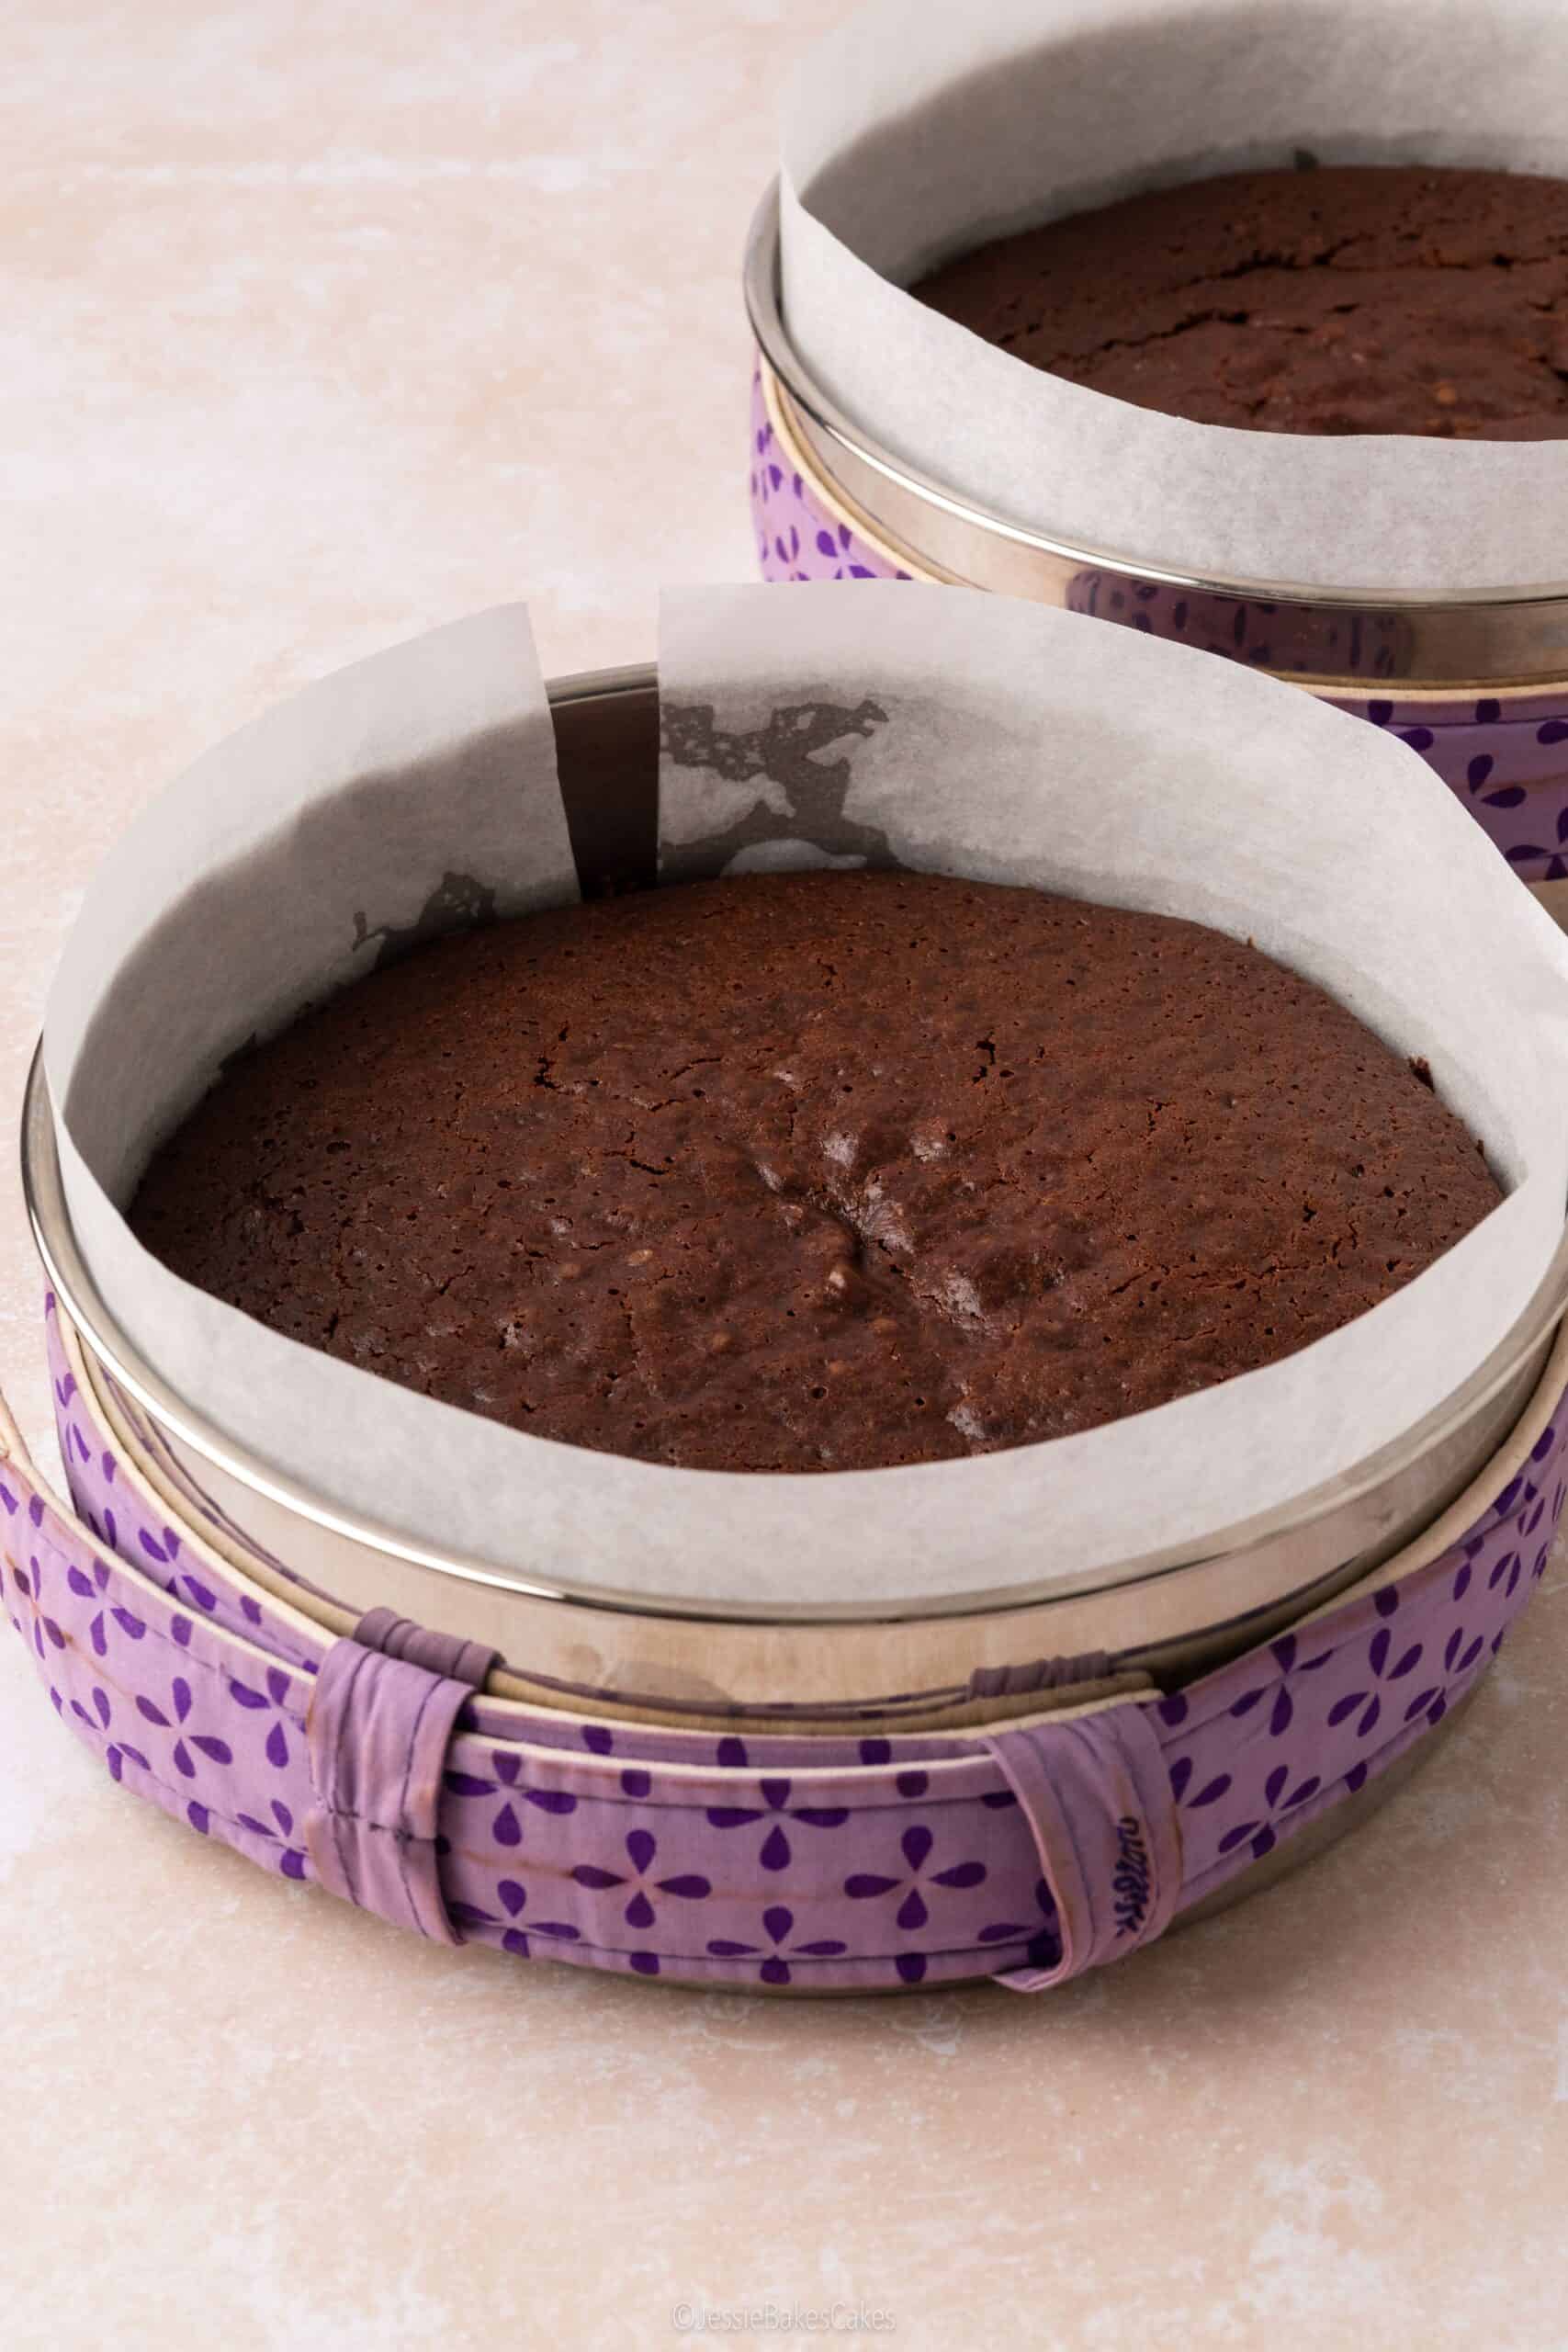
- Use cake strips (photo below) to slow down how quickly the edges heat up and ensure more even baking.
- Weigh the mixture into pans using digital kitchen scales for even layers.
Why is my cake greasy?
Why it happens:
- Too much fat was added to the cake mixture (butter, milk, oil, eggs etc.).
- The batter was overmixed, causing the fat to separate.
- The cake was underbaked, leaving excess moisture trapped inside.
- The cake was removed from the tin too early.
- The tin or baking paper trapped steam around the cake causing excess moisture.
How to fix it (this time):
- Gently blot the surface with kitchenroll paper to absorb excess grease.
- Return the cake to the oven for a few more minutes if the centre is underbaked.
- Chill the cake briefly before decorating to help it firm up.
How to prevent it next time:
- Measure the ingredients accurately using digital scales rather than estimating.
- Make sure you’re using the correct-sized eggs for the recipe (small vs. medium. vs. large).
- Mix the batter just until combined and avoid overmixing.
- Check the cake is fully baked before removing it from the oven (tips on this coming up!).
- Leave the cake in the tin for 15-20 minutes before turning out.
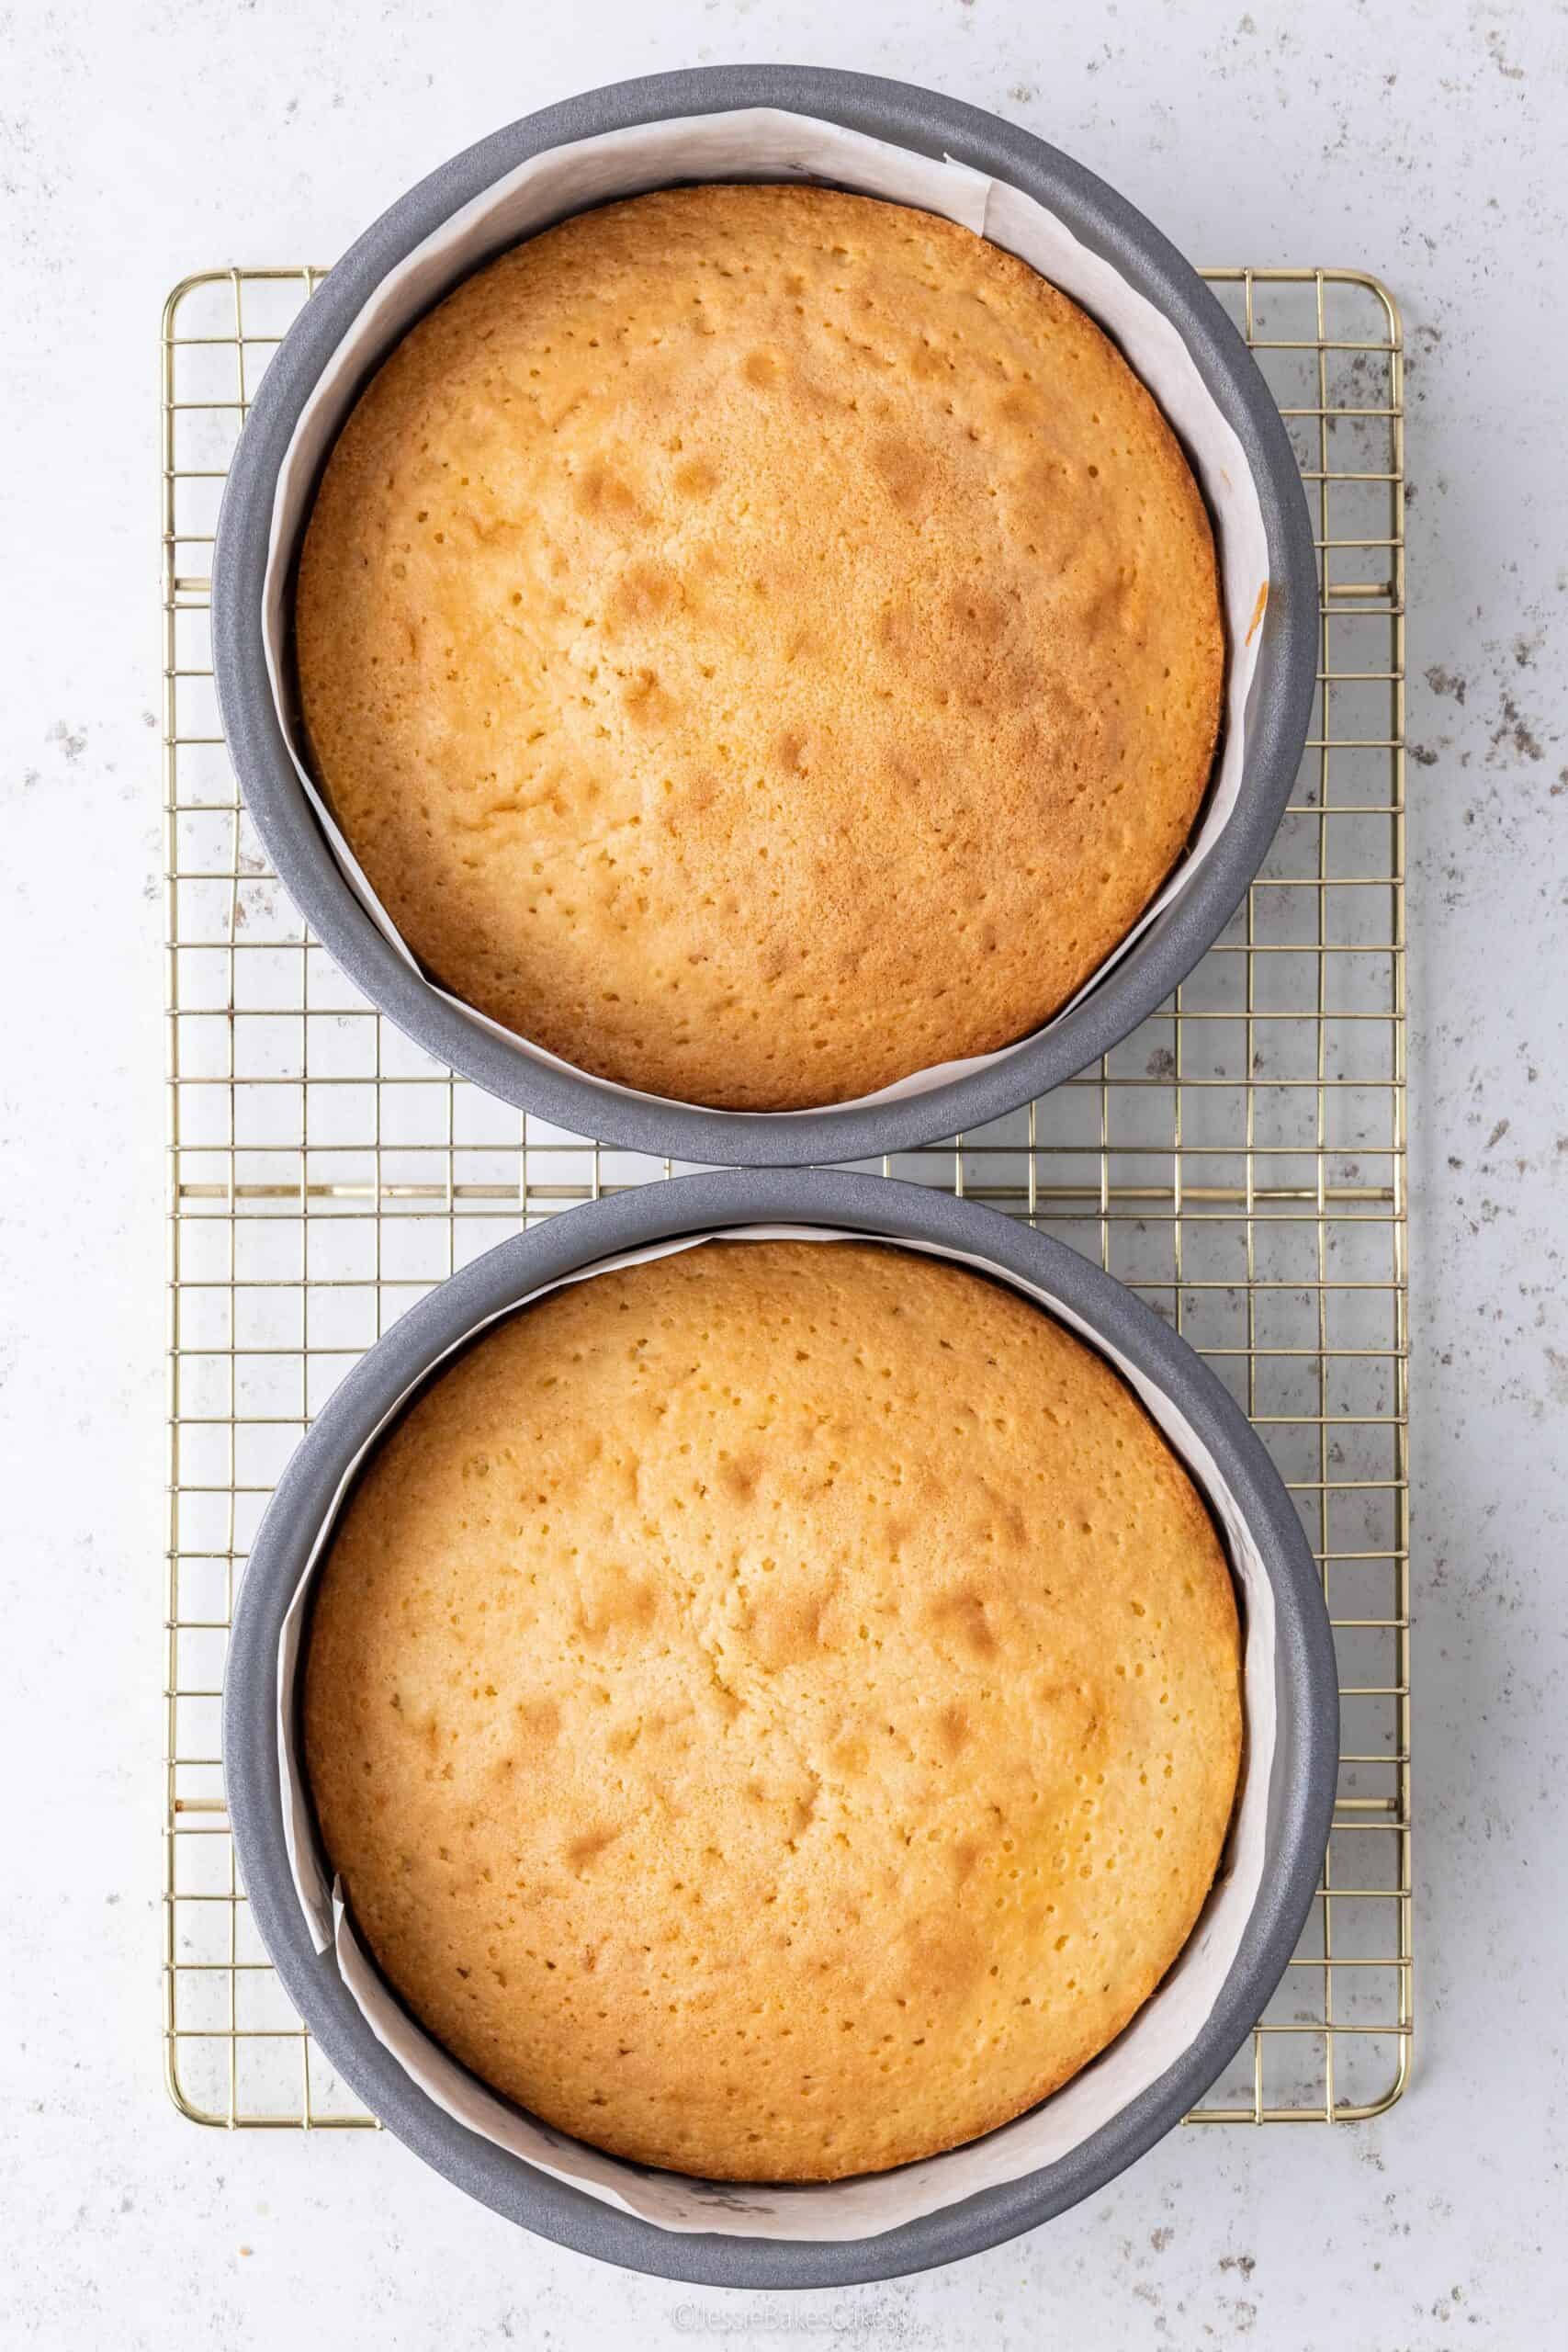
- Allow the cake to cool fully on a wire rack so steam can escape.
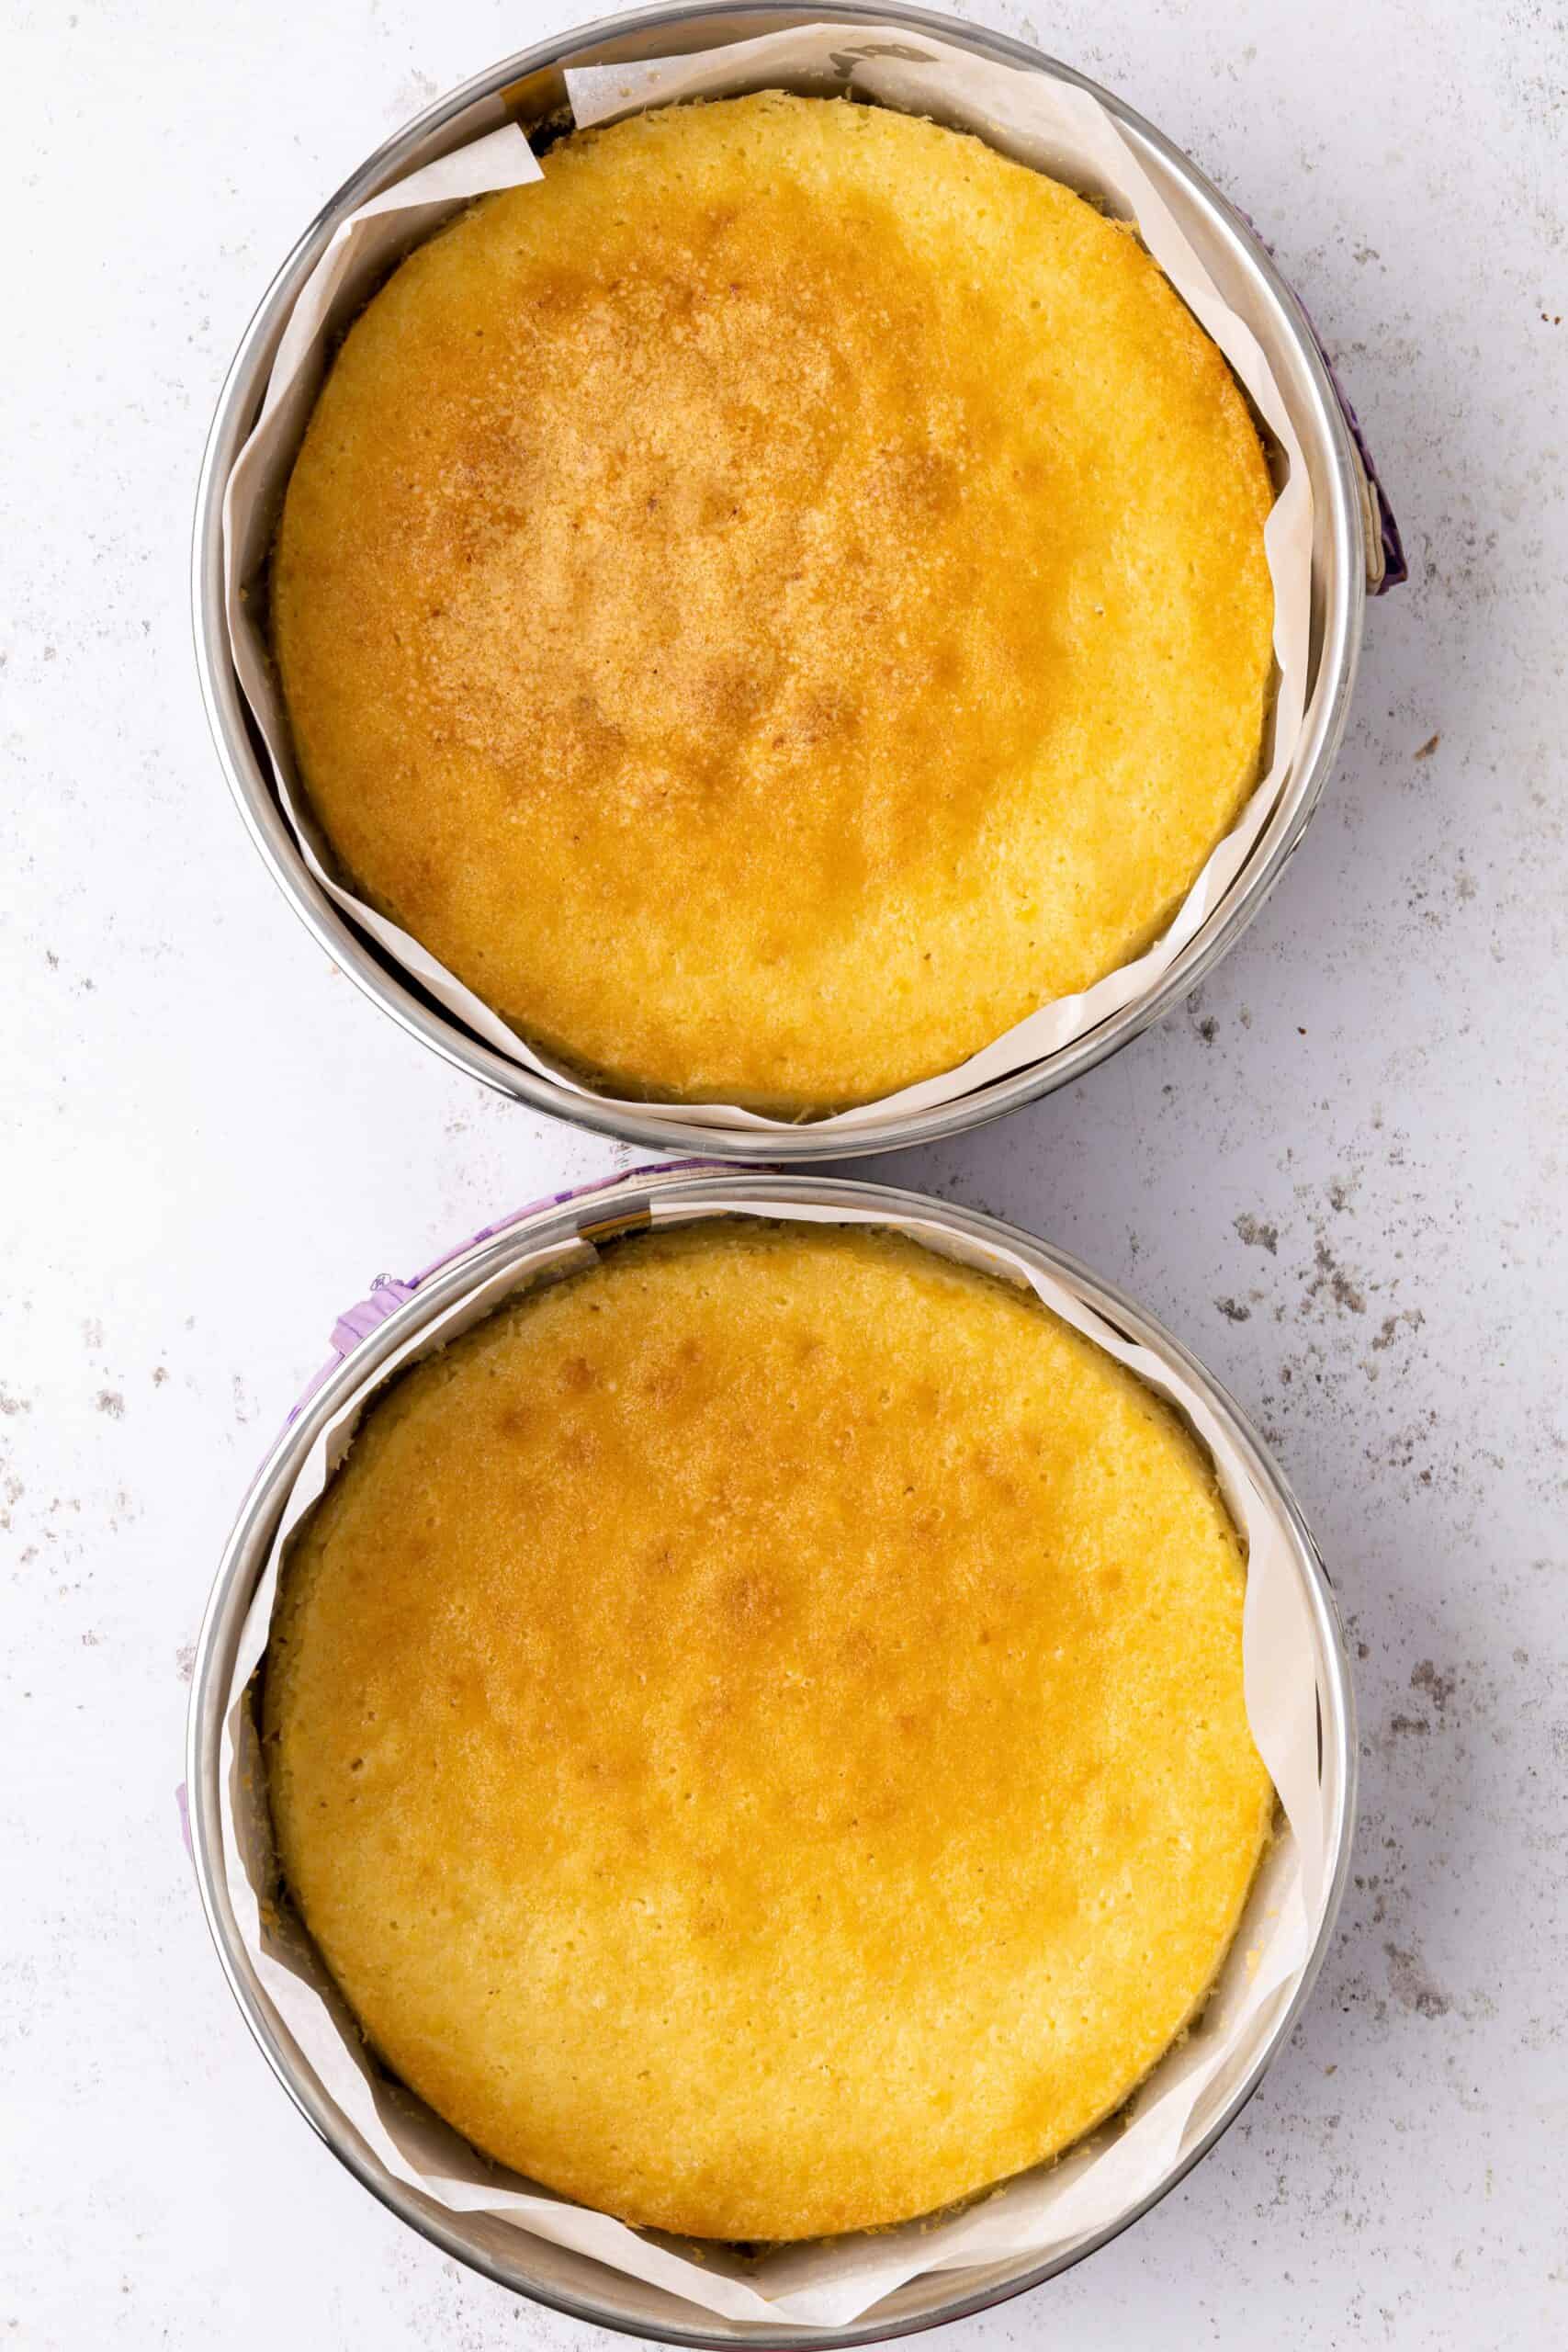
How do I know if my cake is done baking?
Signs your cake is baked through:
- A skewer inserted into the centre comes out clean or with a few crumbs.
- The cake springs back when lightly pressed in the centre.
- The edges of the cake pull slightly away from the pan.
- The cake no longer jiggles in the middle.
How to get it right every time:
- Start checking on the cake 5 minutes before the recommended bake time.
- Try the spring test – lightly press the middle of the sponge with your finger. If the cake springs back, it’s ready; if your finger leaves an indent, bake it for a little longer.
- Try the skewer test – insert a skewer or toothpick into the centre of the cake. If it comes out clean and crumb-free, the cake is fully baked.
- Leave the cake to cool briefly in the pan before turning out.
I hope you’ve found this cake troubleshooting guide helpful!
If there’s one thing I want you to take away from this guide, it’s this: most cake problems aren’t baking failures — they’re learning moments.
Once you understand how ingredients, measurements, oven temperature and tin size affect your bake, you’ll spot potential issues before they even happen. And if something does go wrong? There’s almost always a way to fix it. Mastering these problem-solving cake tips will make you feel more confident, every cake more consistent, and a lot more enjoyable to bake.
If you’re new to baking, I’d recommend checking out my New to Baking page with easy beginner-friendly recipes. Wondering what cake to bake next? Give these easy recipes a go! Happy baking 💛


Your soultions is very important to me..
Thanks a lotttttt jessie…
That’s so kind of you to say! I’m pleased you found this post helpful 😊